RPA 培训前期准备指南——安装Uibot(RPA设计软件)
2024-01-03 01:30:12
目录
2.4 UiBot Creator 机器人流程自动化软件及 Chrome 扩展
一、电脑环境要求(小北的是Win11系统)
软件要求:支持
32
位或
64
位的
Window 7 SP1
、
Windows 8
、
Windows 10
等
Windows
操作系统,或
Windows Server 2012
、
2016
及以上版本的
Windows
Server
操作系统;
硬件要求:
CPU
:
Intel core
双核及以上;
内存:
4G
及以上;
硬盘:
128G
及以上;
网络要求:网络畅通

?
systeminfo:显示系统信息,包括操作系统版本、计算机名称、硬件版本等。systeminfo
hostname:显示当前计算机的主机名。hostname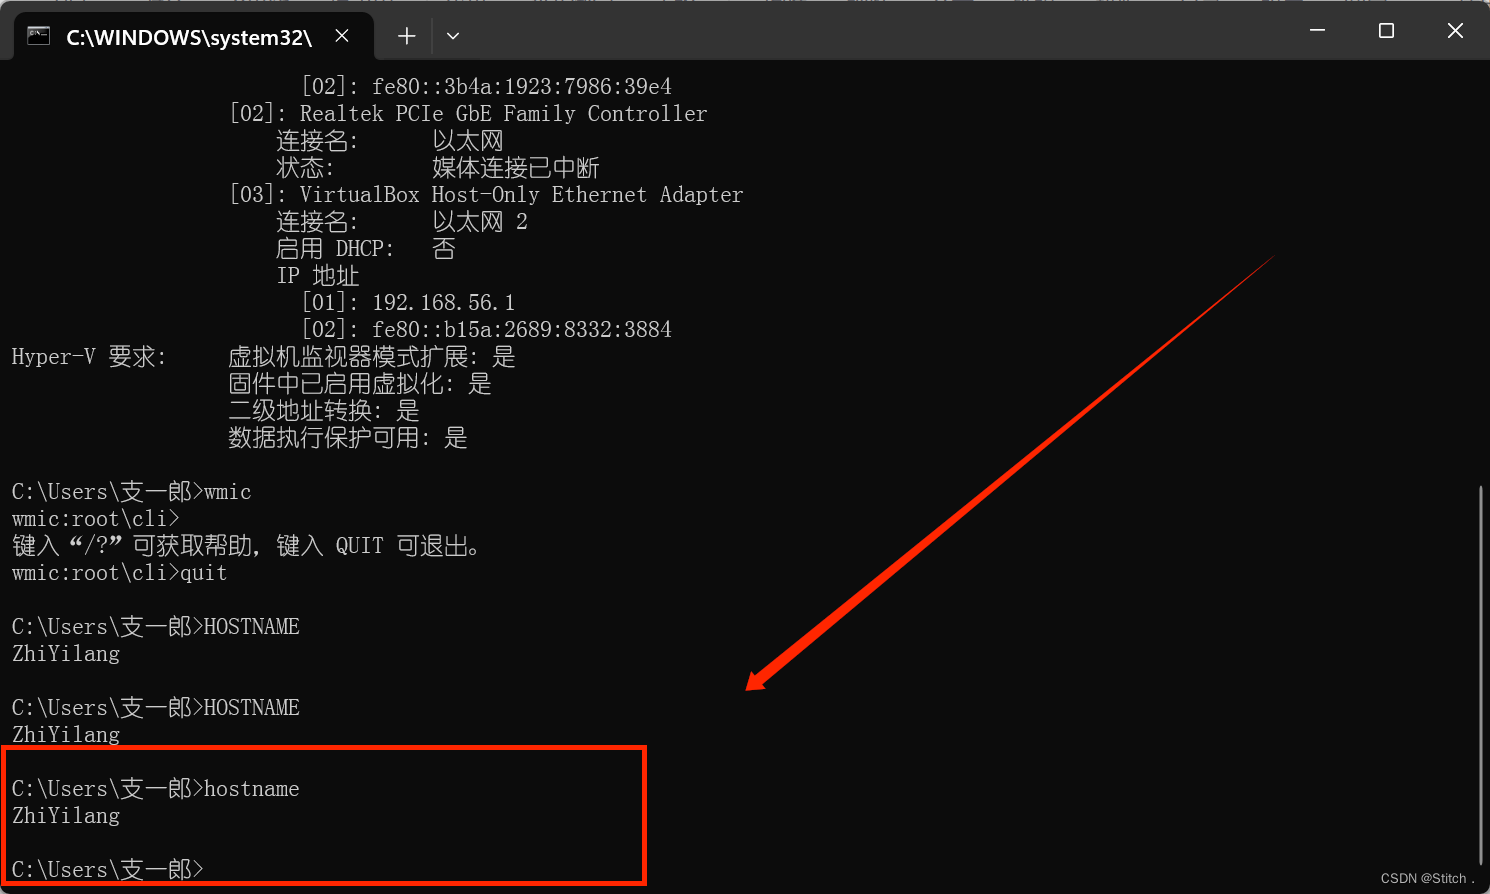
ipconfig:显示网络接口的配置信息,包括IP地址、子网掩码、MAC地址等。ipconfig
netstat:显示网络连接状态,包括本地地址、远程地址、状态等。netstat
cd?和?dir:在命令提示符中更改目录和列出目录中的文件和文件夹。cd xxx #xxx为文件名 dir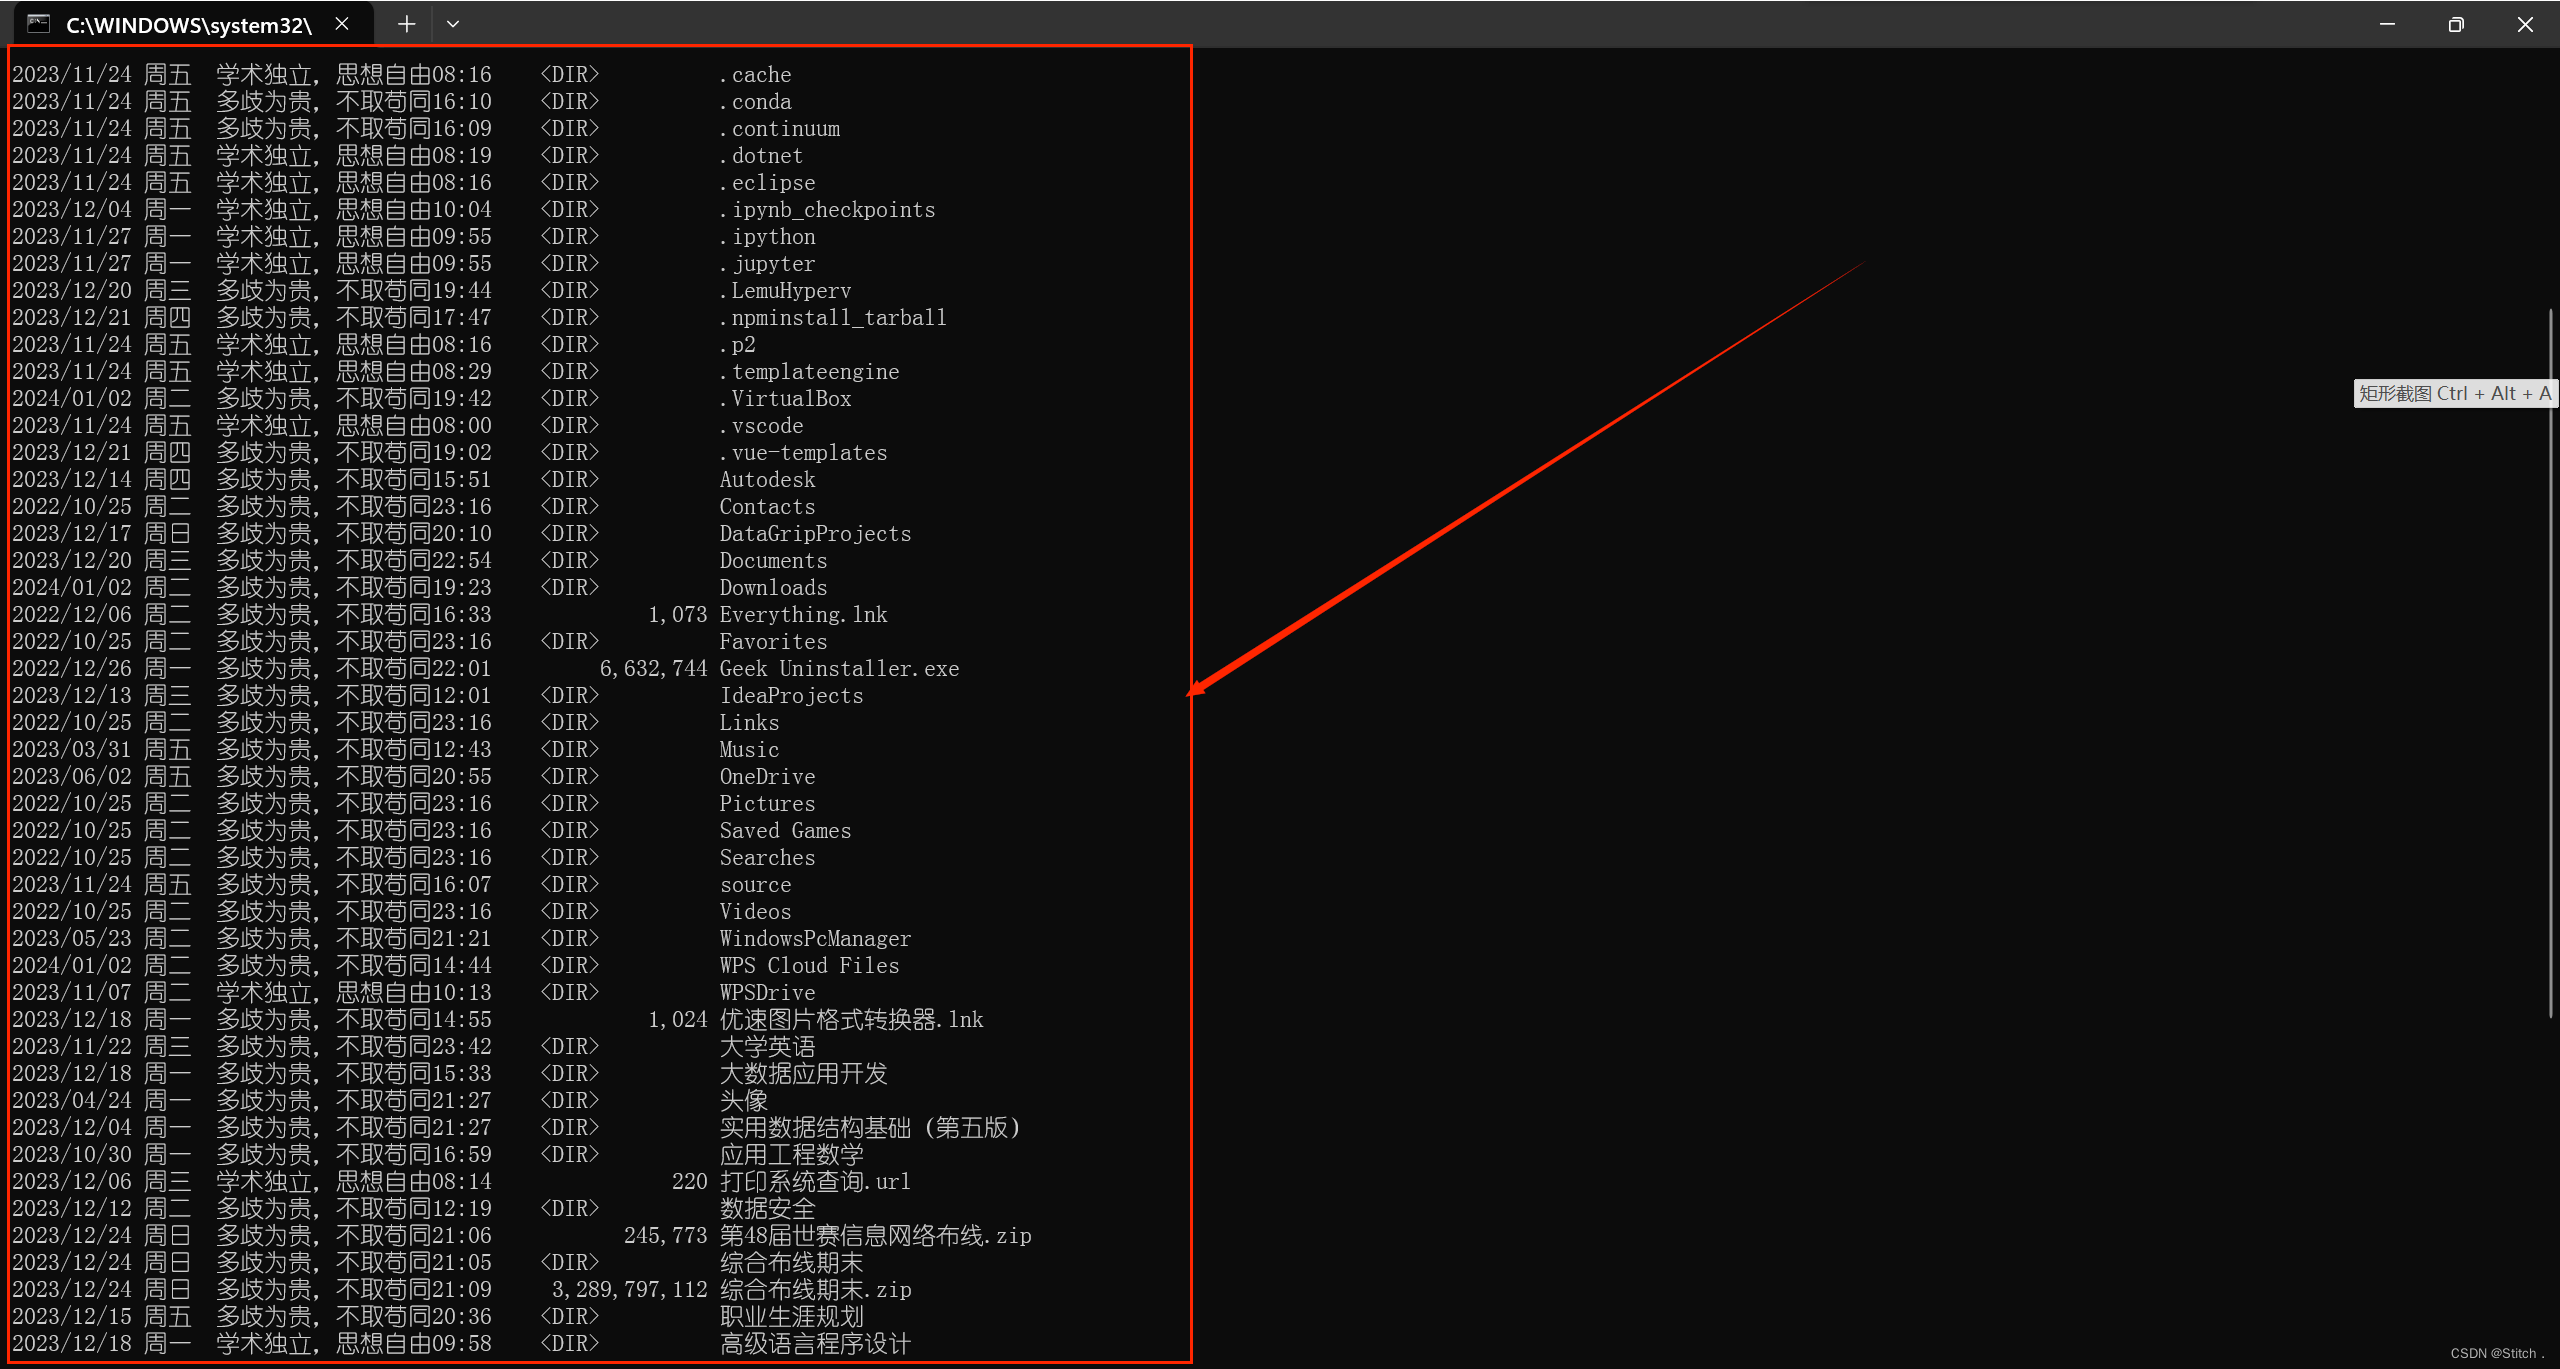
ver:显示命令行解释器的版本信息。ver

二、所需的软件
2.1 办公软件 Office 版本:
2016
及以上,或者
WPS
版本:
WPS2016
、
WPS2019
(
Office
和
WPS
,二选一就行,推荐使用 Office)


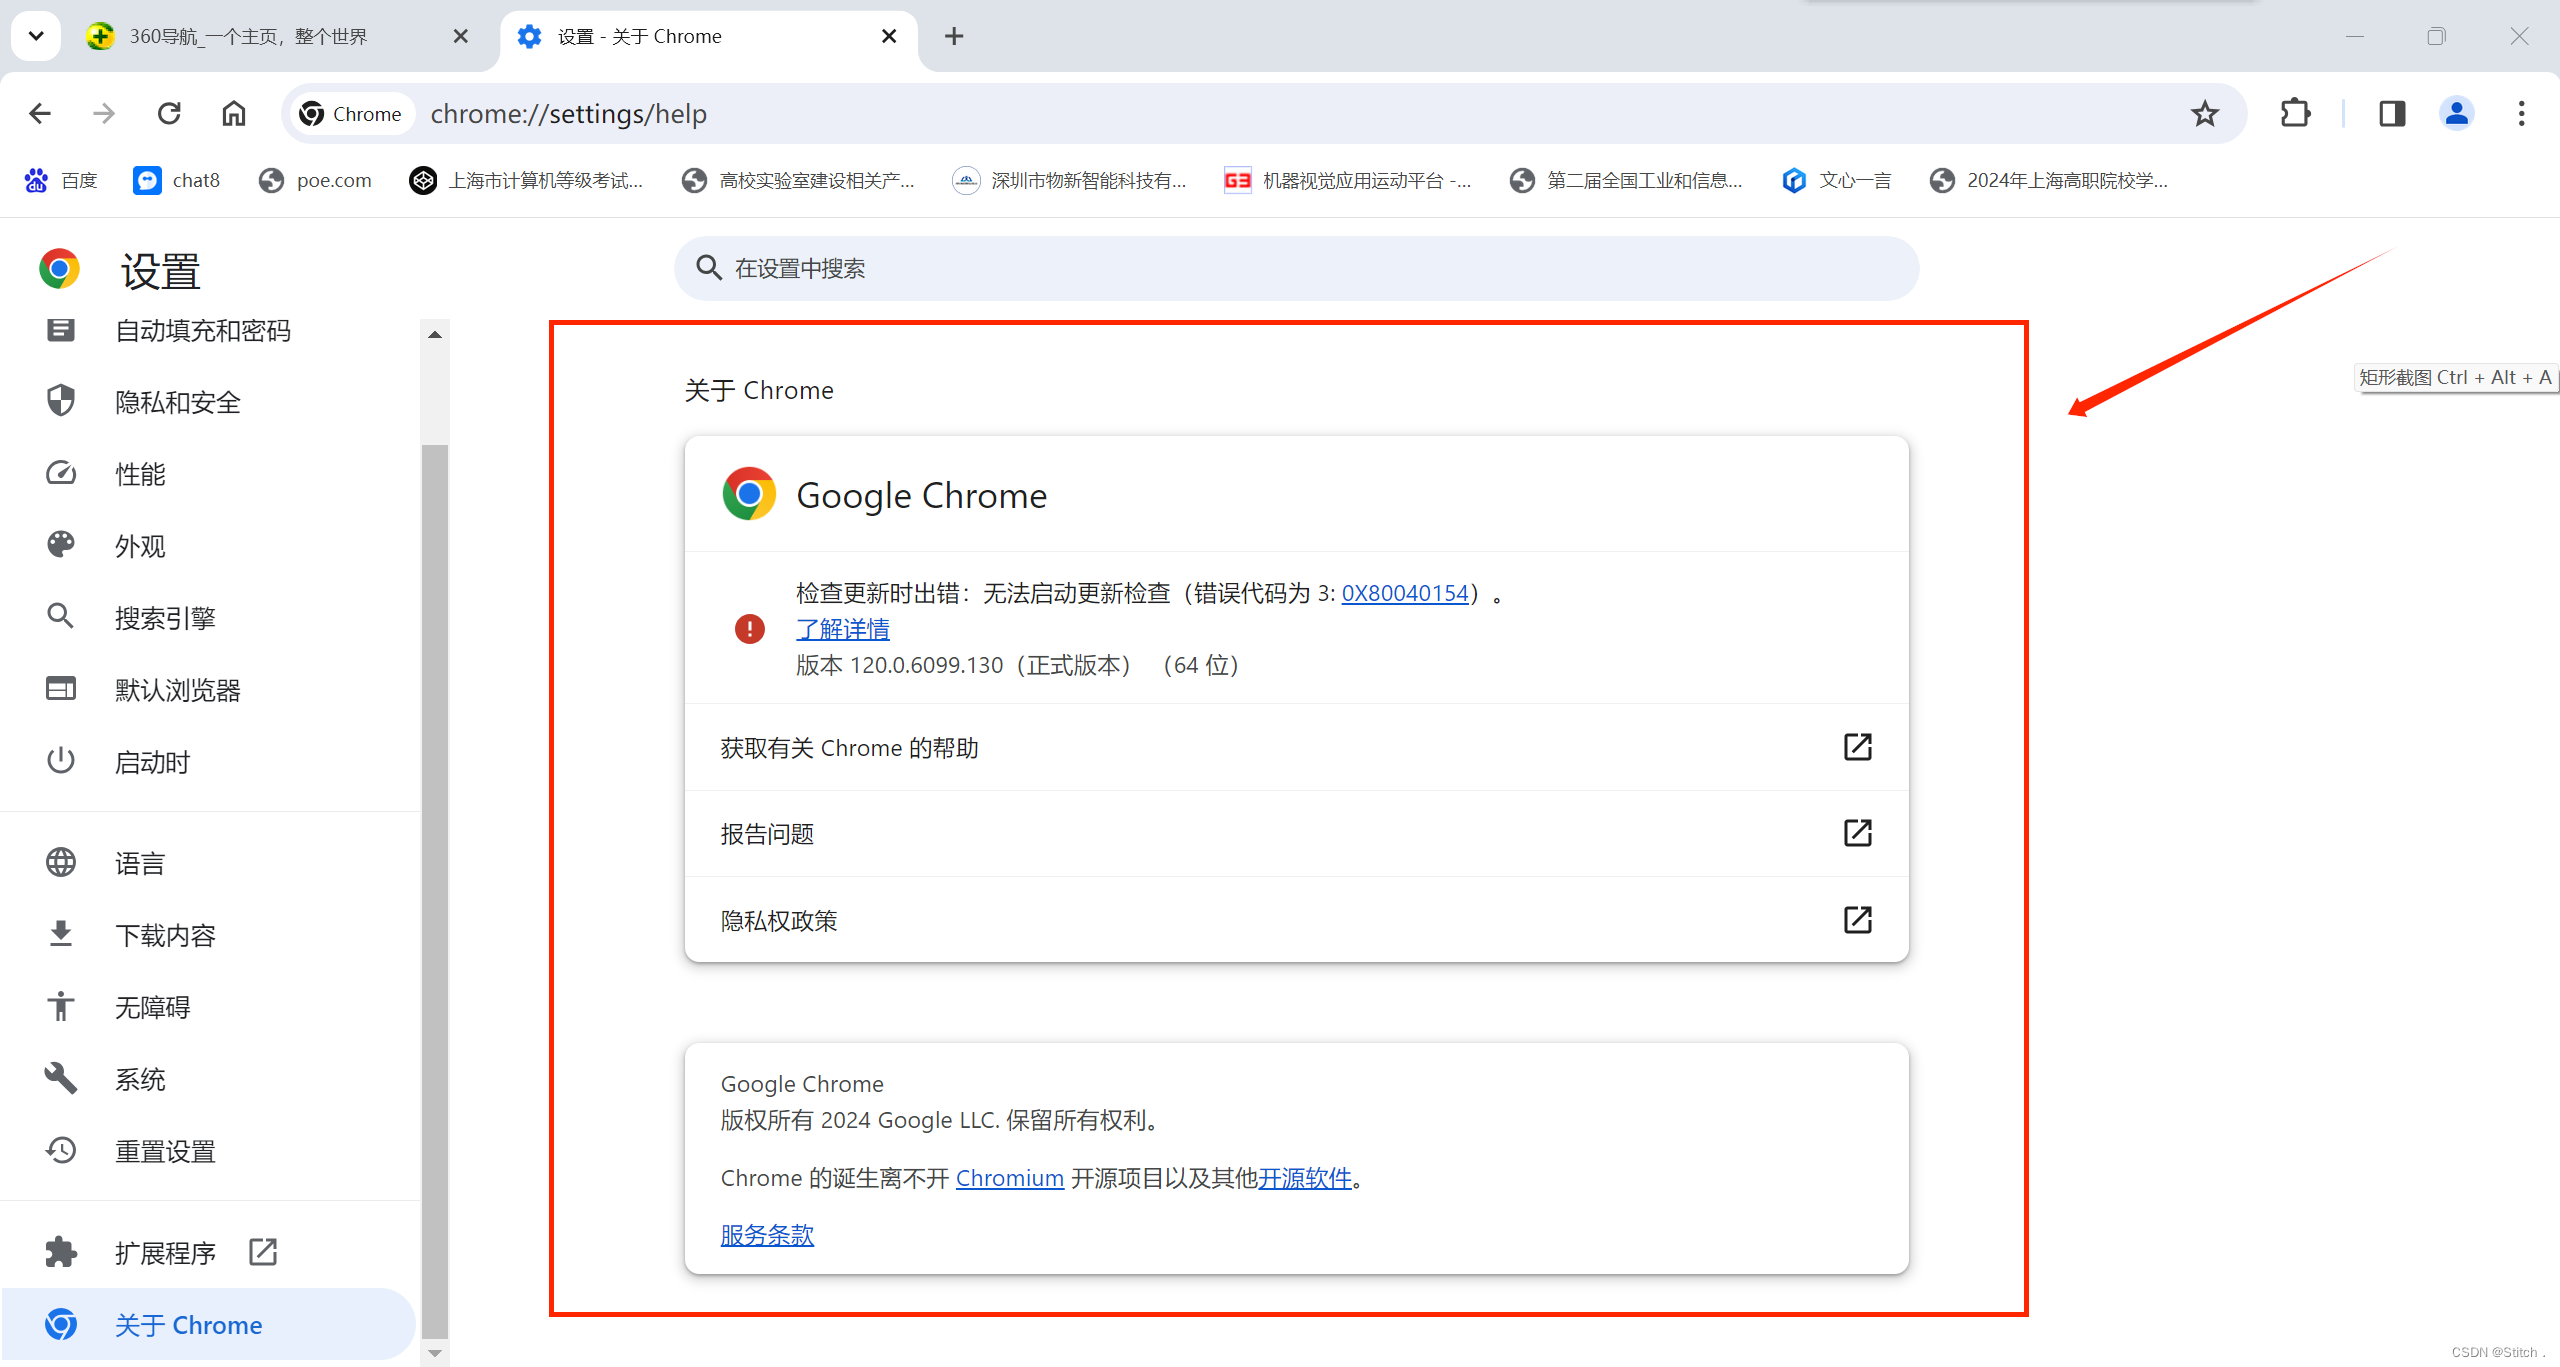
2.2 Chrome 谷歌浏览器:
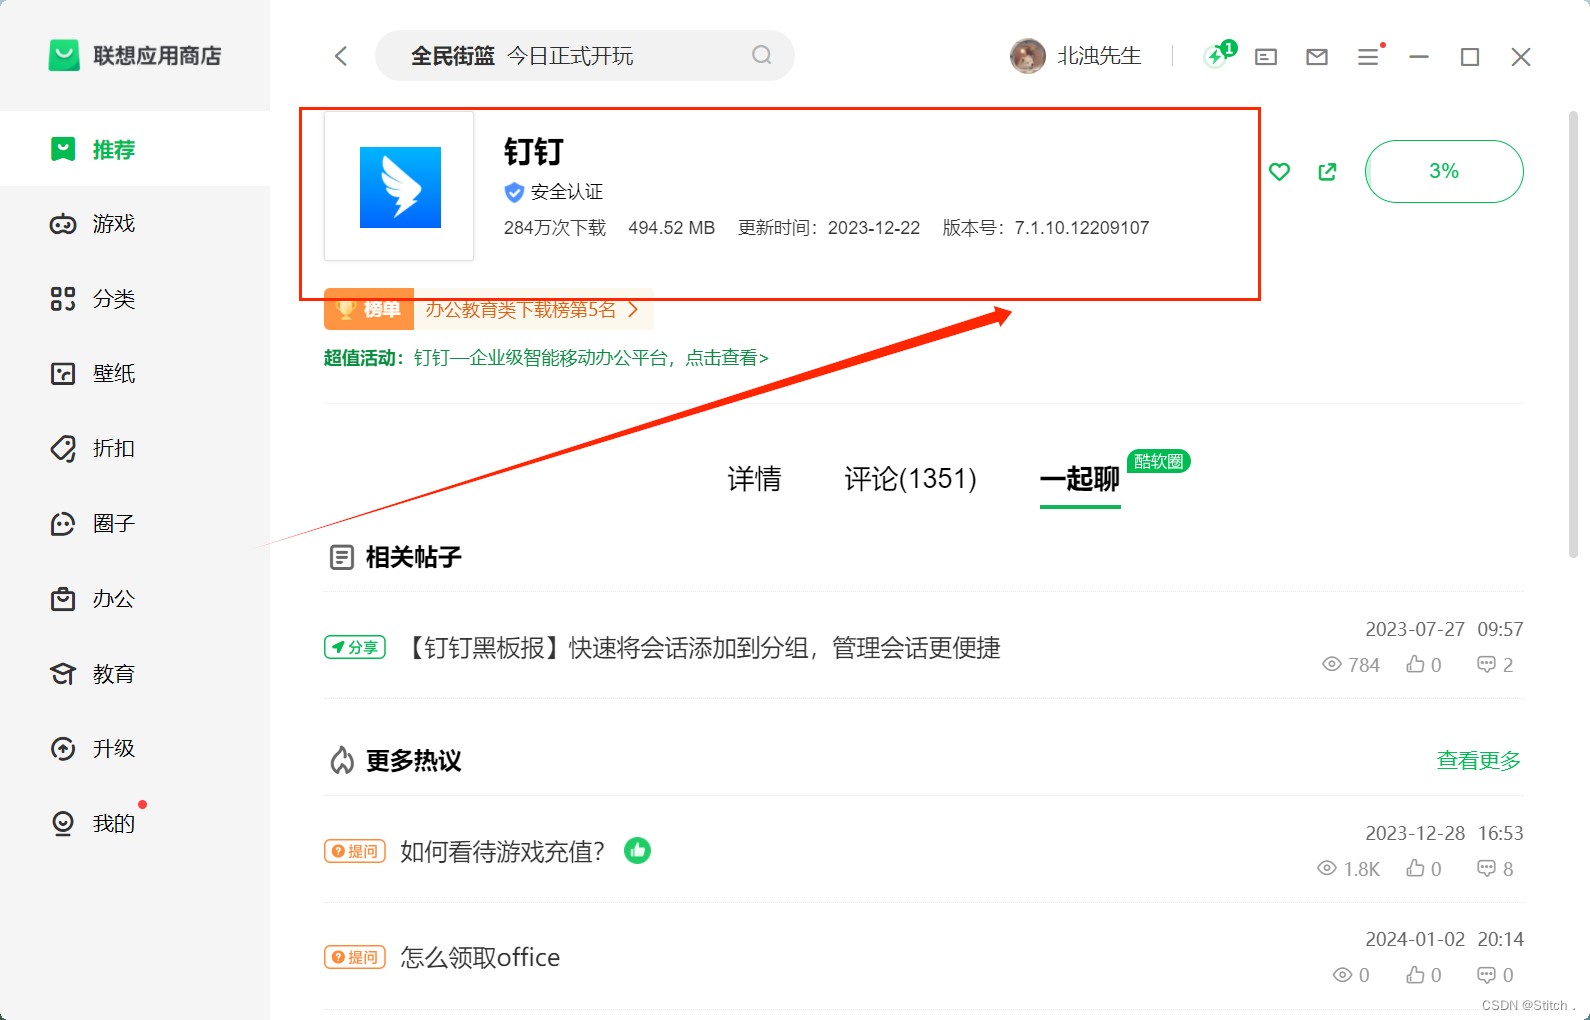
2.3 钉钉软件:官网下载
钉钉官网下载页面 - 钉钉,让进步发生 (dingtalk.com)![]() https://page.dingtalk.com/wow/z/dingtalk/simple/ddhomedownload#/
https://page.dingtalk.com/wow/z/dingtalk/simple/ddhomedownload#/
2.4 UiBot Creator 机器人流程自动化软件及 Chrome 扩展
(具体安装步骤 见三、UiBot Creator
下载安装与注册)【非常重要】
三、UiBot Creator 安装与注册说明
(1)下载与电脑操作系统相对应的 UiBot6.0 安装包
本次培训将采用
6.0.0
版本
的
UiBot
,请大家根据自己电脑的操作系统类
型,在以下百度网盘中下载【
UiBot6.0
安装包(
64
位)】或【
UiBot6.0
安装包
(
32
位)】。
UiBot6.0.0
下载链接:
百度网盘下载链接:
软件安装包及安装手册_免费高速下载|百度网盘-分享无限制 (baidu.com) https://pan.baidu.com/s/1JikdrTlDRTuiFRvHBVX5gA#list/path=%2F
提取码:0706
提取码:0706
若你的电脑的操作系统是【
64
位操作系统】,则下载(
64
位)安装包;若
你的电脑的操作系统是【
32
位操作系统】,则下载(
32
位)安装包。

(2)安装 UiBot6.0 软件
①安装包下载完成后,双击安装包进行安装。


②安装位置:可自定义选安装位置,也可直接默认位置。点击“立即安装”。


③等待安装完成,过程约
2-3
分钟。


(3)更新说明
如果您登录 UiBot 提示需要更新的话,建议您选择【取消】,暂时不要更新。


如果已更新,可按照如下方式退回到原版本。
①鼠标右击“
UiBot Creator Community (x64)
”图标,点击“打开文件所在位
置”,打开文件路径

②找到
config.json
文件,把
currentVersion
修改成
6.0.0
的版本号就可以回
到原来的版本了,这里需要注意
6.0.0
的版本号,一定要在文件夹中,否则会出
错。

(4)注册 UiBot Creator 账号
①
鼠标双击 UiBot Creator Community(右下角橙色图标)打开程序。


②点击立即注册。

③进入注册页面后,输入您的手机号并获取验证码,输入验证码、设置密码进行
注册,
密码需超过
8
位,同时包含数字与英文。
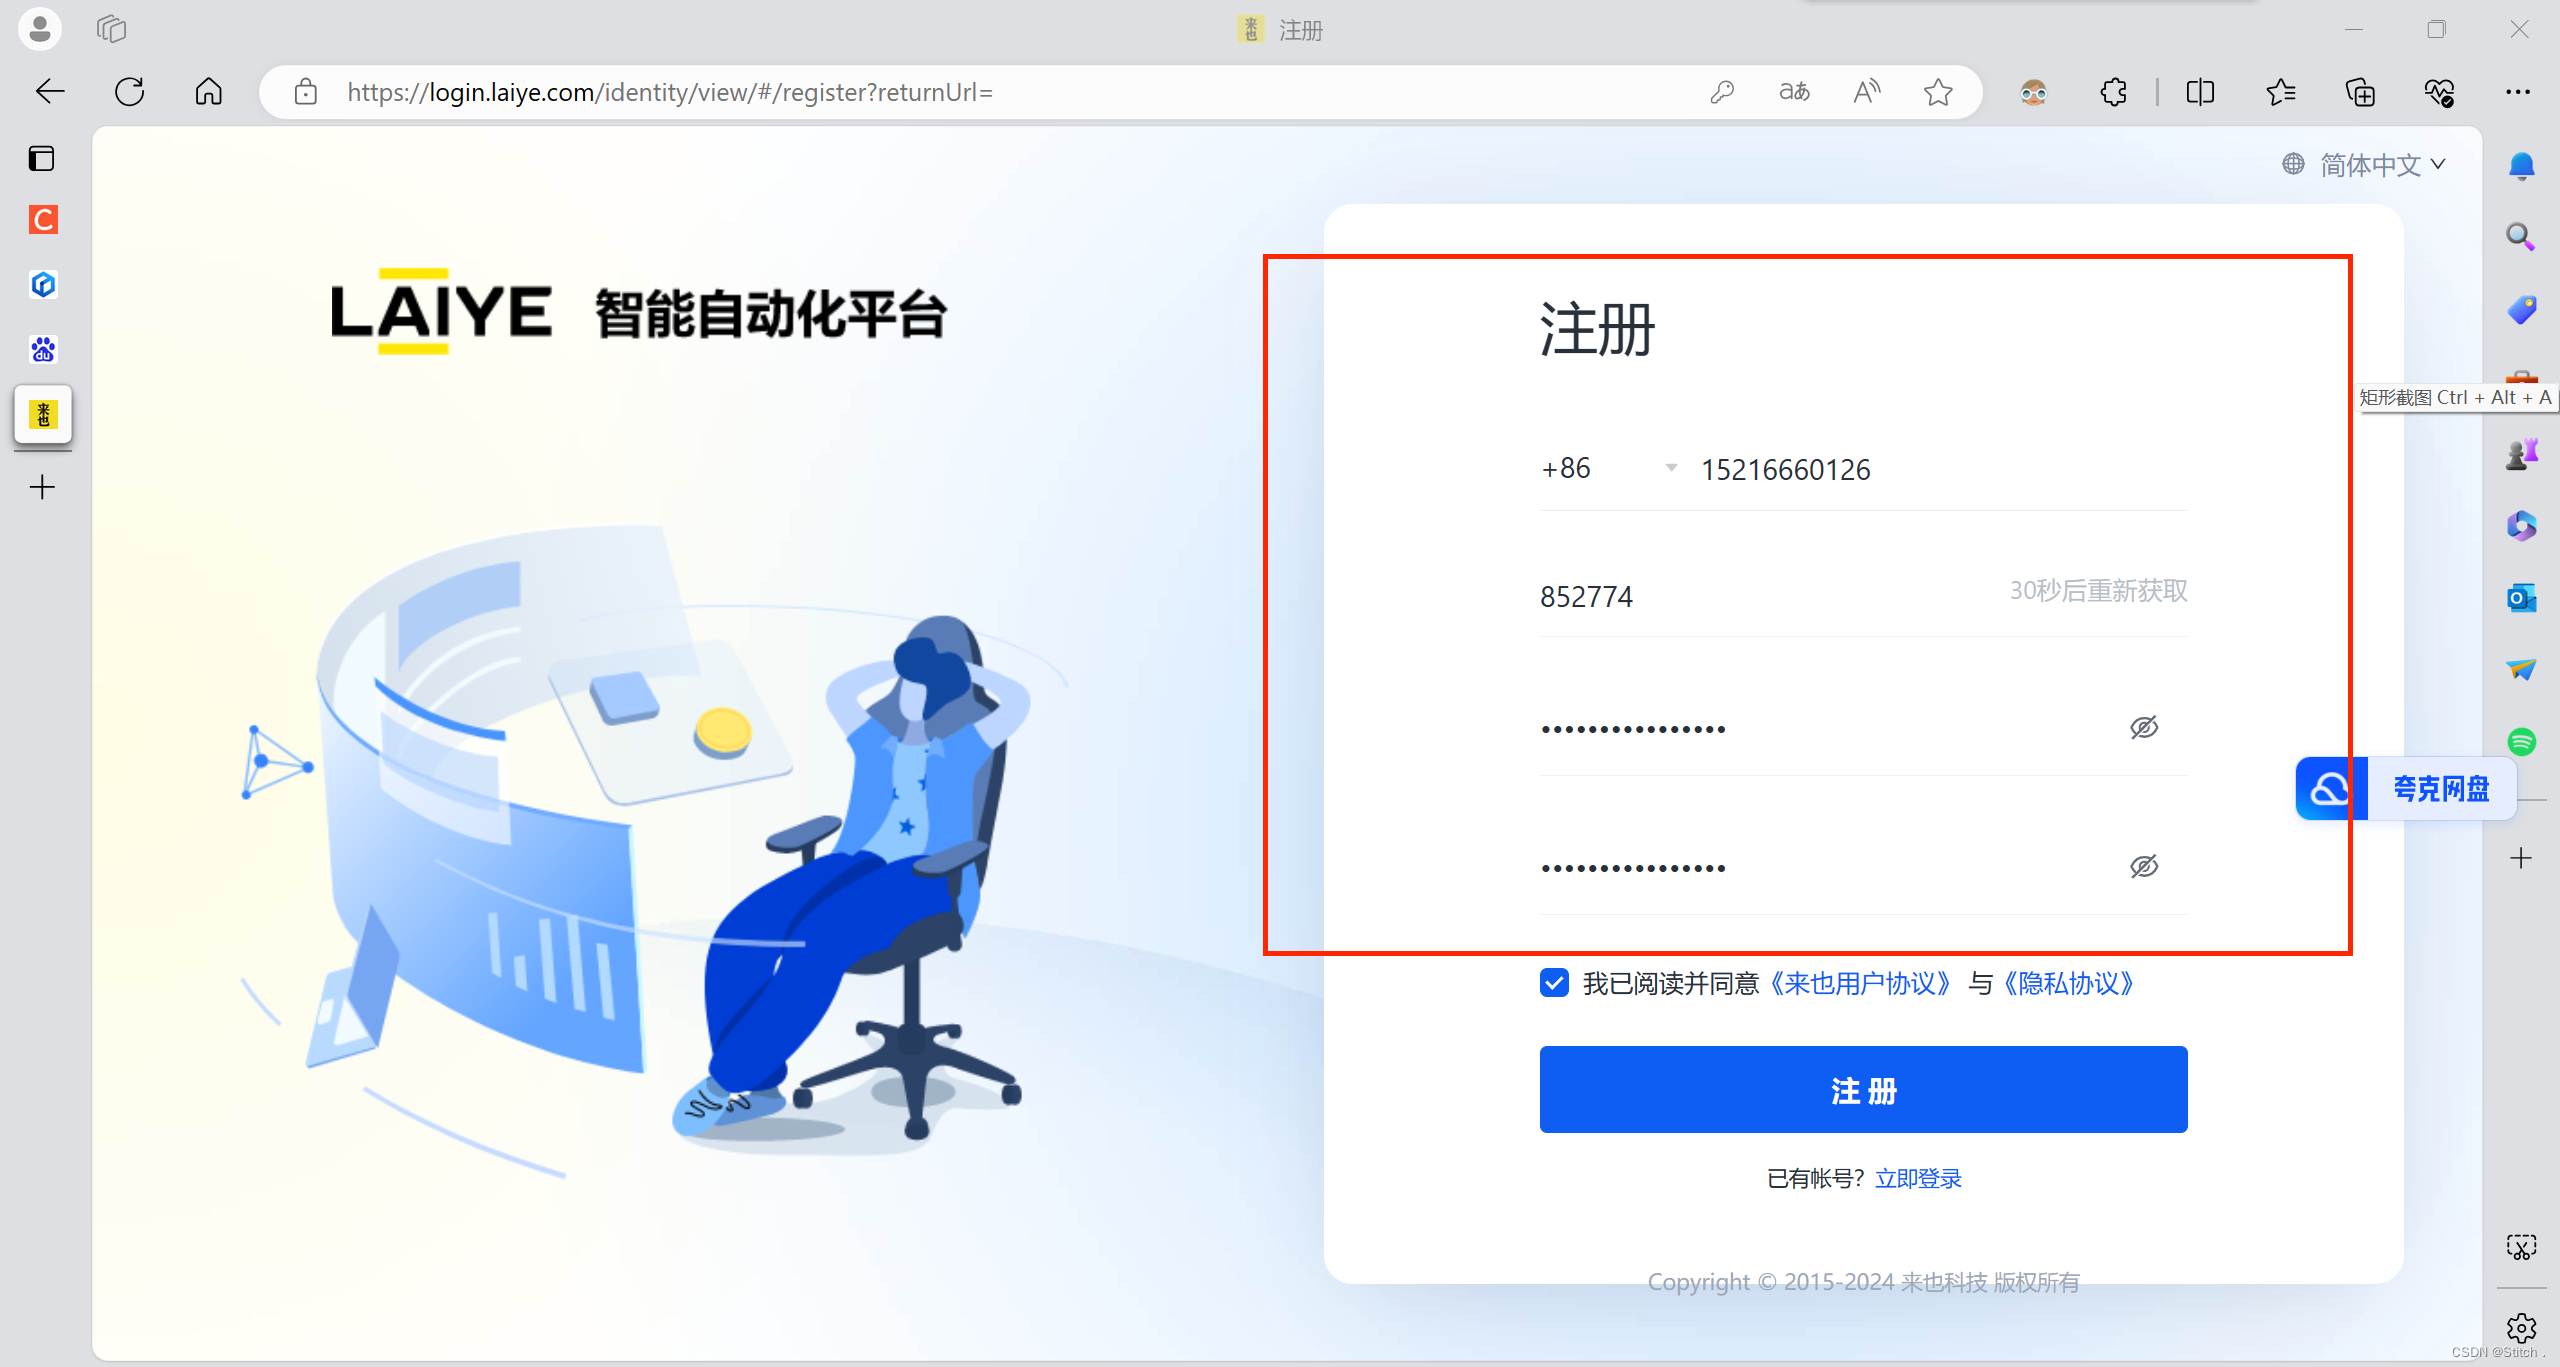
④注册完成后等待自动跳转。


⑤跳转后进入完善信息页面,输入姓名和公司名称,公司名称建议写公司
/
学校
名称,姓名写自己的名称。
若没有公司,此空可随意填写。
⑥若创建项目中遇到【立即免费试用】的按钮无法点击或出现点击后的停滞情
况,请刷新页面再试。
若未出现以上情况,则跳过此步。
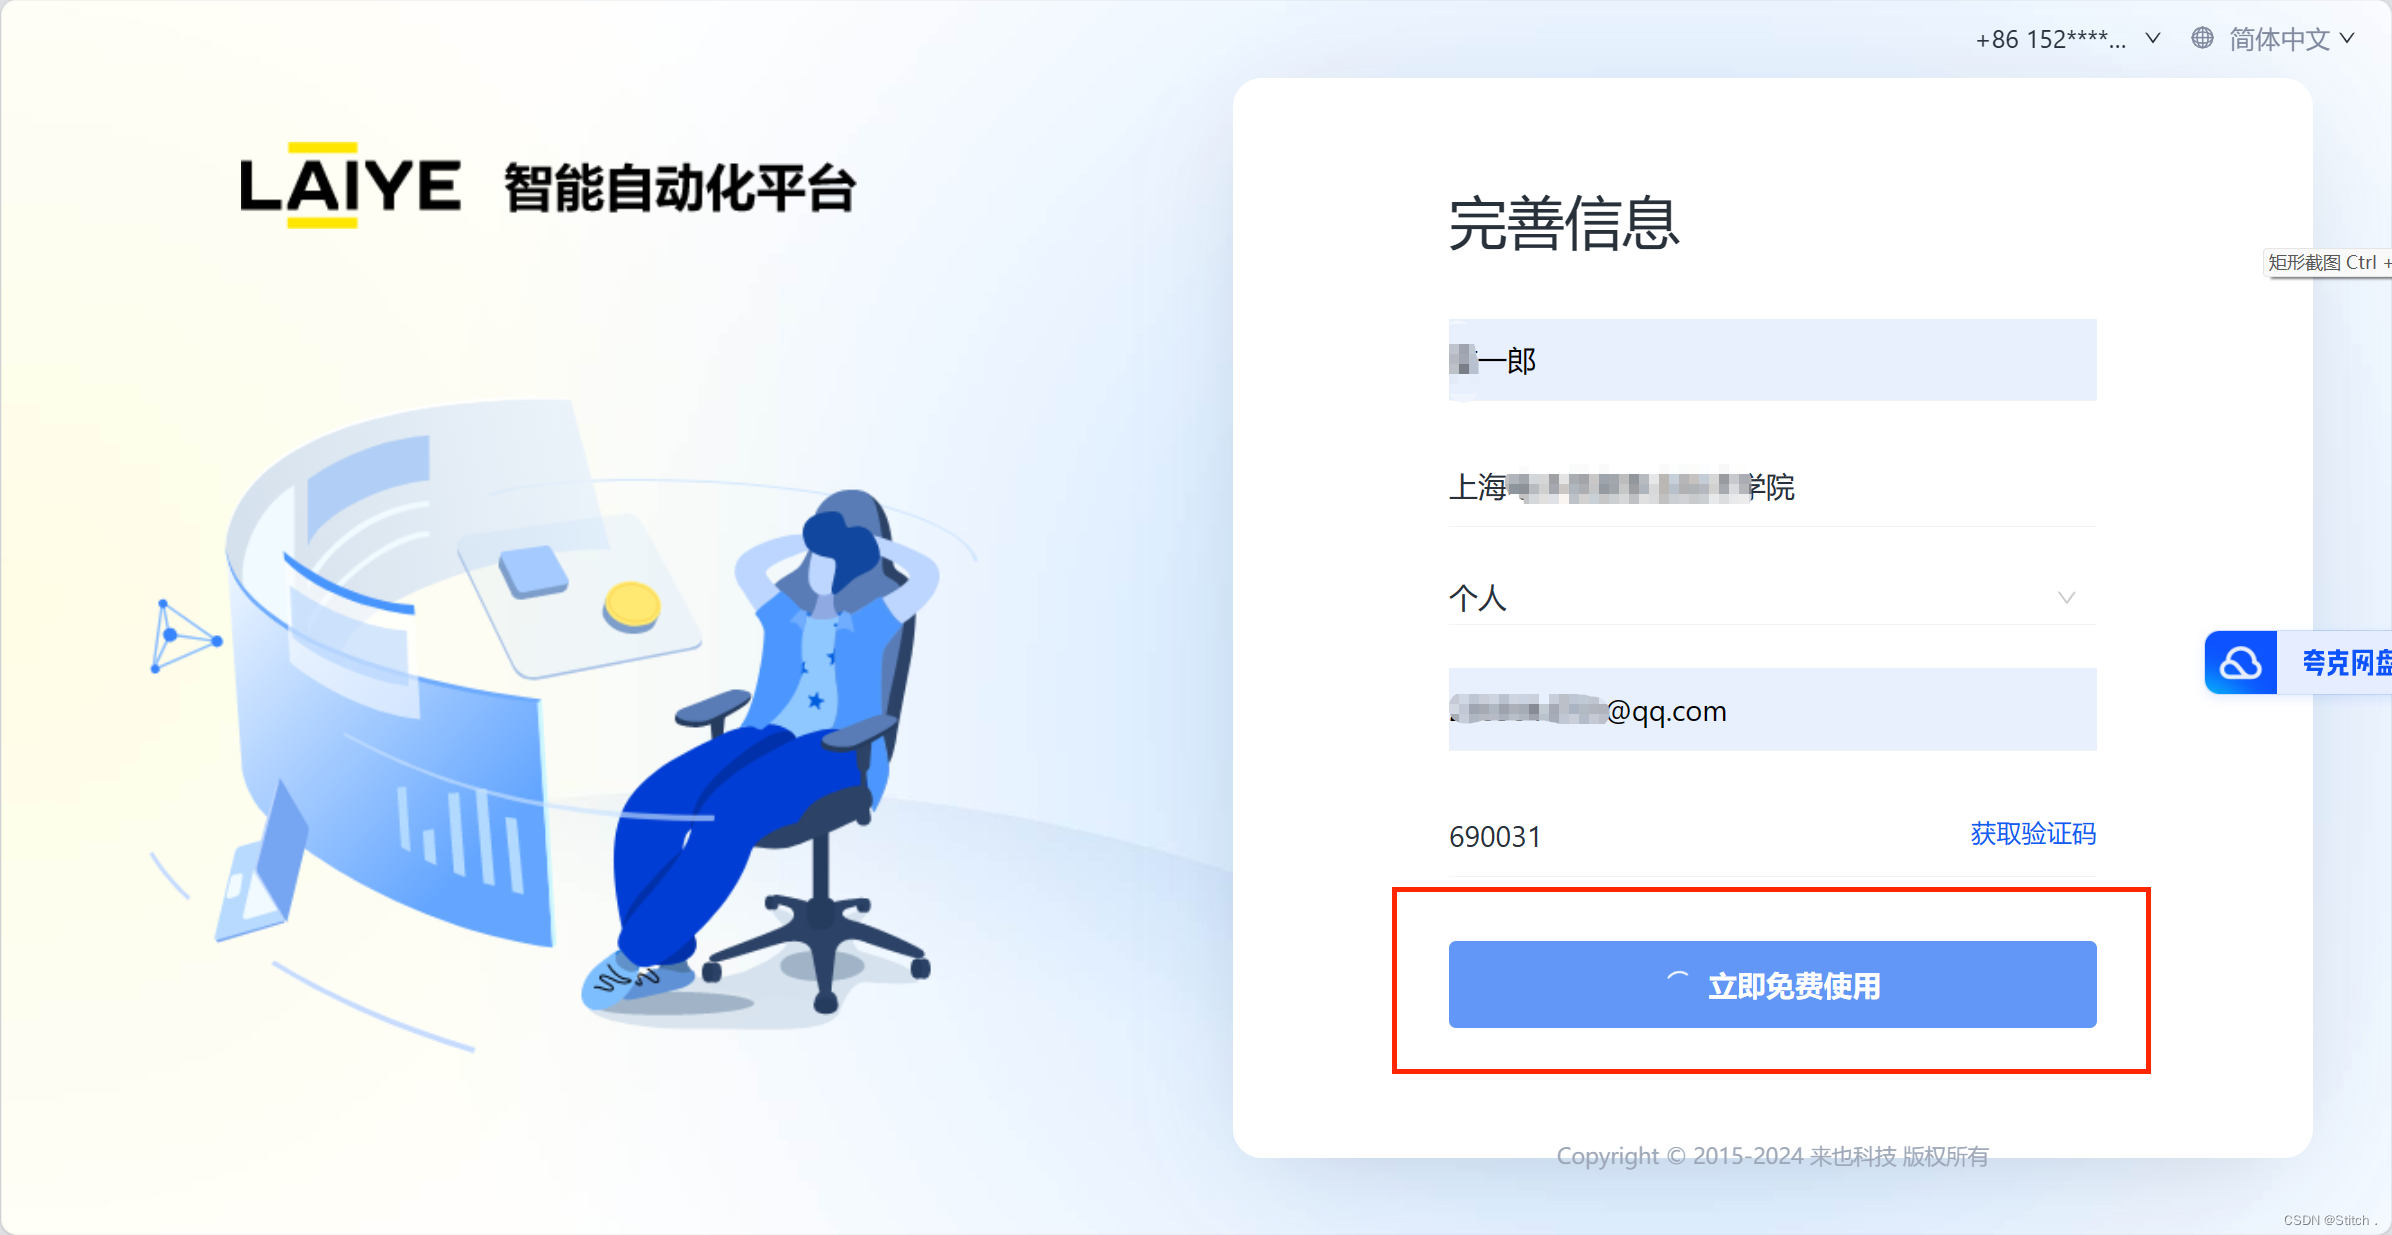

⑦等待初始化完成。
⑧若初始化过程中遇到“
404 Not Found
”等情况,请刷新页面或返回上下级来
回跳转尝试。

若未出现以上情况,则跳至第
?
步。
⑨若刷新页面仍无反应,回到之前已打开的
UiBot Creator Community
程序,点
击“点击返回再重试”


⑩点击“进入浏览器登录”
跳转到这里:
?
点击【打开 UiBot Creator】。


?
若注册使用的是谷歌浏览器,则勾选
“始终允许打开”,
再点击“打开
UiBot
Creator
。
若非谷歌浏览器,则跳过此步。
?
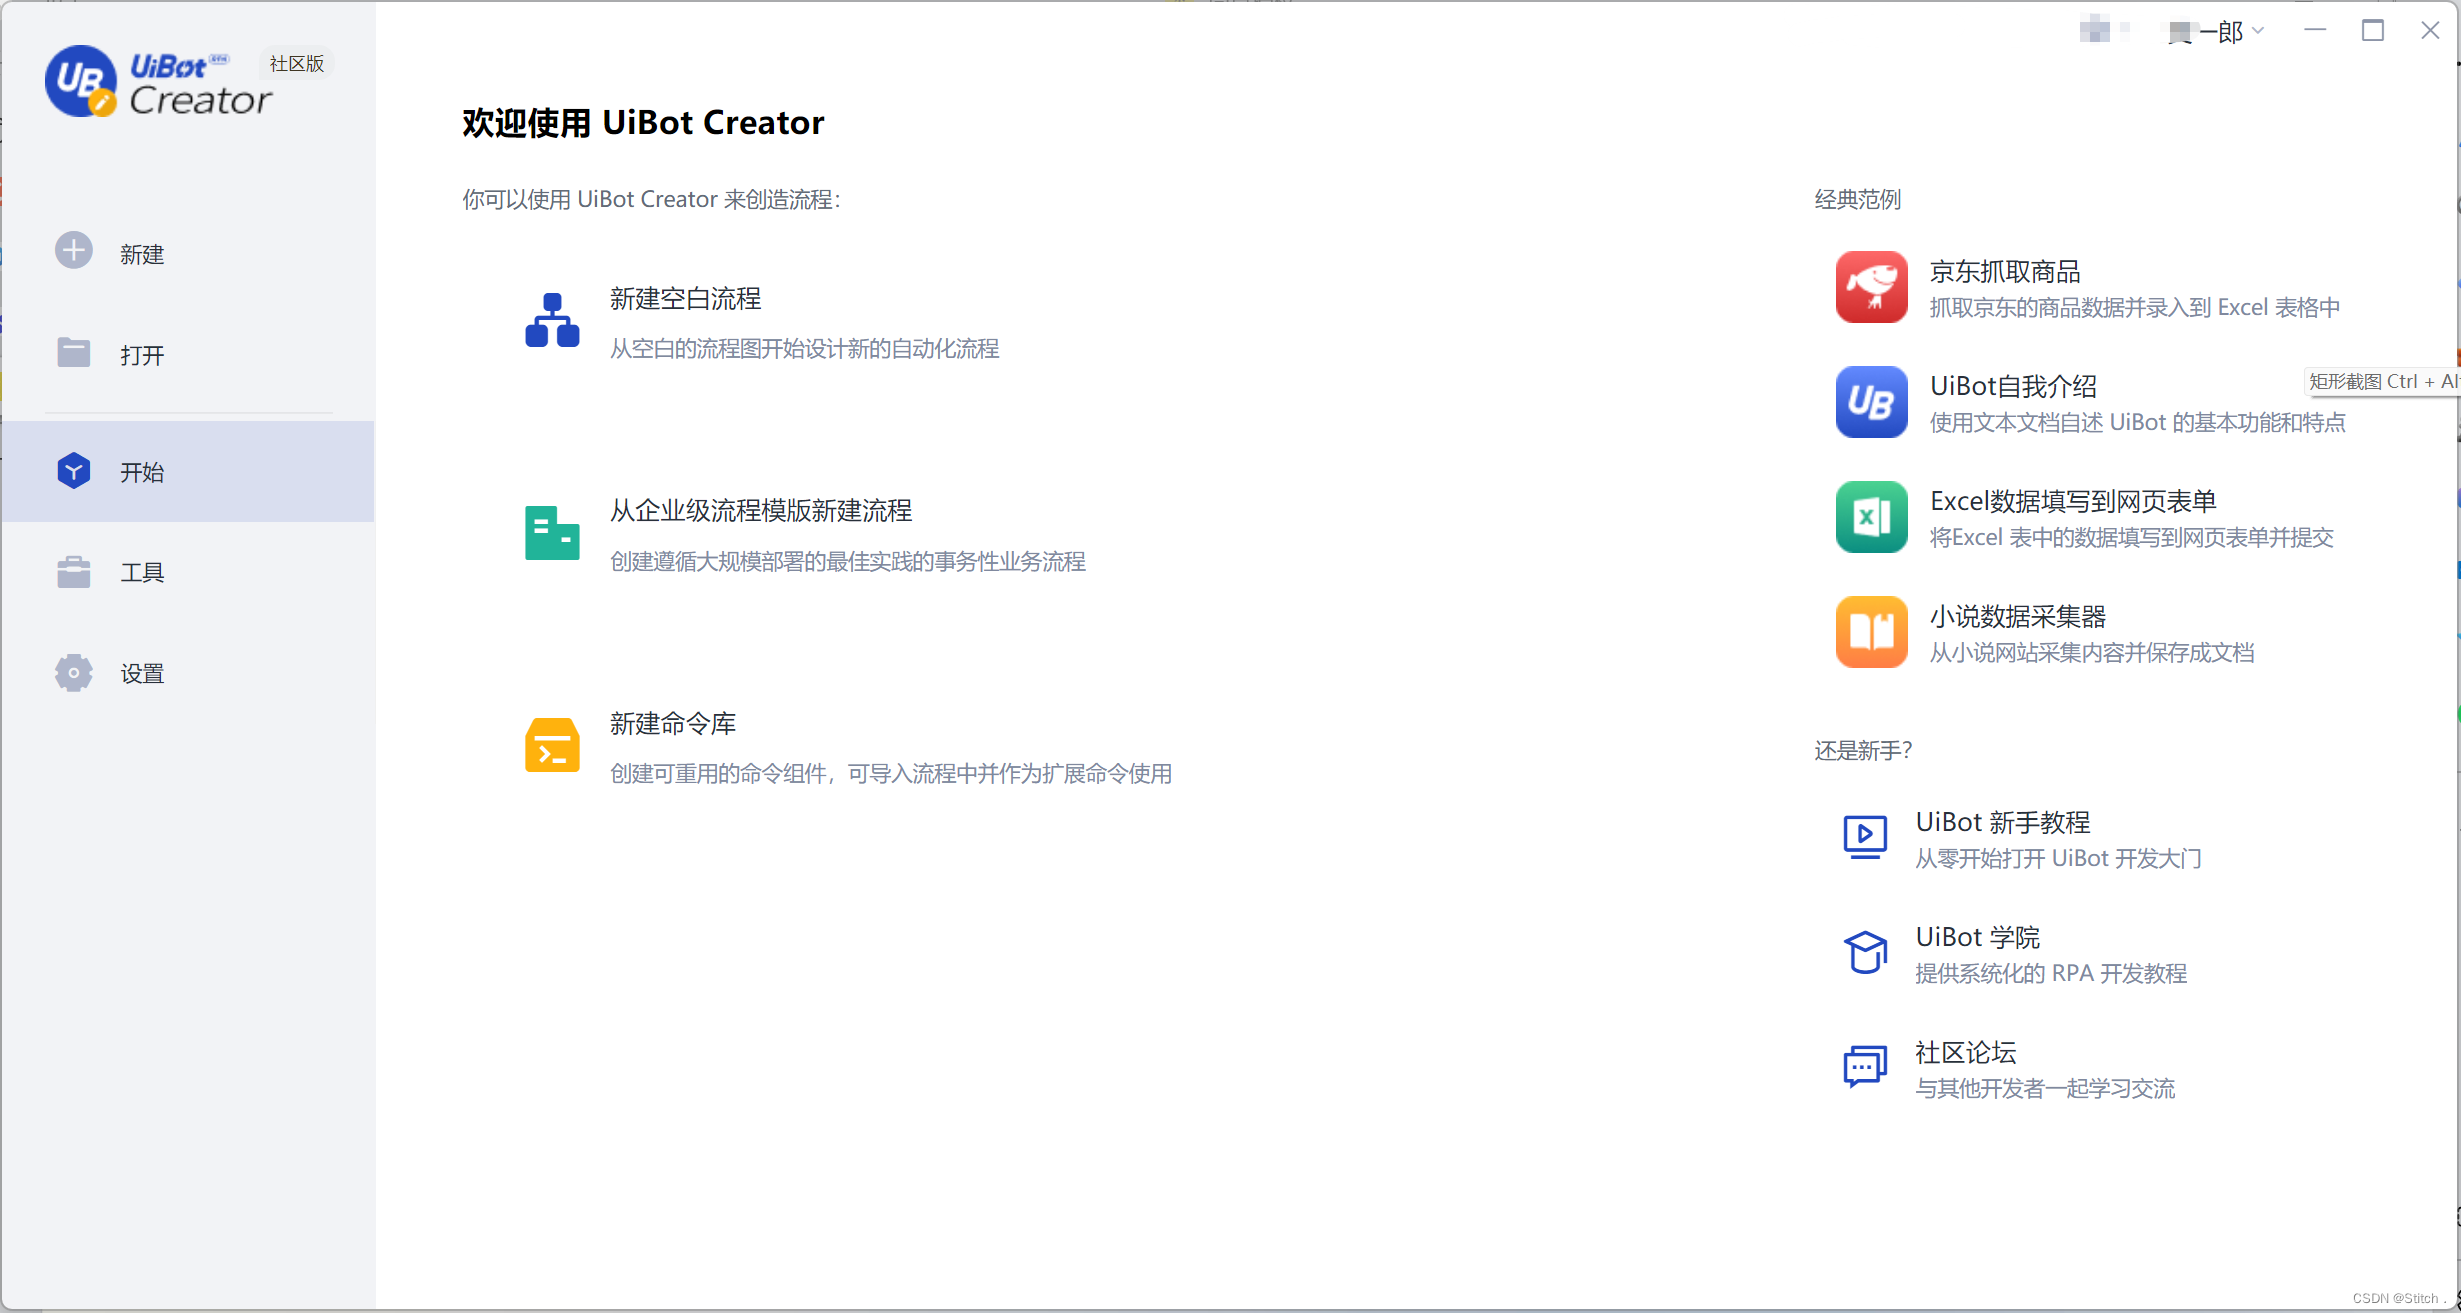
等待十几秒,成功进入此页面,
UiBot Creator
下载安装与注册全部完成。
(5)Chrome 扩展程序的安装
①在登录
UiBot Creator
的首页,点击“工具”。

②选择“
Chrome
扩展”,点击“安装”。
注意,此步骤必须在浏览器关闭的前提
下进行。若系统提醒**浏览器未关,则关闭对应的浏览器。


若出现系统前台已
将浏览器关闭,但仍提示浏览器未关闭的情况,则键盘同时按住“Ctrl+Alt+Delete”
键,打开“任务管理器”,

在后台进程中将对应的浏览器结束任务。

直到提示“安装成功“为止。

③安装完成后打开谷歌浏览器
④点击右上角的“三个点”,然后在“更多工具”一栏,点击“扩展程序”。

⑤将
UiBot Native Message Plugin
扩展程序开启。
蓝色为开启状态。

至此, Chrome 浏览器的扩展程序安装完成。
文章来源:https://blog.csdn.net/Zhiyilang/article/details/135348488
本文来自互联网用户投稿,该文观点仅代表作者本人,不代表本站立场。本站仅提供信息存储空间服务,不拥有所有权,不承担相关法律责任。 如若内容造成侵权/违法违规/事实不符,请联系我的编程经验分享网邮箱:veading@qq.com进行投诉反馈,一经查实,立即删除!
本文来自互联网用户投稿,该文观点仅代表作者本人,不代表本站立场。本站仅提供信息存储空间服务,不拥有所有权,不承担相关法律责任。 如若内容造成侵权/违法违规/事实不符,请联系我的编程经验分享网邮箱:veading@qq.com进行投诉反馈,一经查实,立即删除!
