RealSense最简单配置环境只需要5分钟,不用自行添加任何包含目录、库目录。Visual Studio2022、C++。
2023-12-15 09:57:48
又开始搞点云了,现在用的是Intel的realsense。
看网上步骤都挺繁琐的,本文搭建只需要5分钟。直接用官方提供的属性表,不用自行添加任何包含目录、库目录。
第一分钟:用Visual Studio新建一个工程(此时你是没有intel.realsense.props的,往后看)

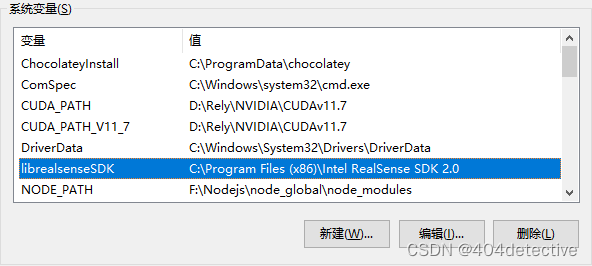
第二分钟:把默认安装目录添加系统变量
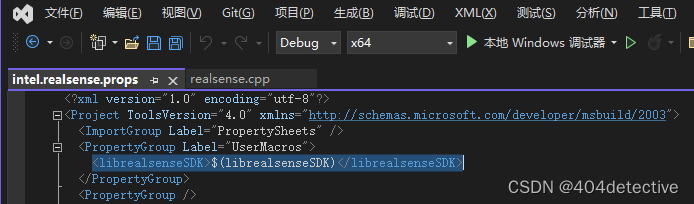
第三分钟:进入目录找到该目录下的intel.realsense.props文件,进行如下修改,放到你刚才建的工程里。
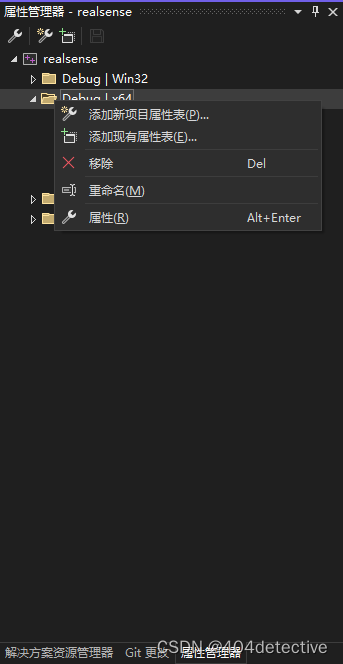
第四分钟:
打开工程,添加现有属性表,也就是添加刚才你弄得intel.realsense.props这个文件。
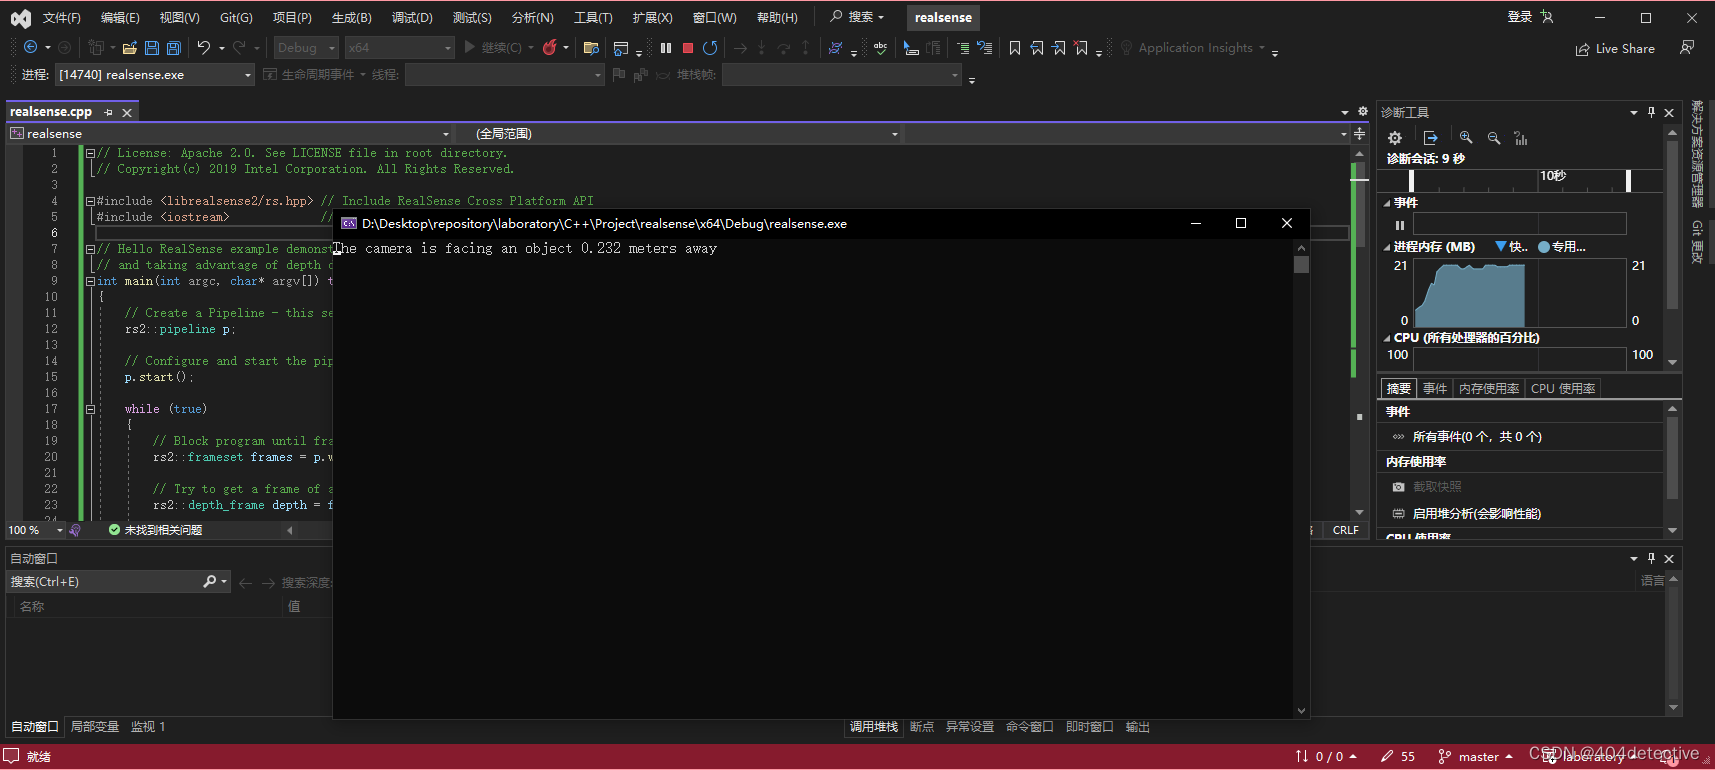
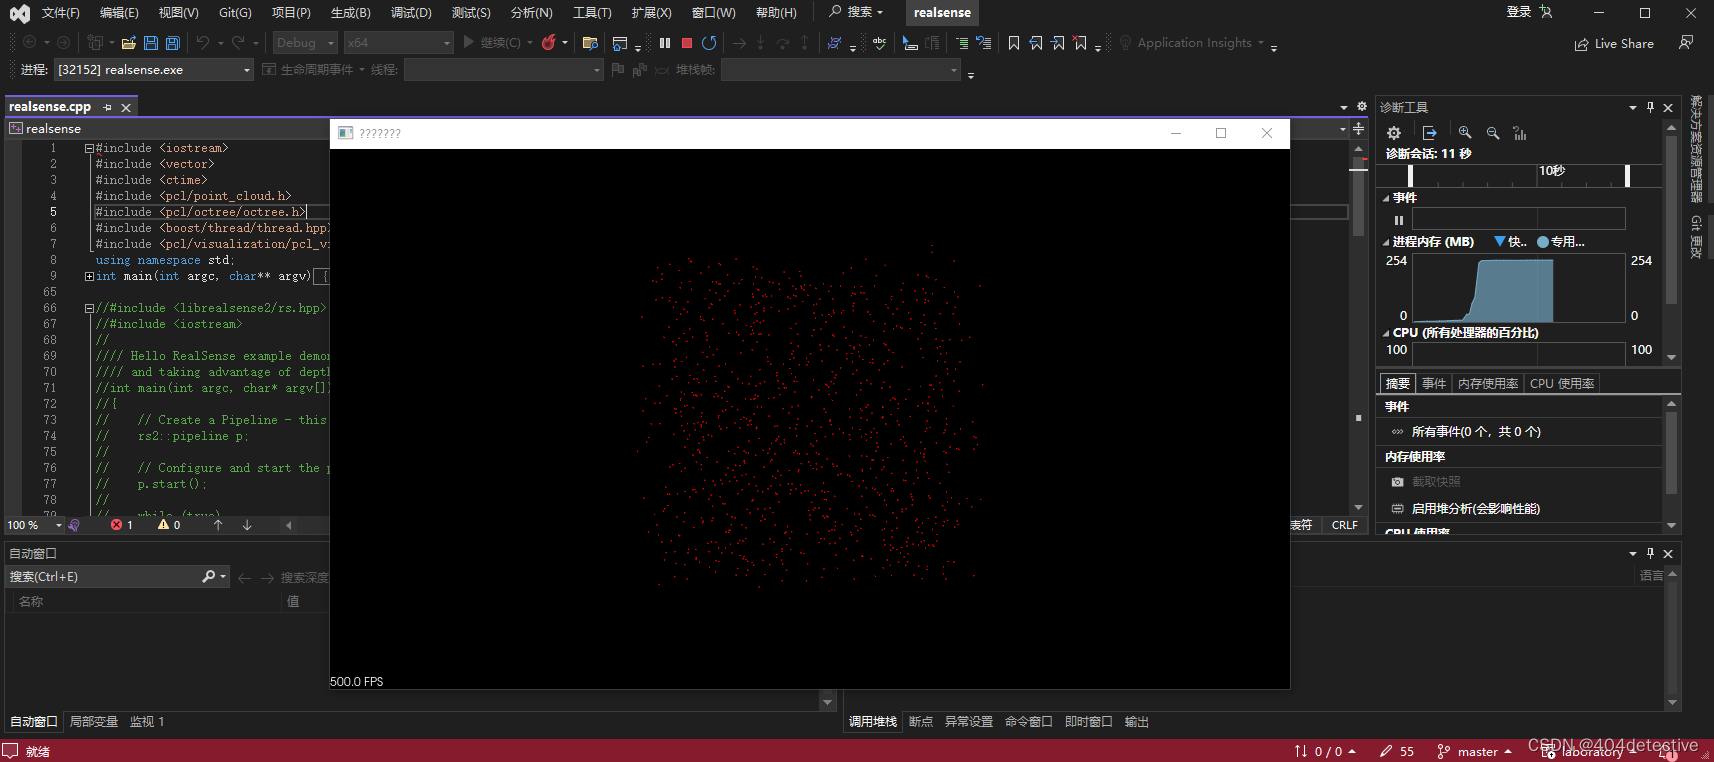
第五分钟:已经结束了。跑个官方例程看看。
#include <librealsense2/rs.hpp> // Include RealSense Cross Platform API
#include <iostream>             // for cout

// Hello RealSense example demonstrates the basics of connecting to a RealSense device
// and taking advantage of depth data
int main(int argc, char* argv[]) try
{
    // Create a Pipeline - this serves as a top-level API for streaming and processing frames
    rs2::pipeline p;

    // Configure and start the pipeline
    p.start();

    while (true)
    {
        // Block program until frames arrive
        rs2::frameset frames = p.wait_for_frames();

        // Try to get a frame of a depth image
        rs2::depth_frame depth = frames.get_depth_frame();

        // Get the depth frame's dimensions
        auto width = depth.get_width();
        auto height = depth.get_height();

        // Query the distance from the camera to the object in the center of the image
        float dist_to_center = depth.get_distance(width / 2, height / 2);

        // Print the distance
        std::cout << "The camera is facing an object " << dist_to_center << " meters away \r";
    }

    return EXIT_SUCCESS;
}
catch (const rs2::error& e)
{
    std::cerr << "RealSense error calling " << e.get_failed_function() << "(" << e.get_failed_args() << "):\n    " << e.what() << std::endl;
    return EXIT_FAILURE;
}
catch (const std::exception& e)
{
    std::cerr << e.what() << std::endl;
    return EXIT_FAILURE;
}
显示中心点到相机的深度距离
1.13.1版本点云库配合VS2022的配置请看另一篇
文章来源:https://blog.csdn.net/qq_26230027/article/details/134921366
本文来自互联网用户投稿,该文观点仅代表作者本人,不代表本站立场。本站仅提供信息存储空间服务,不拥有所有权,不承担相关法律责任。 如若内容造成侵权/违法违规/事实不符,请联系我的编程经验分享网邮箱:veading@qq.com进行投诉反馈,一经查实,立即删除!
本文来自互联网用户投稿,该文观点仅代表作者本人,不代表本站立场。本站仅提供信息存储空间服务,不拥有所有权,不承担相关法律责任。 如若内容造成侵权/违法违规/事实不符,请联系我的编程经验分享网邮箱:veading@qq.com进行投诉反馈,一经查实,立即删除!