vue3+ts nextTick函数的使用
2023-12-13 18:58:00
<template>
  <div ref="box" class="wraps">
    <div>
      <div class="item" v-for="item in chatList">
        <div>{{ item.name }}</div>
        <div>{{ item.message }}</div>
      </div>
    </div>
  </div>
  <div class="ipt">
    <div>
      <el-input
        style="width: 300px"
        v-model="ipt"
        autosize
        type="textarea"
        placeholder="请输入内容"
      ></el-input>
    </div>
    <div>
      <el-button @click="send">send</el-button>
    </div>
  </div>
</template>

<script setup lang="ts">
import { reactive, ref, nextTick } from "vue";
let chatList = reactive([
  {
    name: "张三",
    message: "xxxxxxx",
  },
]);
let box = ref<HTMLDivElement>();
let ipt = ref("");
// Vue  更新dom是异步的 数据更新是同步的
// 我们本次执行的代码是同步代码
// 当我们操作dom 的时候发现数据读取的是上次的 就需要使用nextIick
const send = async () => {
  chatList.push({
    name: "小满",
    message: ipt.value,
  });
  await nextTick();
  // ipt.value = "";
  box.value!.scrollTop = 999999;
};
</script>

<style lang="scss">
.wraps {
  margin: 10px auto;
  width: 500px;
  height: 400px;
  overflow: auto;
  overflow-x: hidden;
  background: #fff;
  border: 1px solid #ccc;
  .item {
    width: 100%;
    height: 50px;
    background-color: #ccc;
    display: flex;
    align-items: center;
    padding: 0 10px;
    border-bottom: 1px solid #fff;
  }
}
.ipt {
  display: flex;
  justify-content: space-between;
  margin: 10px auto;
  width: 500px;
  textarea {
    width: 400px;
  }
}
</style>
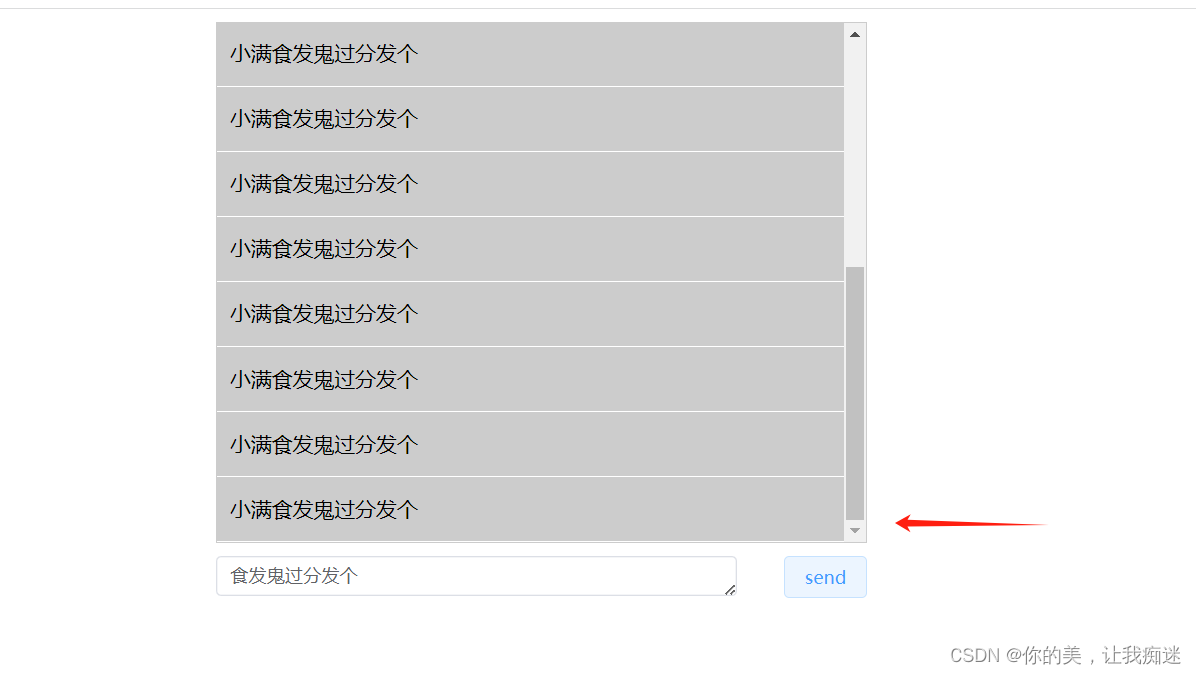
效果:
文章来源:https://blog.csdn.net/weixin_45932157/article/details/134903040
本文来自互联网用户投稿,该文观点仅代表作者本人,不代表本站立场。本站仅提供信息存储空间服务,不拥有所有权,不承担相关法律责任。 如若内容造成侵权/违法违规/事实不符,请联系我的编程经验分享网邮箱:veading@qq.com进行投诉反馈,一经查实,立即删除!
本文来自互联网用户投稿,该文观点仅代表作者本人,不代表本站立场。本站仅提供信息存储空间服务,不拥有所有权,不承担相关法律责任。 如若内容造成侵权/违法违规/事实不符,请联系我的编程经验分享网邮箱:veading@qq.com进行投诉反馈,一经查实,立即删除!