搭建安装CodeFormer
2024-01-03 17:57:42
1.硬件
电脑:macOS 10.15.7
2.创建源码存放目录
mkdir codeformer
cd codeformer
git clone https://github.com/sczhou/CodeFormer.git
3.软件和安装
python:3.9.0 # 自行安装
创建虚拟环境,并安装以下包
absl-py==2.0.0
addict==2.4.0
-e git+https://github.com/sczhou/CodeFormer.git@8392d0334956108ab53d9439c4b9fc9c4af0d66d#egg=basicsr
beautifulsoup4==4.12.2
cachetools==5.3.2
certifi==2023.11.17
charset-normalizer==3.3.2
cmake @ file:///cmake-3.27.0-py2.py3-none-macosx_10_10_universal2.macosx_10_10_x86_64.macosx_11_0_arm64.macosx_11_0_universal2.whl#sha256=9ccab4cd93578d3c2df32e66b44b313b75a7484032645040431dc06a583ca4aa
filelock==3.13.1
fsspec==2023.12.2
future==0.18.3
gdown==4.7.1
google-auth==2.25.2
google-auth-oauthlib==1.2.0
grpcio==1.60.0
idna==3.6
imageio==2.33.1
importlib-metadata==7.0.1
Jinja2==3.1.2
lazy_loader==0.3
lmdb==1.4.1
lpips==0.1.4
Markdown==3.5.1
MarkupSafe==2.1.3
mpmath==1.3.0
networkx==3.2.1
numpy==1.26.2
oauthlib==3.2.2
opencv-python @ file:///opencv_python-4.6.0.66-cp36-abi3-macosx_10_15_x86_64.whl#sha256=e6e448b62afc95c5b58f97e87ef84699e6607fe5c58730a03301c52496005cae
packaging==23.2
pillow==10.2.0
platformdirs==4.1.0
protobuf==4.25.1
pyasn1==0.5.1
pyasn1-modules==0.3.0
PySocks==1.7.1
PyYAML==6.0.1
requests==2.31.0
requests-oauthlib==1.3.1
rsa==4.9
scikit-image==0.22.0
scipy==1.11.4
six==1.16.0
soupsieve==2.5
sympy==1.12
tb-nightly==2.16.0a20240102
tensorboard-data-server==0.7.2
tf_keras-nightly==2.16.0.dev2023123010
tifffile==2023.12.9
tomli==2.0.1
torch==2.1.2
torchaudio==2.1.2
torchvision==0.16.2
tqdm==4.66.1
typing_extensions==4.9.0
urllib3==2.1.0
Werkzeug==3.0.1
yapf==0.40.2
zipp==3.17.0
以上包大部分都是可以通过 pip install -r requirements.txt 命令完成,但cmake和opencv-python总失败,后手动下载安装包,单独安装成功。
4.安装CodeFormer【依次执行以下命令】
python basicsr/setup.py develop
python scripts/download_pretrained_models.py facelib
python scripts/download_pretrained_models.py dlib
python scripts/download_pretrained_models.py CodeFormer
5.使用
CodeFormer源码的目录下(code_former/CodeFormer/inputs/),提供了很多测试图片
修复完的图片会存到code_former/CodeFormer/results/test_img_0.5目录下(留意命令行执行完的结果),也可以自定义路径
5.1电脑有显卡的可以使用下面命令(主要是 --bg_upsampler realesrgan --face_upsample 两个参数)
python inference_codeformer.py --bg_upsampler realesrgan --face_upsample --input_path ~/code_former/CodeFormer/inputs/masked_faces/00143.png

Downloading: "https://github.com/sczhou/CodeFormer/releases/download/v0.1.0/RealESRGAN_x2plus.pth" to ~/code_former/CodeFormer/weights/realesrgan/RealESRGAN_x2plus.pth

100%|███████████████████████████████████████████████████████████████████████████████████████████████████████████████████████████████████████████████████████████| 64.0M/64.0M [00:42<00:00, 1.58MB/s]
# 第一次使用这个命令会下载,之后就不会下载了
Face detection model: retinaface_resnet50
Background upsampling: True, Face upsampling: True
[1/1] Processing: 00143.png
	detect 1 faces


All results are saved in results/test_img_0.5  # 修复完的图片会存到code_former/CodeFormer/results/test_img_0.5目录下
5.2电脑无显卡使用下面命令
python inference_codeformer.py --input_path ~/code_former/CodeFormer/inputs/masked_faces/00664.png
Face detection model: retinaface_resnet50
Background upsampling: False, Face upsampling: False
[1/1] Processing: 00664.png
	detect 1 faces

All results are saved in results/test_img_0.5
5.3其他参数自己研读尝试
python inference_codeformer.py --help
usage: inference_codeformer.py [-h] [-i INPUT_PATH] [-o OUTPUT_PATH] [-w FIDELITY_WEIGHT] [-s UPSCALE] [--has_aligned] [--only_center_face] [--draw_box] [--detection_model DETECTION_MODEL]
                               [--bg_upsampler BG_UPSAMPLER] [--face_upsample] [--bg_tile BG_TILE] [--suffix SUFFIX] [--save_video_fps SAVE_VIDEO_FPS]

optional arguments:
  -h, --help            show this help message and exit
  -i INPUT_PATH, --input_path INPUT_PATH
                        Input image, video or folder. Default: inputs/whole_imgs
  -o OUTPUT_PATH, --output_path OUTPUT_PATH
                        Output folder. Default: results/<input_name>_<w>
  -w FIDELITY_WEIGHT, --fidelity_weight FIDELITY_WEIGHT
                        Balance the quality and fidelity. Default: 0.5
  -s UPSCALE, --upscale UPSCALE
                        The final upsampling scale of the image. Default: 2
  --has_aligned         Input are cropped and aligned faces. Default: False
  --only_center_face    Only restore the center face. Default: False
  --draw_box            Draw the bounding box for the detected faces. Default: False
  --detection_model DETECTION_MODEL
                        Face detector. Optional: retinaface_resnet50, retinaface_mobile0.25, YOLOv5l, YOLOv5n, dlib. Default: retinaface_resnet50
  --bg_upsampler BG_UPSAMPLER
                        Background upsampler. Optional: realesrgan
  --face_upsample       Face upsampler after enhancement. Default: False
  --bg_tile BG_TILE     Tile size for background sampler. Default: 400
  --suffix SUFFIX       Suffix of the restored faces. Default: None
  --save_video_fps SAVE_VIDEO_FPS
                        Frame rate for saving video. Default: None
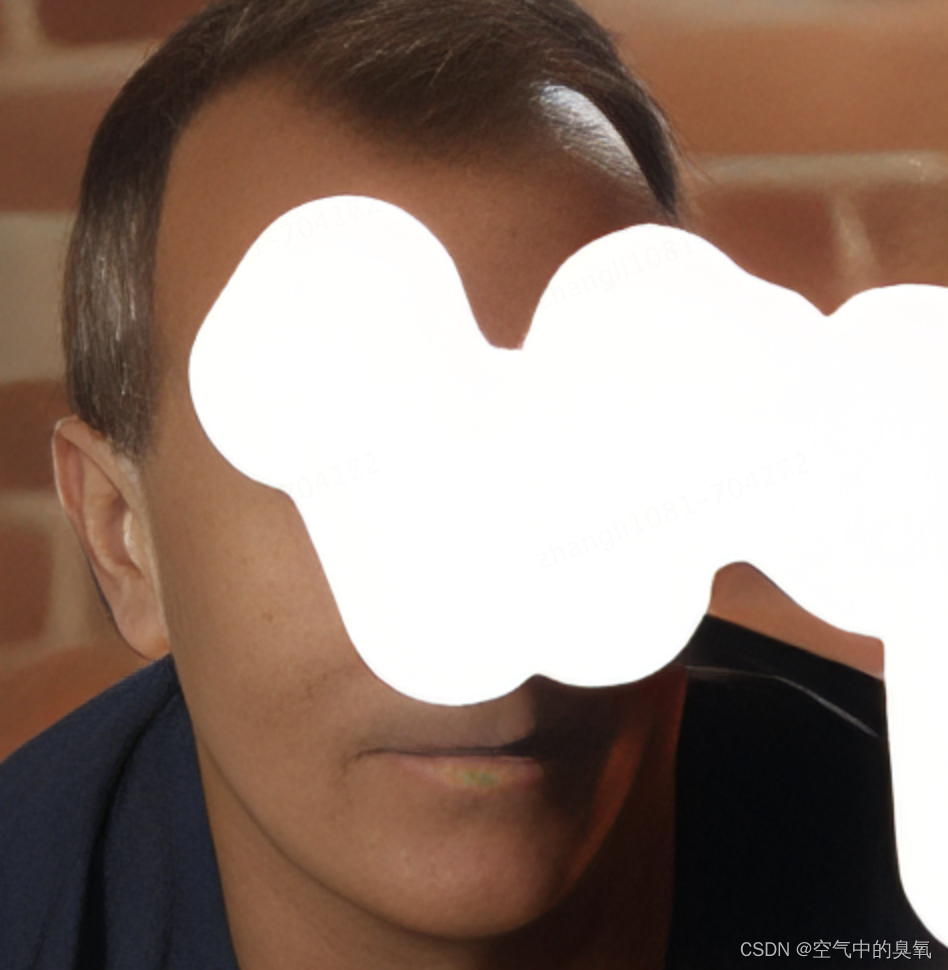
6.效果
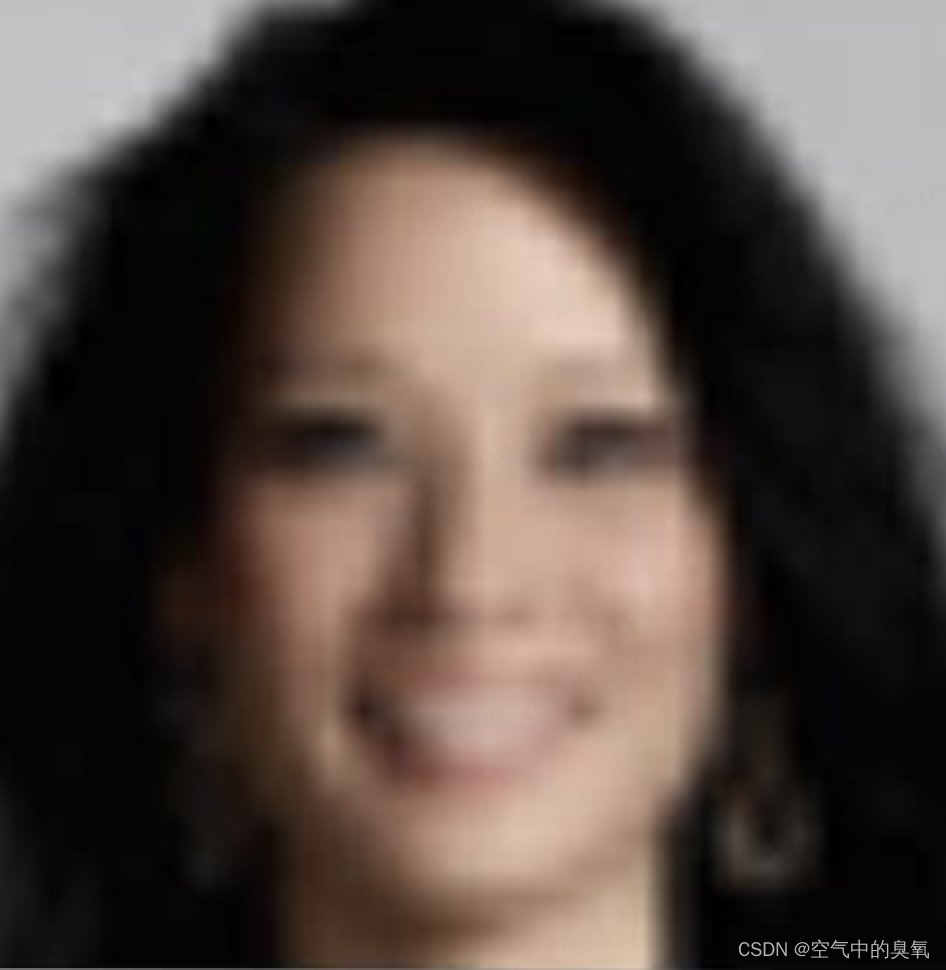
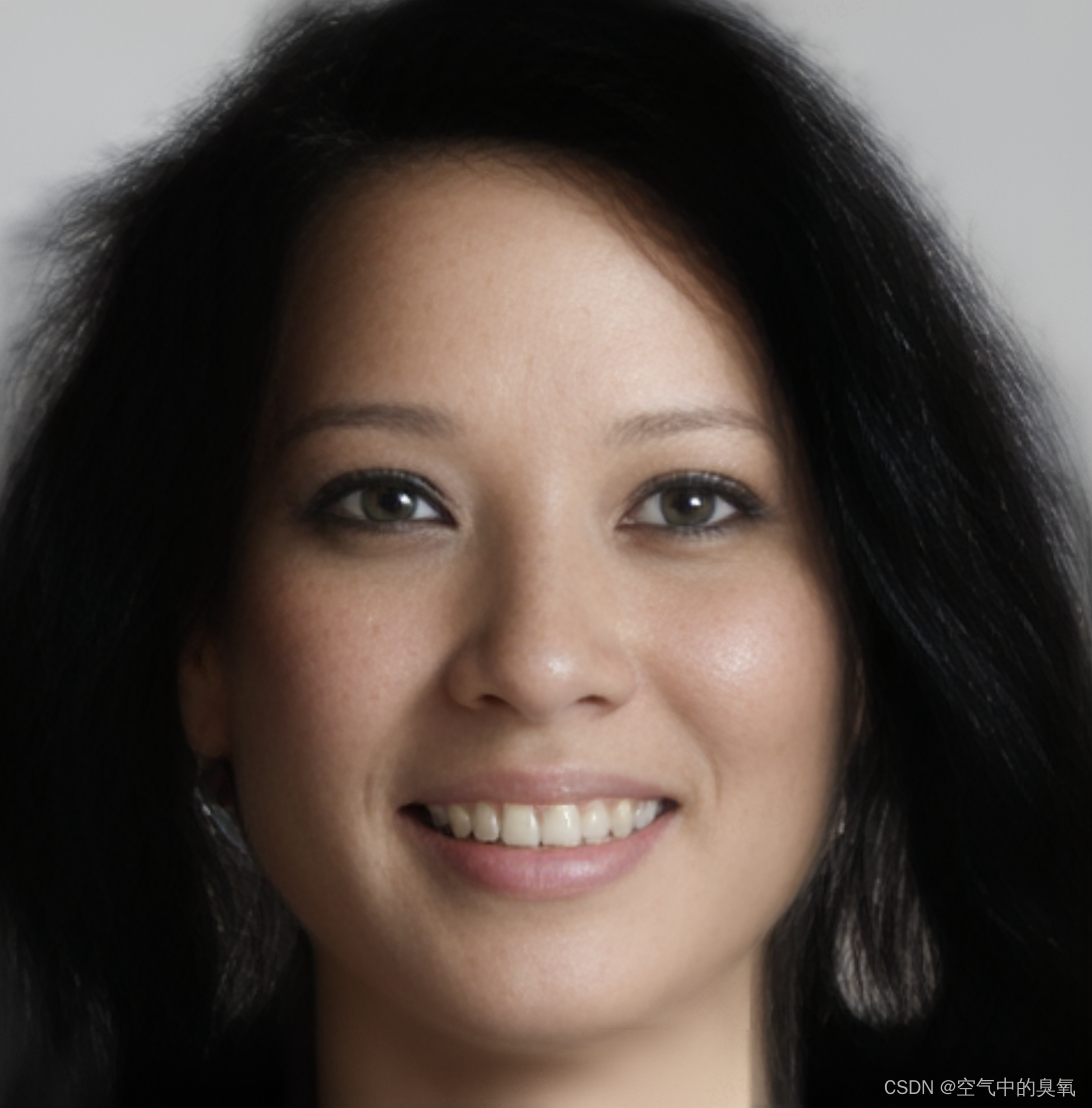

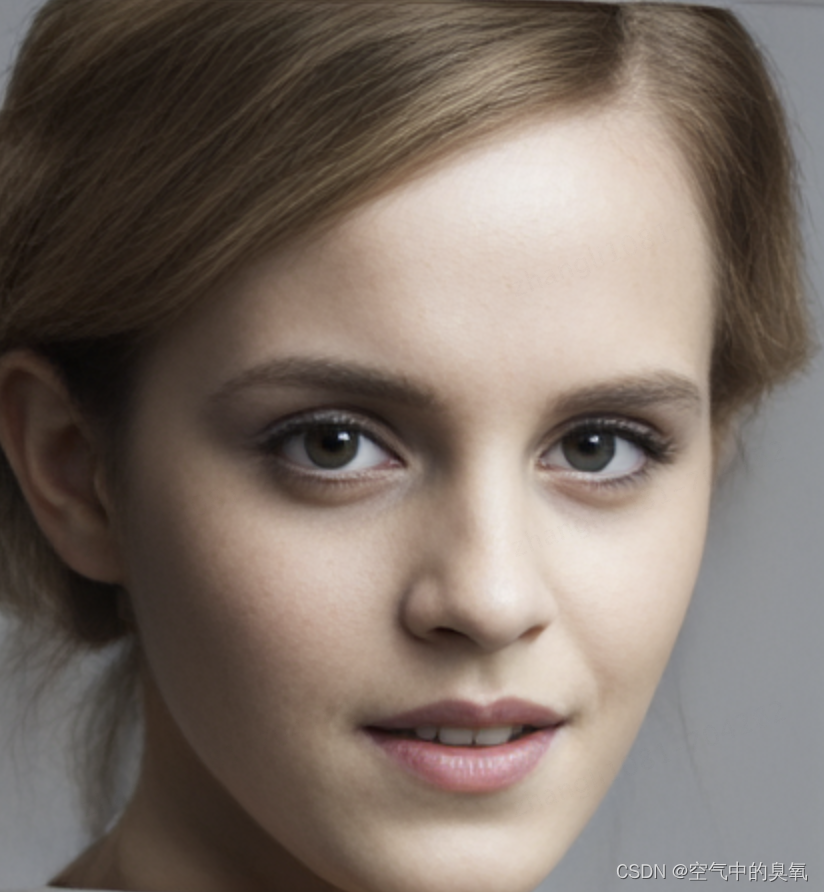
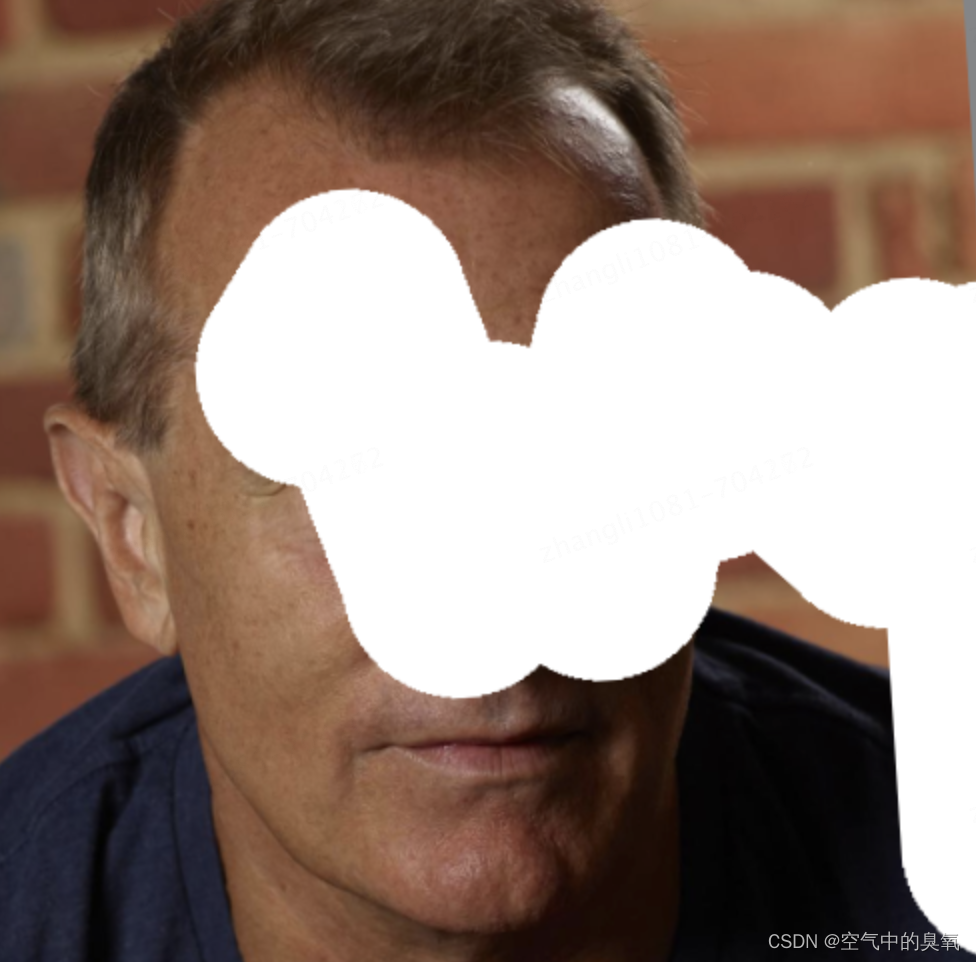
以上是处理的还不错的,下面来看一下没玩明白的
文章来源:https://blog.csdn.net/dqchouyang/article/details/135366928
本文来自互联网用户投稿,该文观点仅代表作者本人,不代表本站立场。本站仅提供信息存储空间服务,不拥有所有权,不承担相关法律责任。 如若内容造成侵权/违法违规/事实不符,请联系我的编程经验分享网邮箱:veading@qq.com进行投诉反馈,一经查实,立即删除!
本文来自互联网用户投稿,该文观点仅代表作者本人,不代表本站立场。本站仅提供信息存储空间服务,不拥有所有权,不承担相关法律责任。 如若内容造成侵权/违法违规/事实不符,请联系我的编程经验分享网邮箱:veading@qq.com进行投诉反馈,一经查实,立即删除!