Java后端开发——Ajax、jQuery和JSON
Java后端开发——Ajax、jQuery和JSON
概述
Ajax全称是Asynchronous Javascript and XML,即异步的JavaScript和 XML。Ajax是一种Web应用技术,该技术是在JavaScript、DOM、服务器配合下,实现浏览器向服务器发送异步请求。
Ajax异步请求方式不向服务器发出请求,会得到数据后再更新页面(通过DOM操作修改页面内容),整个过程不会发生页面跳转或刷新操作。
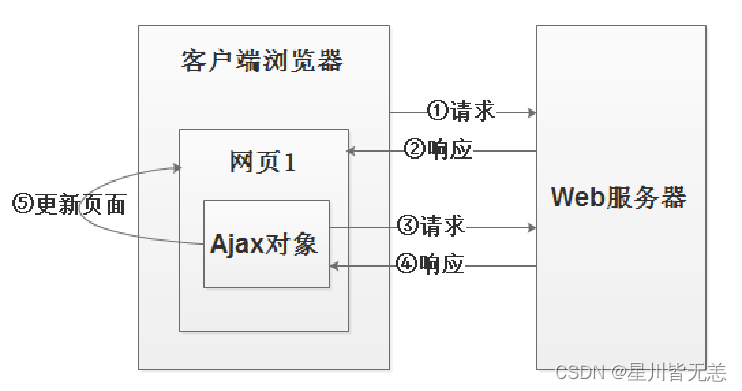
传统请求方式和Ajax异步请求方式区别

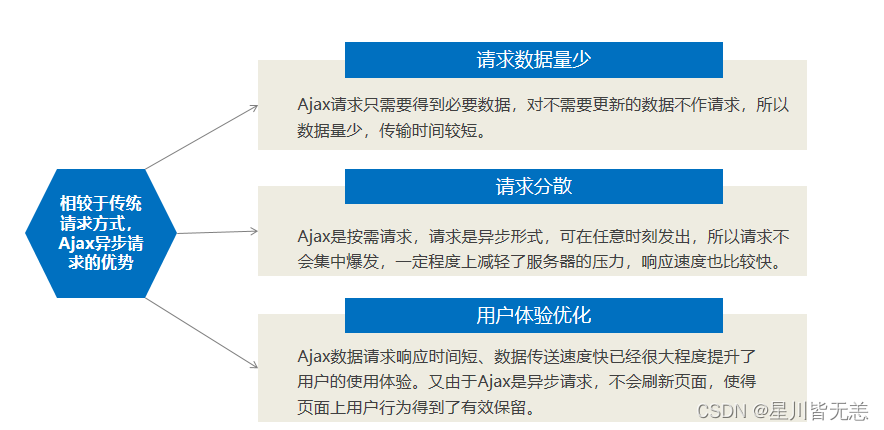
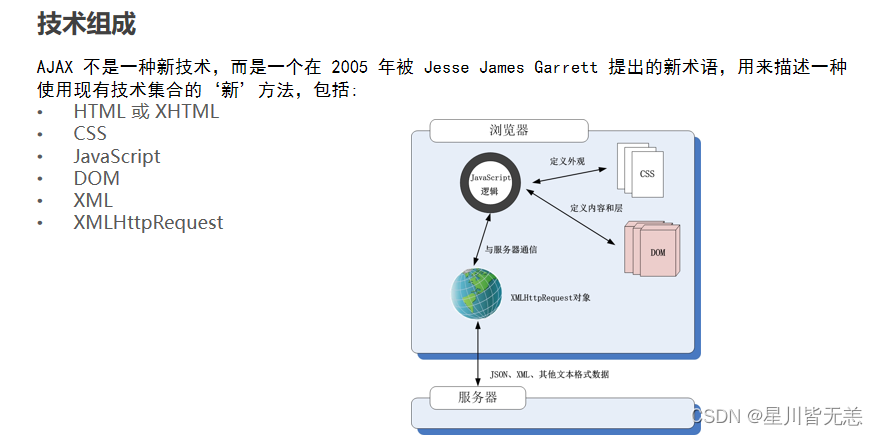
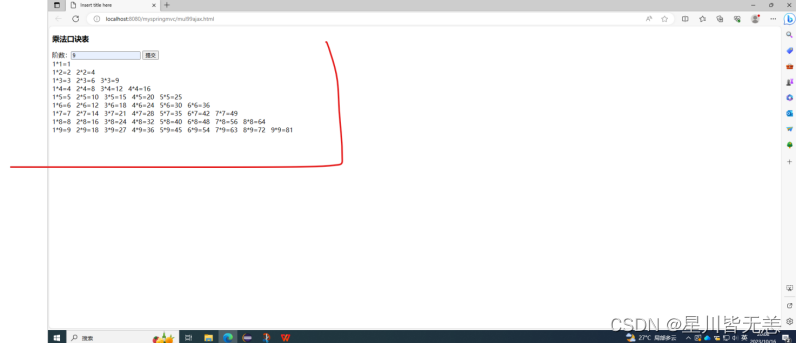
Ajax九九乘法口诀表
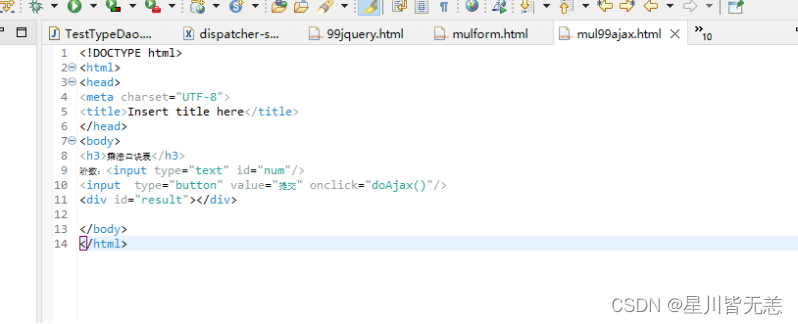
1.创建页面mul99ajax.html,添加num、button和result标记
<h3>乘法口诀表</h3>
阶数:<input type="text" id="num"/>
<input  type="button" value="提交" onclick="doAjax()"/>
<div id="result"></div>
2.添加Ajax的JS代码
<script type="text/javascript">
function doAjax(){
   var num = document.getElementById("num").value;
   var result = document.getElementById("result");
   var xhr = new XMLHttpRequest();
   xhr.open('get', '/myspringmvc/calAjax?num='+num);
   xhr.send();
   xhr.onreadystatechange = function () {
      if (xhr.readyState === 4 && xhr.status === 200) {
	result.innerHTML =xhr.responseText;
      }
   }
}
</script>
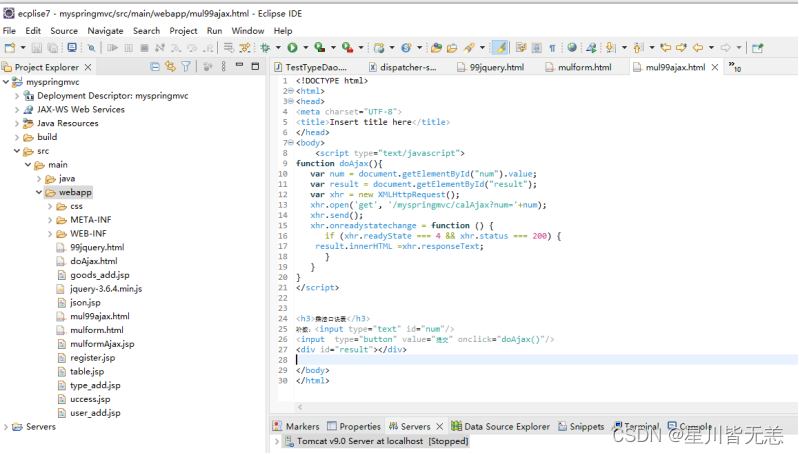
1)DOM查找元素num和result标记
   var num = document.getElementById("num").value;
   var result = document.getElementById("result");

2)创建XHR对象
var xhr = new XMLHttpRequest();
3)发送请求
xhr.open('get', '/myspringmvc/calAjax?num='+num);
xhr.send();
4)设置回调函数
xhr.onreadystatechange = function () {
      if (xhr.readyState === 4 && xhr.status === 200) {
	result.innerHTML =xhr.responseText;
      }
   }

5)处理异步数据,更新数据到result标记
result.innerHTML =xhr.responseText;
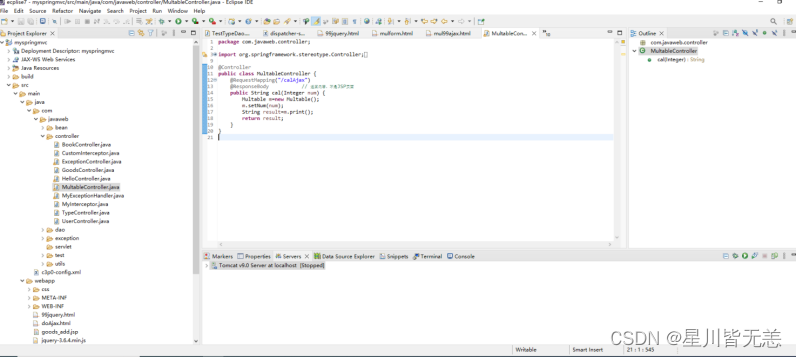
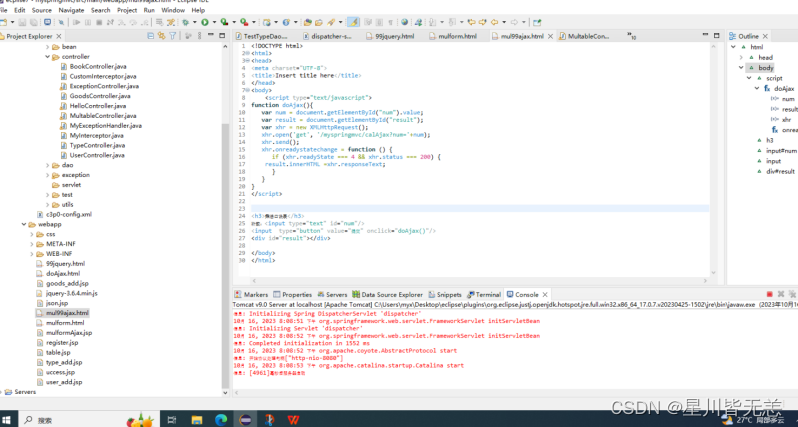
3.编写后端SpringMVC代码MultableController.java,在处理方法上增加注解@ResponseBody,返回值为内容。
@Controller
public class MultableController {
	@RequestMapping("/calAjax")
	@ResponseBody           // 返回内容,不是JSP页面
	public String cal(Integer num) {
		Multable m=new Multable();
		m.setNum(num);
		String result=m.print();
		return result;
	}
}
jQuery实现表格奇偶行颜色不同
1.创建页面jQuery.html,添加表格标记和测试数据
   <table id="tb1">
        <thead>
            <th style="width: 70px;"></th>
            <th style="width: 90px;">姓名</th>
            <th style="width: 90px;">性别</th>
            <th style="width: 200px;">暂住地</th>
        </thead>
		<!-- 把表格放在thead页眉中  这一行不是数据不改变颜色 -->
        <tbody>
            <tr id="tr1">
                <td><input type="radio"  id="rd"></td>
                <td>张三</td>
                <td>男</td>
                <td>四川成都</td>
            </tr>
            <tr id="tr2">
                <td><input type="radio"  id="rd"></td>
                <td>李四</td>
                <td>女</td>
                <td>四川绵阳</td>
            </tr>
            <tr id="tr3">
                <td><input type="radio"  id="rd"></td>
                <td>王五</td>
                <td>男</td>
                <td>四川南充</td>
            </tr>
            <tr id="tr4">
                <td><input type="radio"  id="rd"></td>
                <td>赵六</td>
                <td>男</td>
                <td>四川自贡</td>
            </tr>
            <tr id="tr5">
                <td><input type="radio"  id="rd"></td>
                <td>陈勇</td>
                <td>男</td>
                <td>四川德阳</td>
            </tr>
            <tr id="tr6">
                <td><input type="radio"  id="rd"></td>
                <td>罗梅</td>
                <td>女</td>
                <td>四川宜宾</td>
            </tr>
        </tbody>
    </table>
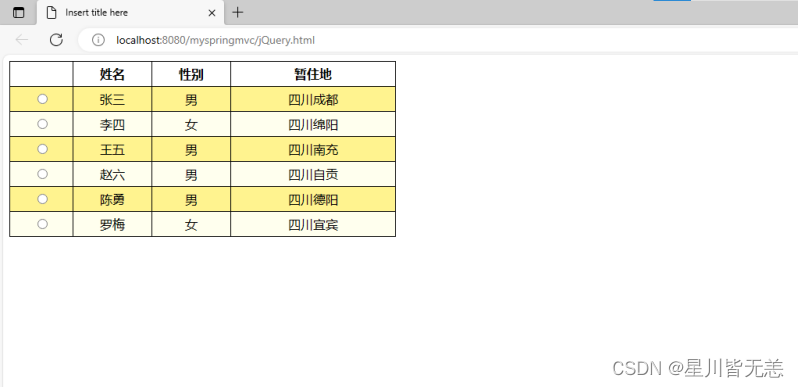
2.设置CSS样式,奇偶行颜色不同
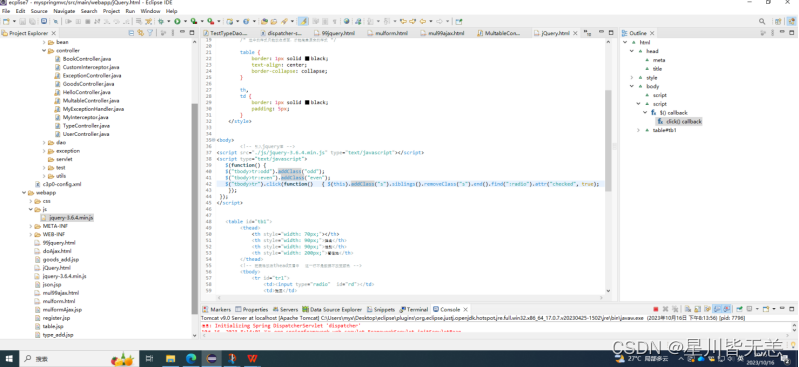
3.编写jQuery代码设置奇偶行颜色不同,设置click改变颜色
<!DOCTYPE html>
<html>
<head>
<meta charset="UTF-8">
<title>Insert title here</title>
</head>
<style>
.even {
background-color: #FFF38F;
}
.odd {
background-color: #FFFFEE;
}
.s {
background-color: #FF6500;
}
/* 选中的样式只能放在后面,才能掩盖原来的样式 */
table {
border: 1px solid black;
text-align: center;
border-collapse: collapse;
}
th,
td {
border: 1px solid black;
padding: 5px;
}
</style>


<body>
<!-- 引入jquery库 -->
<script src="./js/jquery-3.6.4.min.js" type="text/javascript"></script>
<script type="text/javascript">
$(function() {
$("tbody>tr:odd").addClass("odd");
$("tbody>tr:even").addClass("even");
$("tbody>tr").click(function() { $(this).addClass("s").siblings().removeClass("s").end().find(":radio").attr("checked", true);
});
});
</script>


<table id="tb1">
<thead>
<th style="width: 70px;"></th>
<th style="width: 90px;">姓名</th>
<th style="width: 90px;">性别</th>
<th style="width: 200px;">暂住地</th>
</thead>
<!-- 把表格放在thead页眉中 这一行不是数据不改变颜色 -->
<tbody>
<tr id="tr1">
<td><input type="radio" id="rd"></td>
<td>张三</td>
<td>男</td>
<td>四川成都</td>
</tr>
<tr id="tr2">
<td><input type="radio" id="rd"></td>
<td>李四</td>
<td>女</td>
<td>四川绵阳</td>
</tr>
<tr id="tr3">
<td><input type="radio" id="rd"></td>
<td>王五</td>
<td>男</td>
<td>四川南充</td>
</tr>
<tr id="tr4">
<td><input type="radio" id="rd"></td>
<td>赵六</td>
<td>男</td>
<td>四川自贡</td>
</tr>
<tr id="tr5">
<td><input type="radio" id="rd"></td>
<td>陈勇</td>
<td>男</td>
<td>四川德阳</td>
</tr>
<tr id="tr6">
<td><input type="radio" id="rd"></td>
<td>罗梅</td>
<td>女</td>
<td>四川宜宾</td>
</tr>
</tbody>
</table>


</body>
</html>
jQuery版九九乘法口诀
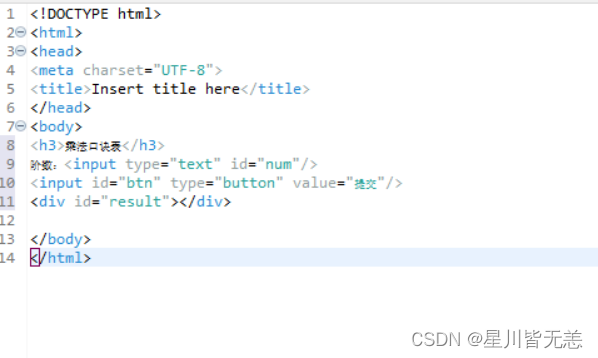
1.在创建页面mul99jquery.html,添加num、button和result标记
<!DOCTYPE html>
<html>
<head>
<meta charset="UTF-8">
<title>Insert title here</title>
</head>
<body>
<h3>乘法口诀表</h3>
阶数:<input type="text" id="num"/>
<input id="btn" type="button" value="提交"/>
<div id="result"></div>

</body>
</html>
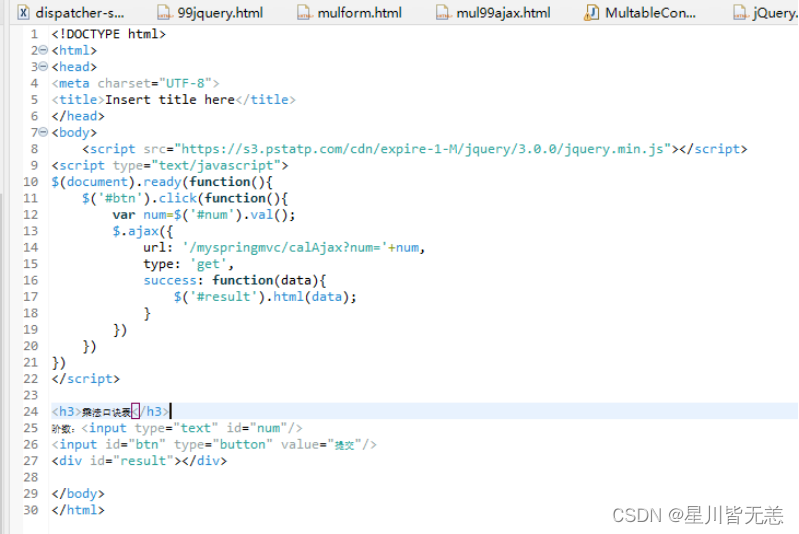
2.添加jQuery的Ajax的JS代码
<script src="https://s3.pstatp.com/cdn/expire-1-M/jquery/3.0.0/jquery.min.js"></script>
<script type="text/javascript">
$(document).ready(function(){
	$('#btn').click(function(){
		var num=$('#num').val();
		$.ajax({
			url: '/myspringmvc/calAjax?num='+num,
			type: 'get',
			success: function(data){
				$('#result').html(data);
			}
		})
	})
})
</script>
1)在jQuery页面函数中,给按钮添加事件代码
$(document).ready(function(){
	$('#btn').click(function(){
		var num=$('#num').val();
		$.ajax({
			url: '/myspringmvc/calAjax',
			type: 'post',
			data:{num:num},
			success: function(data){
				$('#result').html(data);
			}
		})
	})
})
2)获取num控件的值
var num=KaTeX parse error: Expected 'EOF', got '#' at position 3: ('#?num').val(); 3)….ajax()函数,设置url、type和success函数。
$.ajax({
			url: '/myspringmvc/calAjax',
			type: 'post',
			data:{num:num},
			success: function(data){
				$('#result').html(data);
			}
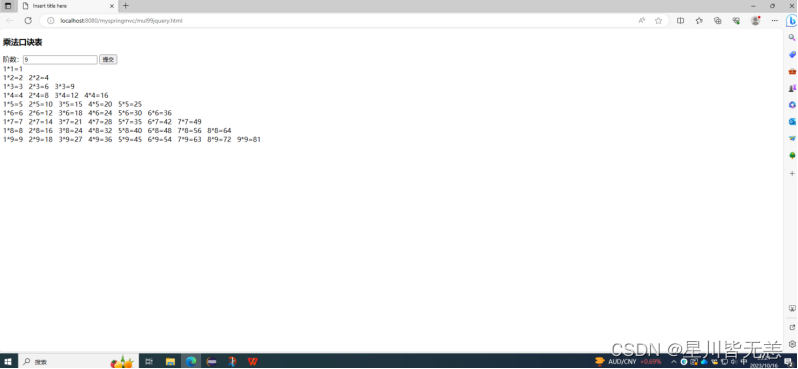
3.测试
测试结果
商品类型Ajax加载
1.创建type表,并录入测试的商品类型数据
CREATE TABLE `type` (
  `id` int(11) NOT NULL AUTO_INCREMENT,
  `name` varchar(45) DEFAULT NULL,
  PRIMARY KEY (`id`)
) ENGINE=InnoDB AUTO_INCREMENT=18 DEFAULT CHARSET=utf8mb4;
插入数据
INSERT INTO `type` VALUES ('1', '零食');
INSERT INTO `type` VALUES ('2', '饮料');
INSERT INTO `type` VALUES ('3', '香烟');
INSERT INTO `type` VALUES ('7', '文具');
INSERT INTO `type` VALUES ('8', '猕猴桃');
INSERT INTO `type` VALUES ('10', '蛋糕');
INSERT INTO `type` VALUES ('11', '哈皮');
INSERT INTO `type` VALUES ('12', '芒果');
INSERT INTO `type` VALUES ('15', '果子');
INSERT INTO `type` VALUES ('16', '果子');
INSERT INTO `type` VALUES ('17', '果子');
刷新之后,如图所示
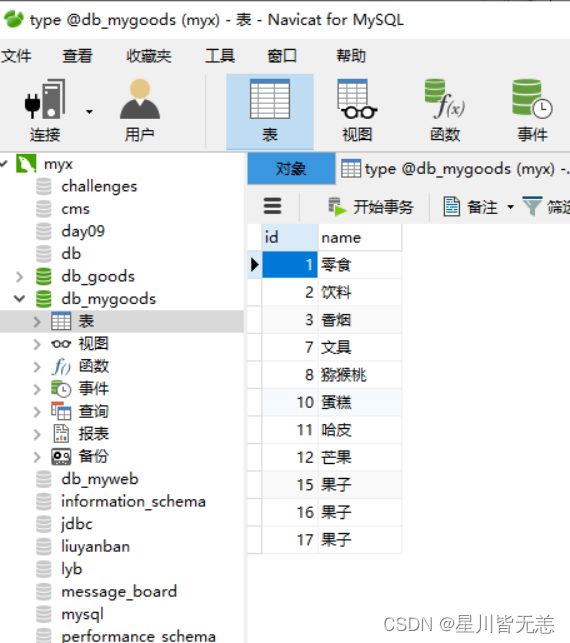
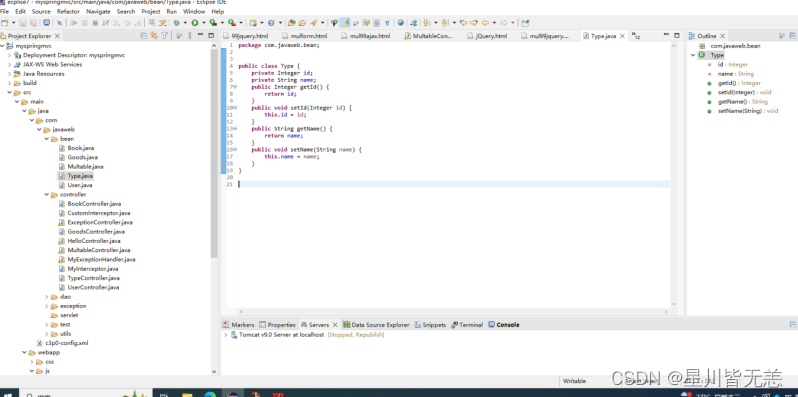
2.添加Javabean类Type.java 和 Dao类TypeDao.java
package com.javaweb.bean;


public class Type {
private Integer id;
private String name;
public Integer getId() {
return id;
}
public void setId(Integer id) {
this.id = id;
}
public String getName() {
return name;
}
public void setName(String name) {
this.name = name;
}
}
package com.javaweb.controller;

import java.sql.SQLException;
import java.util.List;

import org.springframework.stereotype.Controller;
import org.springframework.web.bind.annotation.GetMapping;
import org.springframework.web.bind.annotation.RequestMapping;
import org.springframework.web.bind.annotation.ResponseBody;

import com.javaweb.bean.Type;
import com.javaweb.dao.TypeDao;

@Controller
@RequestMapping("/type")
public class TypeController {
	private TypeDao typeDao=new TypeDao();
	@GetMapping("/find")
	@ResponseBody
	public List<Type> find(){
		try {
			return typeDao.find();
		} catch (SQLException e) {
			e.printStackTrace();
		}
		return null;
	}
}
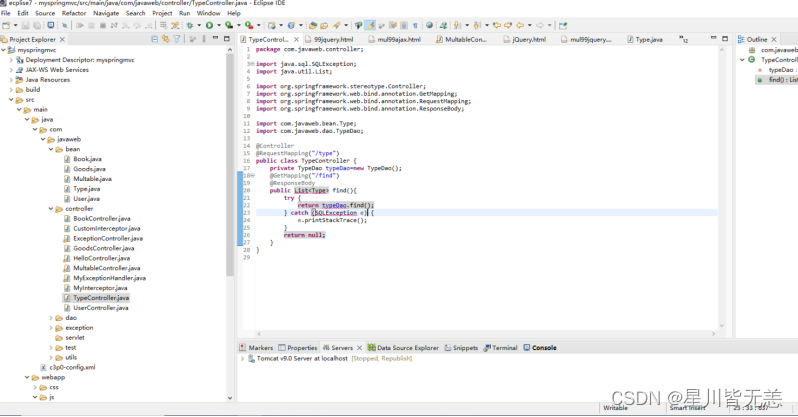
3.修改good_add.jsp,添加jQuery代码,渲染类型列表
<!DOCTYPE html>
<html>
<head>
<meta charset="UTF-8">
<title>Insert title here</title>
</head>
<body>
<script
src="https://s3.pstatp.com/cdn/expire-1-M/jquery/3.0.0/jquery.min.js"></script>
<script type="text/javascript">
$(document).ready(function() {
$.getJSON('/myspringmvc/type/find', function(data) {
var html='';
data.forEach(function(type){
html+='<option value="'+type.id+'">'+type.name+'</option>'
}) ;
$('#type').append(html);
});
})
</script>

<div class="form-group">
<label for="select_topic" class="col-sm-1 control-label">类目</label>
<div class="col-sm-6">
<select class="form-control" id="type" name="type_id">
</select>
</div>
</div>

</body>
</html>

4.预览商品添加表单,查看类型列表
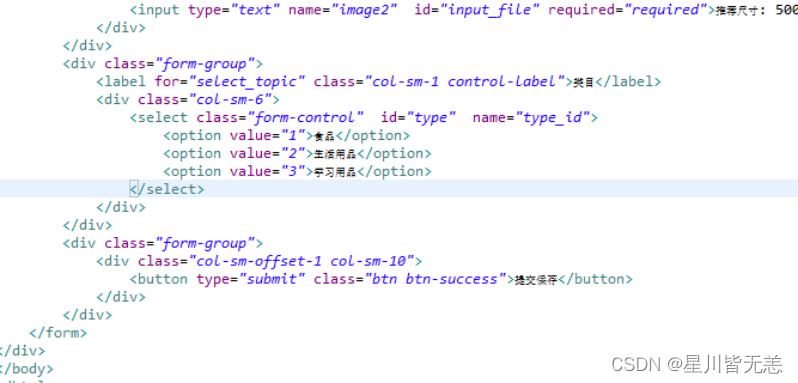
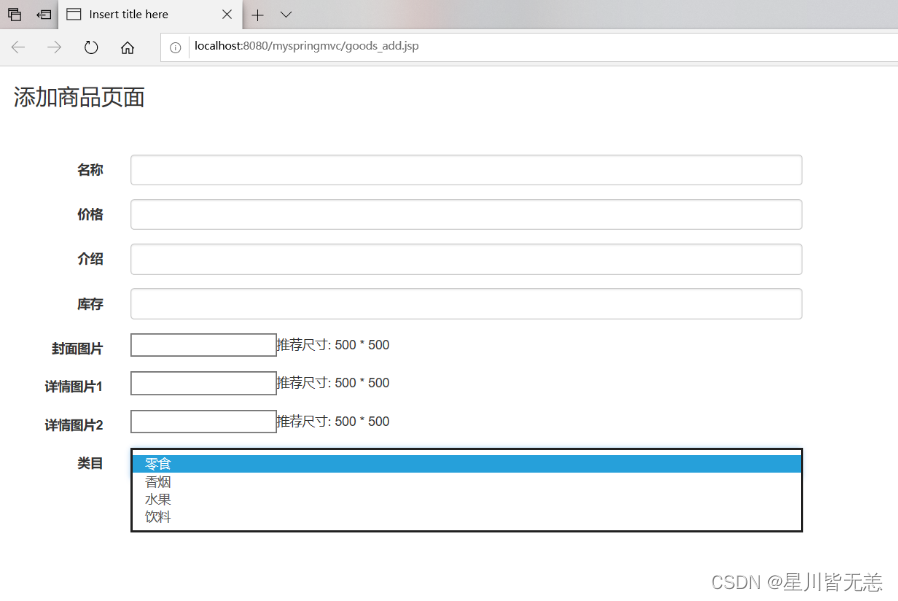
5.修改good_edit.jsp,添加jQuery代码,渲染类型列表选中
<%@ page language="java" contentType="text/html; charset=UTF-8"
pageEncoding="UTF-8"%>
<!DOCTYPE html>
<html>
<head>
<meta charset="UTF-8">
<title>Insert title here</title>
<link rel="stylesheet" href="${pageContext.request.contextPath}/css/bootstrap.css" />
</head>
<body>
<script
src="https://s3.pstatp.com/cdn/expire-1-M/jquery/3.0.0/jquery.min.js"></script>
<script type="text/javascript">
$(document).ready(function() {
$.getJSON('/myspringmvc/type/find', function(data) {
var typeId=${g.type_id}
var html='';
data.forEach(function(type){
if(type.id==typeId)
html+='<option selected="selected" value="'+type.id+'">'+type.name+'</option>';
else
html+='<option value="'+type.id+'">'+type.name+'</option>';
}) ;
$('#type').append(html);
});
})
</script>

<div class="container-fluid">
<h3>修改商品页面</h3>
<br><br>
<form class="form-horizontal" action="${pageContext.request.contextPath}/goods/update" method="post">
<input type="hidden" name="id" value="${g.id }"/>
<div class="form-group">
<label for="input_name" class="col-sm-1 control-label">名称</label>
<div class="col-sm-6">
<input type="text" class="form-control" id="input_name" name="name" value="${g.name }" required="required">
</div>
</div>
<div class="form-group">
<label for="input_name" class="col-sm-1 control-label">价格</label>
<div class="col-sm-6">
<input type="text" class="form-control" id="input_name" value="${g.price }" name="price" >
</div>
</div>
<div class="form-group">
<label for="input_name" class="col-sm-1 control-label">介绍</label>
<div class="col-sm-6">
<input type="text" class="form-control" id="input_name" value="${g.intro }" name="intro" >
</div>
</div>
<div class="form-group">
<label for="input_name" class="col-sm-1 control-label">库存</label>
<div class="col-sm-6">
<input type="text" class="form-control" id="input_name" name="stock" value="${g.stock }">
</div>
</div>
<div class="form-group">
<label for="input_file" class="col-sm-1 control-label">封面图片</label>
<div class="col-sm-6">
<input type="text" name="cover" id="input_file" value="${g.cover }" required="required">推荐尺寸: 500 * 500
</div>
</div>
<div class="form-group">
<label for="input_file" class="col-sm-1 control-label">详情图片1</label>
<div class="col-sm-6">
<input type="text" name="image1" id="input_file" value="${g.image1 }" required="required">推荐尺寸: 500 * 500
</div>
</div>
<div class="form-group">
<label for="input_file" class="col-sm-1 control-label">详情图片2</label>
<div class="col-sm-6">
<input type="text" name="image2" id="input_file" value="${g.image2 }" required="required">推荐尺寸: 500 * 500
</div>
</div>
<div class="form-group">
<label for="select_topic" class="col-sm-1 control-label">类目</label>
<div class="col-sm-6">
<select class="form-control" id="type" name="type_id">
</select>
</div>
</div>

<div class="form-group">
<div class="col-sm-offset-1 col-sm-10">
<button type="submit" class="btn btn-success">提交保存</button>
</div>
</div>
</form>
</div>
</body>
</html>
6.预览商品编辑表单,查看类型列表及选中
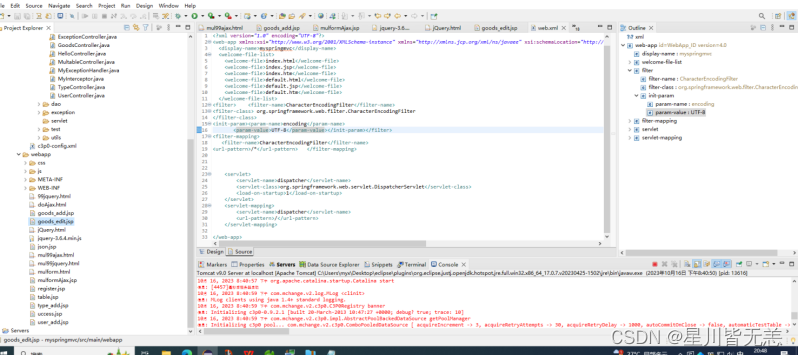
上面项目已打包上传到网盘,需要可以自取。附链接:https://pan.baidu.com/s/1HmVI00L_C7Zx3bqTEqzXnA?pwd=2024
后面有时间和精力也会分享更多关于大数据领域方面的优质内容,感谢各位的喜欢与支持!
本文来自互联网用户投稿,该文观点仅代表作者本人,不代表本站立场。本站仅提供信息存储空间服务,不拥有所有权,不承担相关法律责任。 如若内容造成侵权/违法违规/事实不符,请联系我的编程经验分享网邮箱:veading@qq.com进行投诉反馈,一经查实,立即删除!