WEB 3D技术 three.js 顶点旋转
2024-01-08 21:24:45
我们来说说几何体顶点的旋转
官网搜索 BufferGeometry
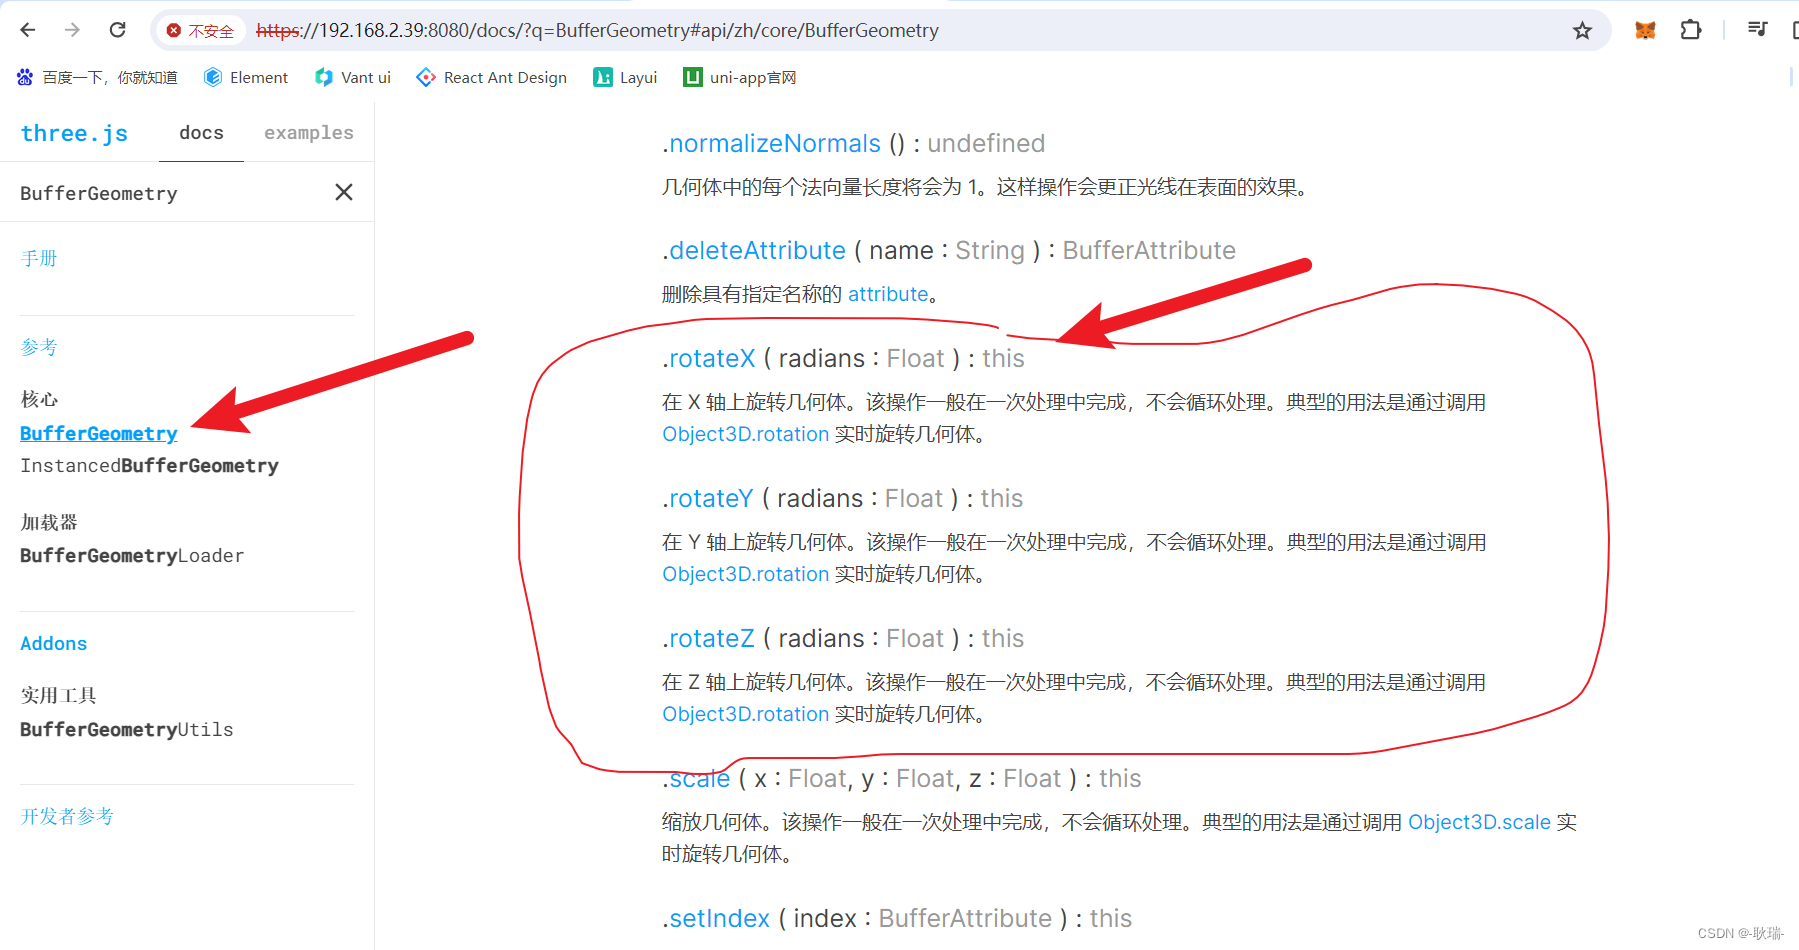
这里 我们有 x y z 三个轴的旋转
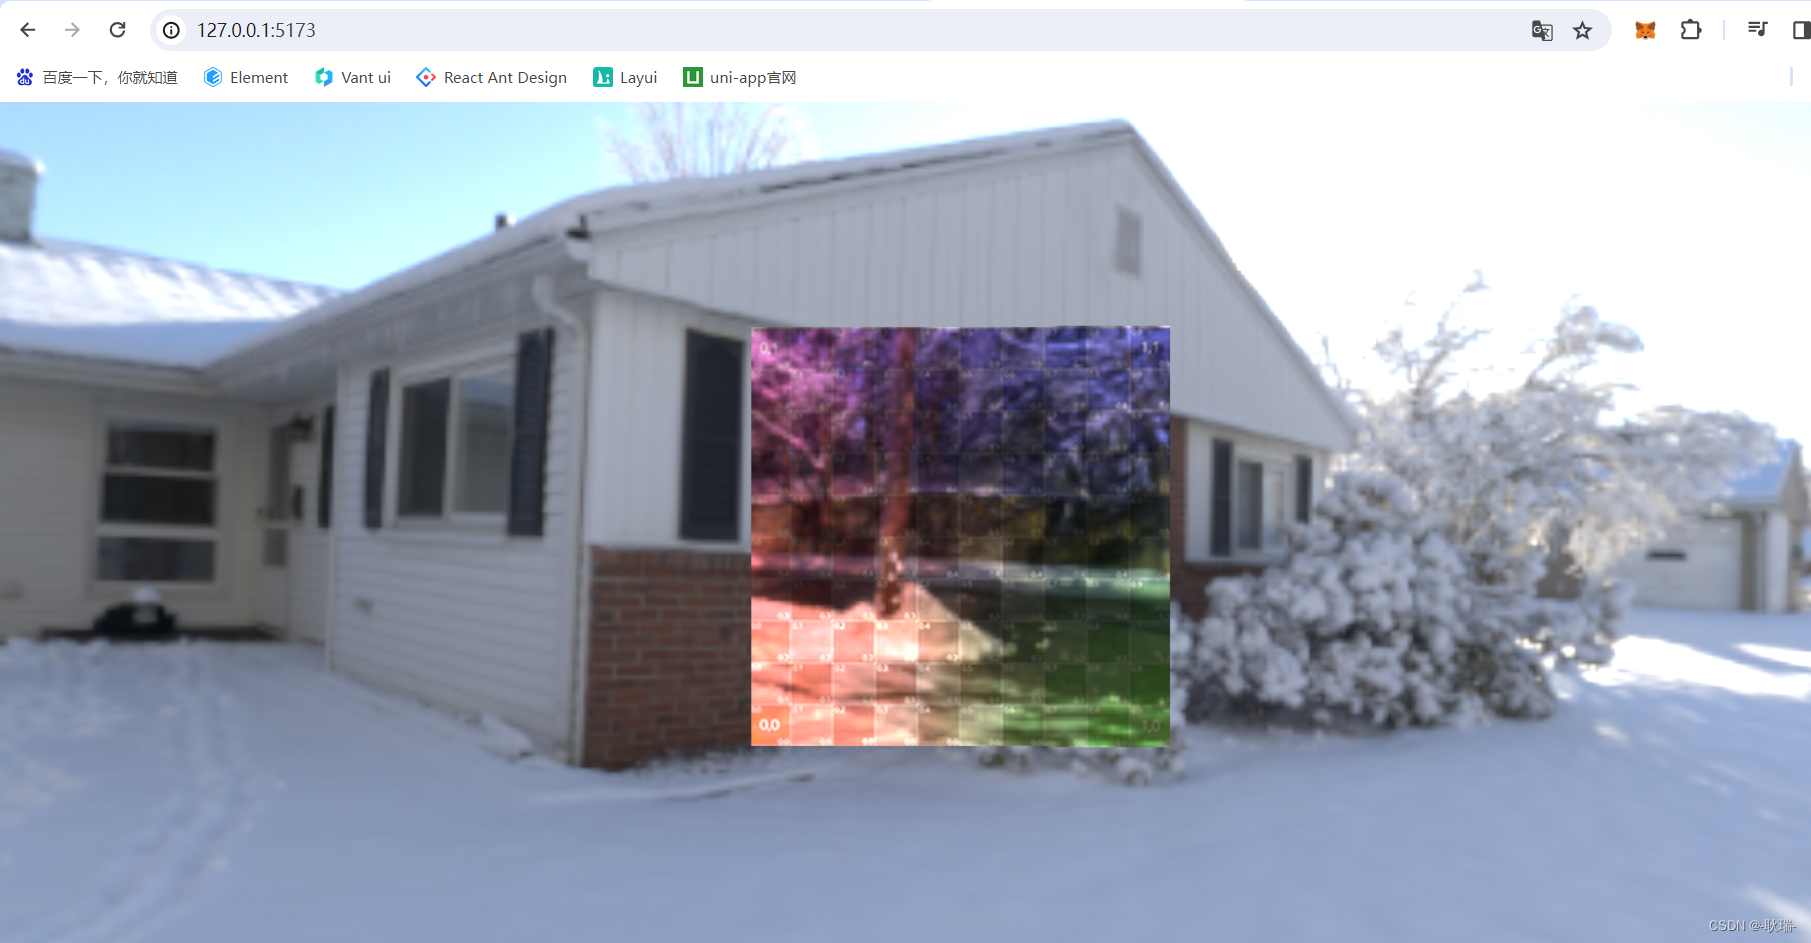
例如 我们这样的代码
import './style.css'
import * as THREE from "three";
import { OrbitControls } from "three/examples/jsm/controls/OrbitControls.js";
import { RGBELoader } from "three/examples/jsm/loaders/RGBELoader.js";
//创建相机
const camera = new THREE.PerspectiveCamera(
    45, //视角 视角越大  能看到的范围就越大
    window.innerWidth / window.innerHeight,//相机的宽高比  一般和画布一样大最好
    0.1,
    1000
);
const scene = new THREE.Scene();
let uvTexture = new THREE.TextureLoader().load("/textUv.jpg");

const geometry = new THREE.BufferGeometry();
// 创建顶点数据
const vertices = new Float32Array([
    -1.0,-1.0 ,0.0,
    1.0 ,-1.0, 0.0,
    1.0 ,1.0 ,0.0,
    -1.0 ,1.0, 0.0
])
geometry.setAttribute("position", new THREE.BufferAttribute(vertices, 3));
const indices = new Uint16Array([0 ,1 ,2, 0, 3, 2]);
const material = new THREE.MeshBasicMaterial({
    map: uvTexture,
    side: THREE.DoubleSide
})
const uv = new Float32Array([
    0, 0, 1, 0, 1, 1, 0, 1
])
geometry.setAttribute("uv", new THREE.BufferAttribute(uv, 2));
const normals = new Float32Array([
    0, 0, 1,
    0, 0, 1,
    0, 0, 1,
    0, 0, 1
])
geometry.setAttribute("normal", new THREE.BufferAttribute(normals, 3));
geometry.setIndex(new THREE.BufferAttribute(indices, 1));
console.log(geometry);
const cube = new THREE.Mesh(geometry, material);
scene.add(cube)

//c创建一个canvas容器  并追加到 body上
const renderer = new THREE.WebGLRenderer(0);
renderer.setSize(window.innerWidth, window.innerHeight);
document.body.appendChild(renderer.domElement);

//设置相机位置   这里 我们设置Z轴  大家可以试试  S Y 和 Z  都是可以的
camera.position.z = 5;
//设置相机默认看向哪里   三个 0  代表 默认看向原点
camera.lookAt(0, 0, 0);
//将内容渲染到元素上
renderer.render(scene, camera);
const controls = new OrbitControls(camera, renderer.domElement);

let rgbeloader = new RGBELoader();
rgbeloader.load("/xhdr/Alex_Hart-Snow_Pano_2k.hdr",(texture) =>{
    scene.background = texture;
    texture.mapping = THREE.EquirectangularReflectionMapping;
    material.envMap = texture;
})

function animate() {
    controls.update();
    requestAnimationFrame(animate);
    /*cube.rotation.x += 0.01;
    cube.rotation.y += 0.01;*/
    renderer.render(scene, camera);
}
animate();
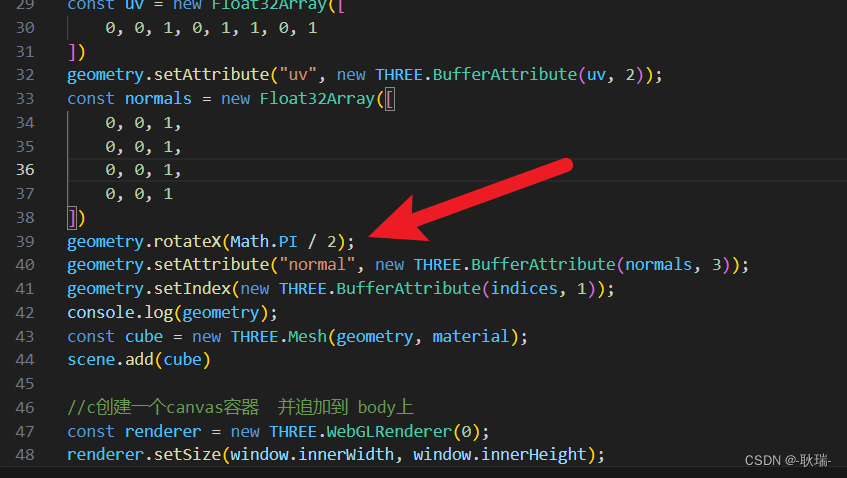
我们可以这样写
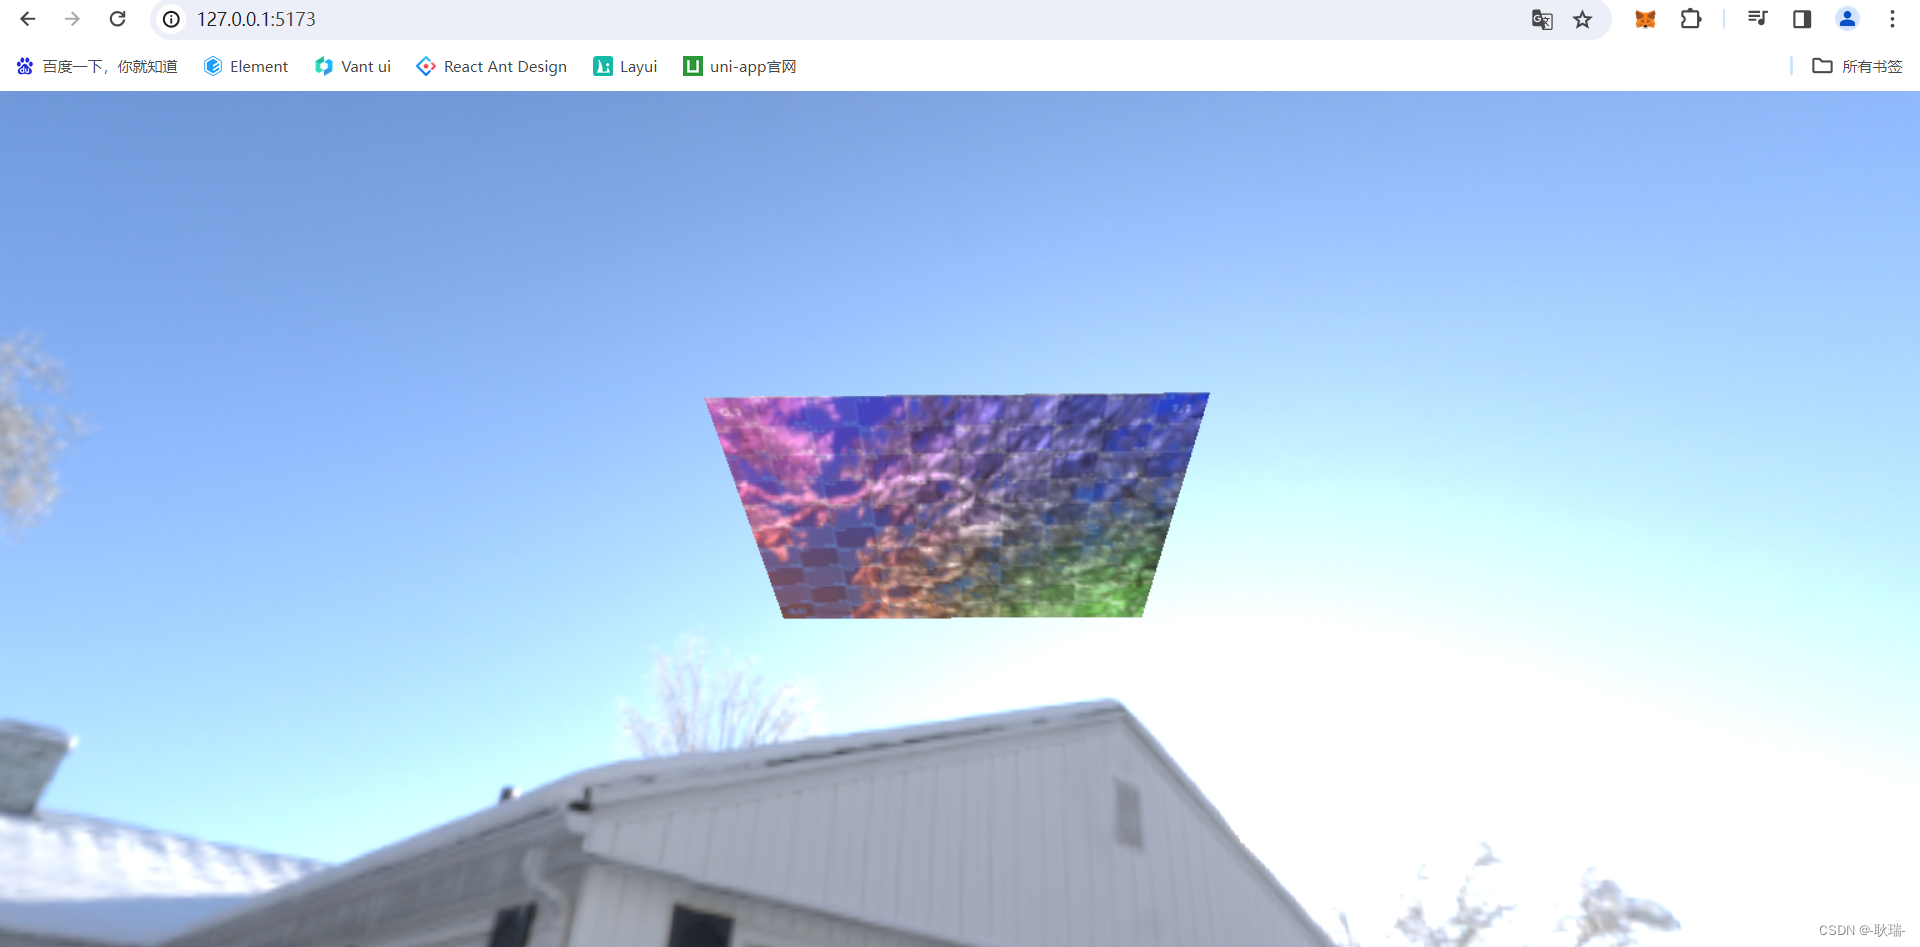
geometry.rotateX(Math.PI / 2);
让他转自己的一半
刷新代码之后 你会发现 看不到了
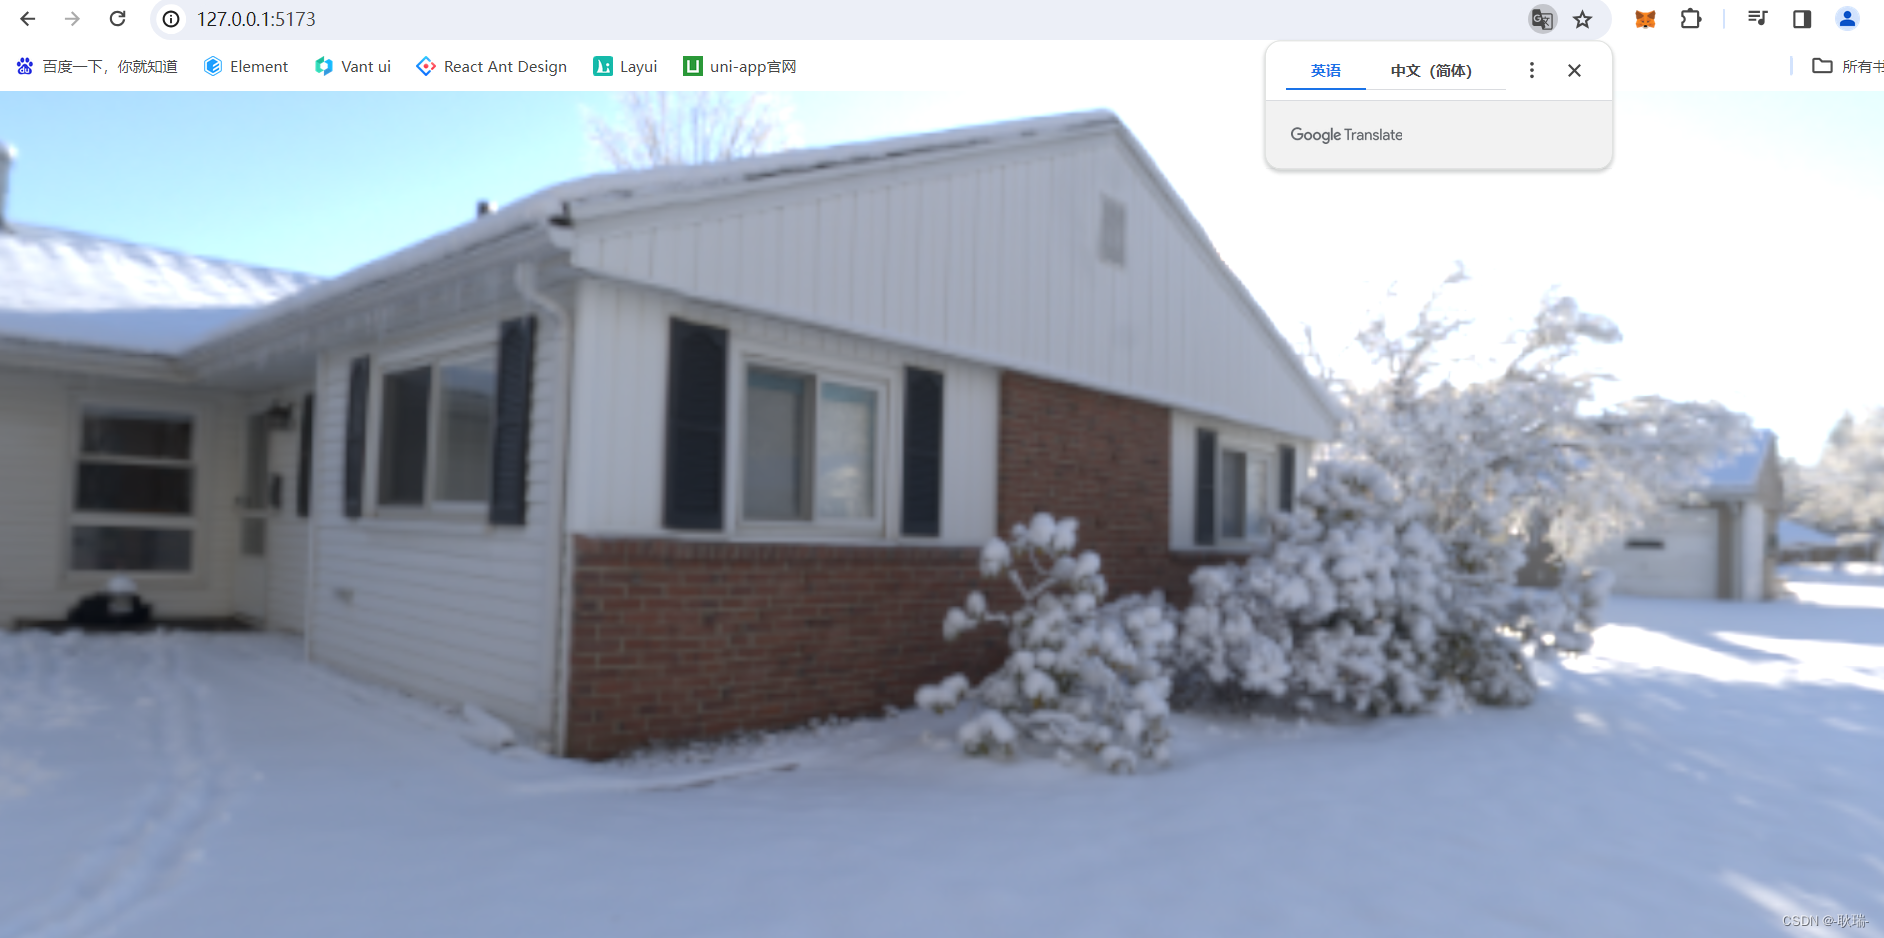
其实他是整个横过来了
我们把镜头向下拉一下就好了
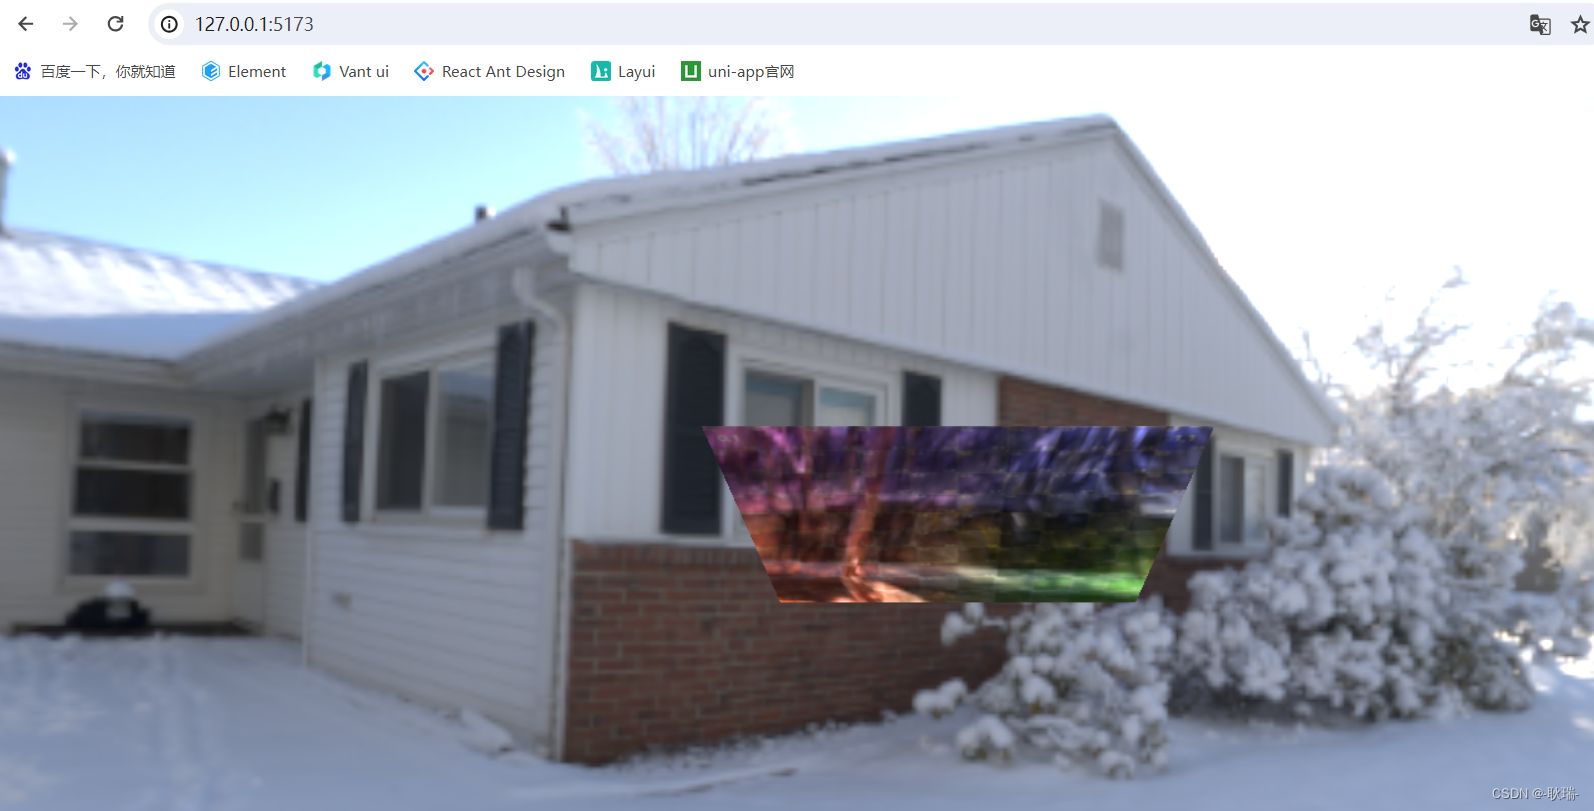
我们让他转20
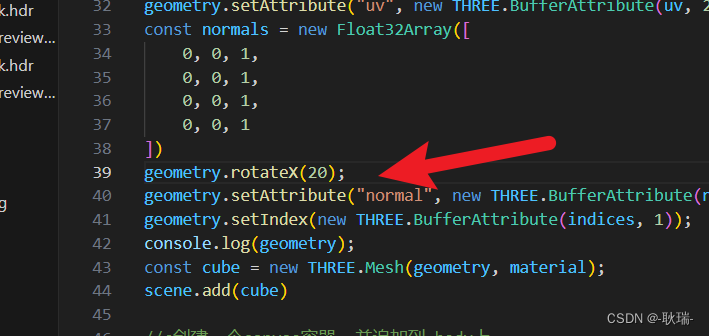
这个效果就比较明显了
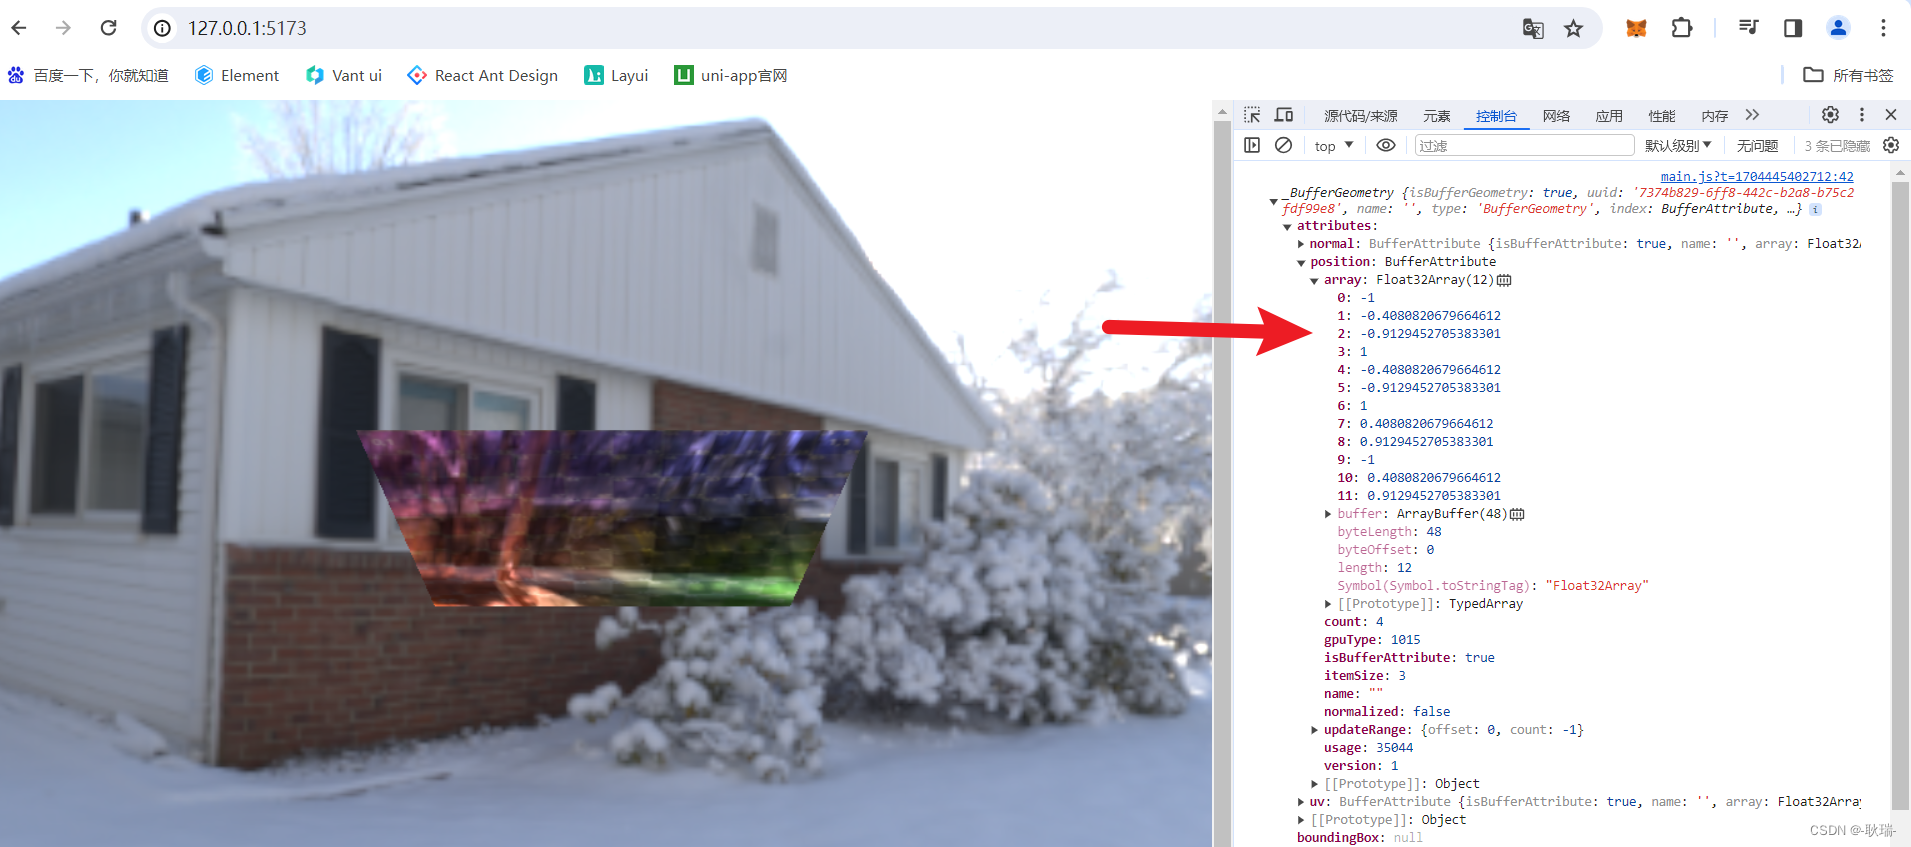
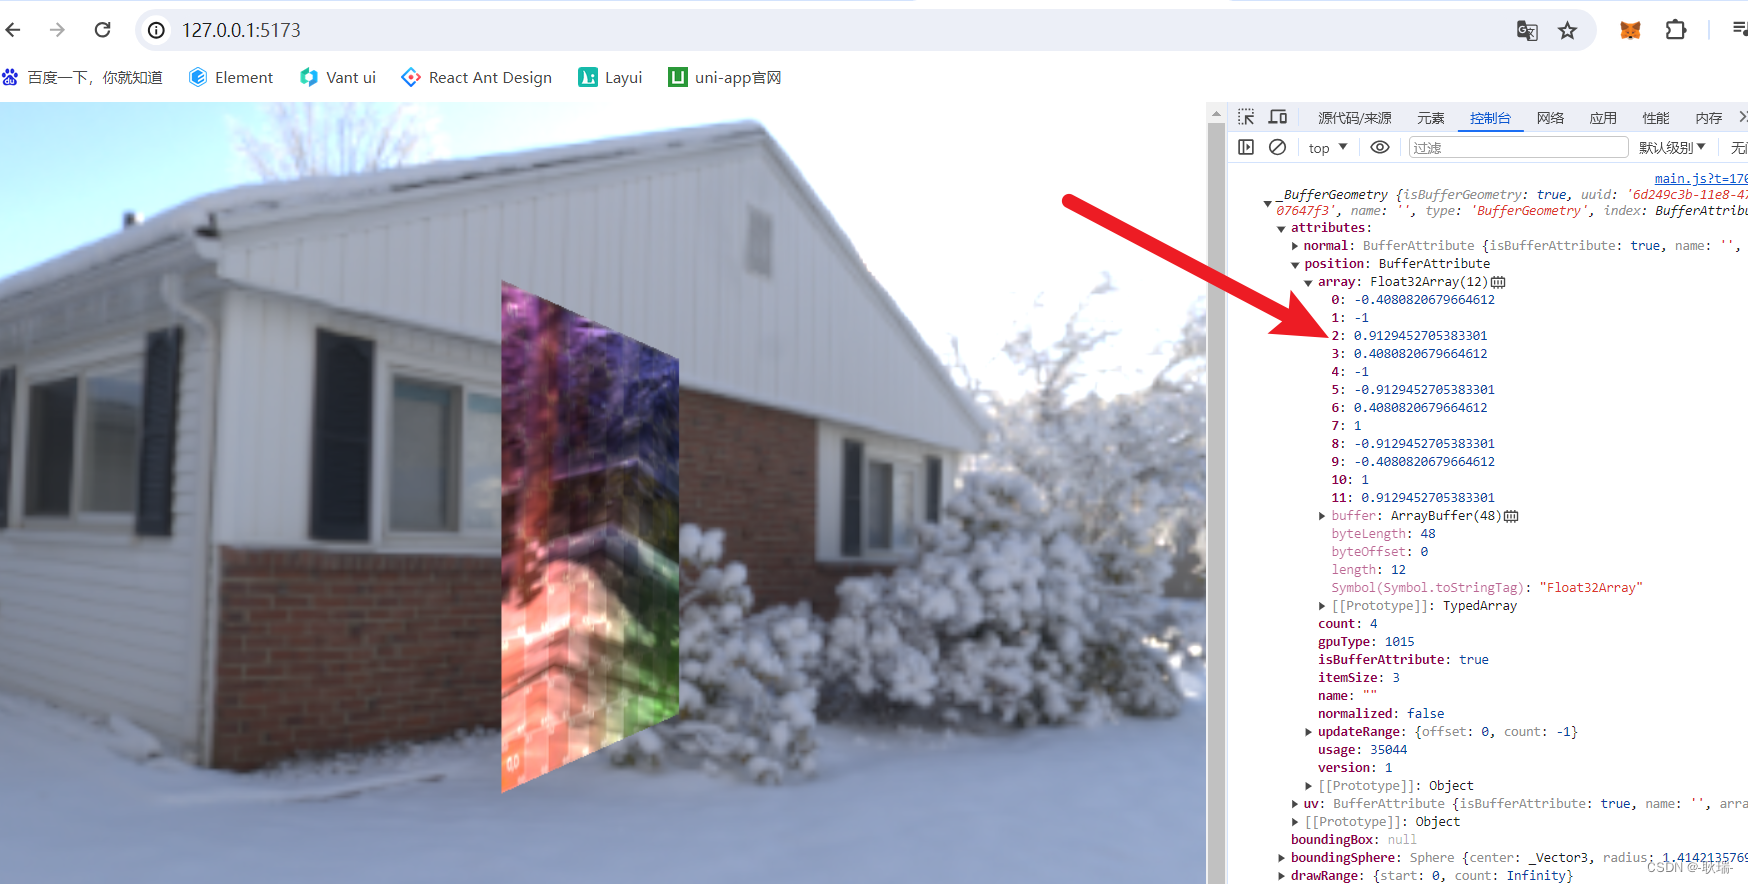
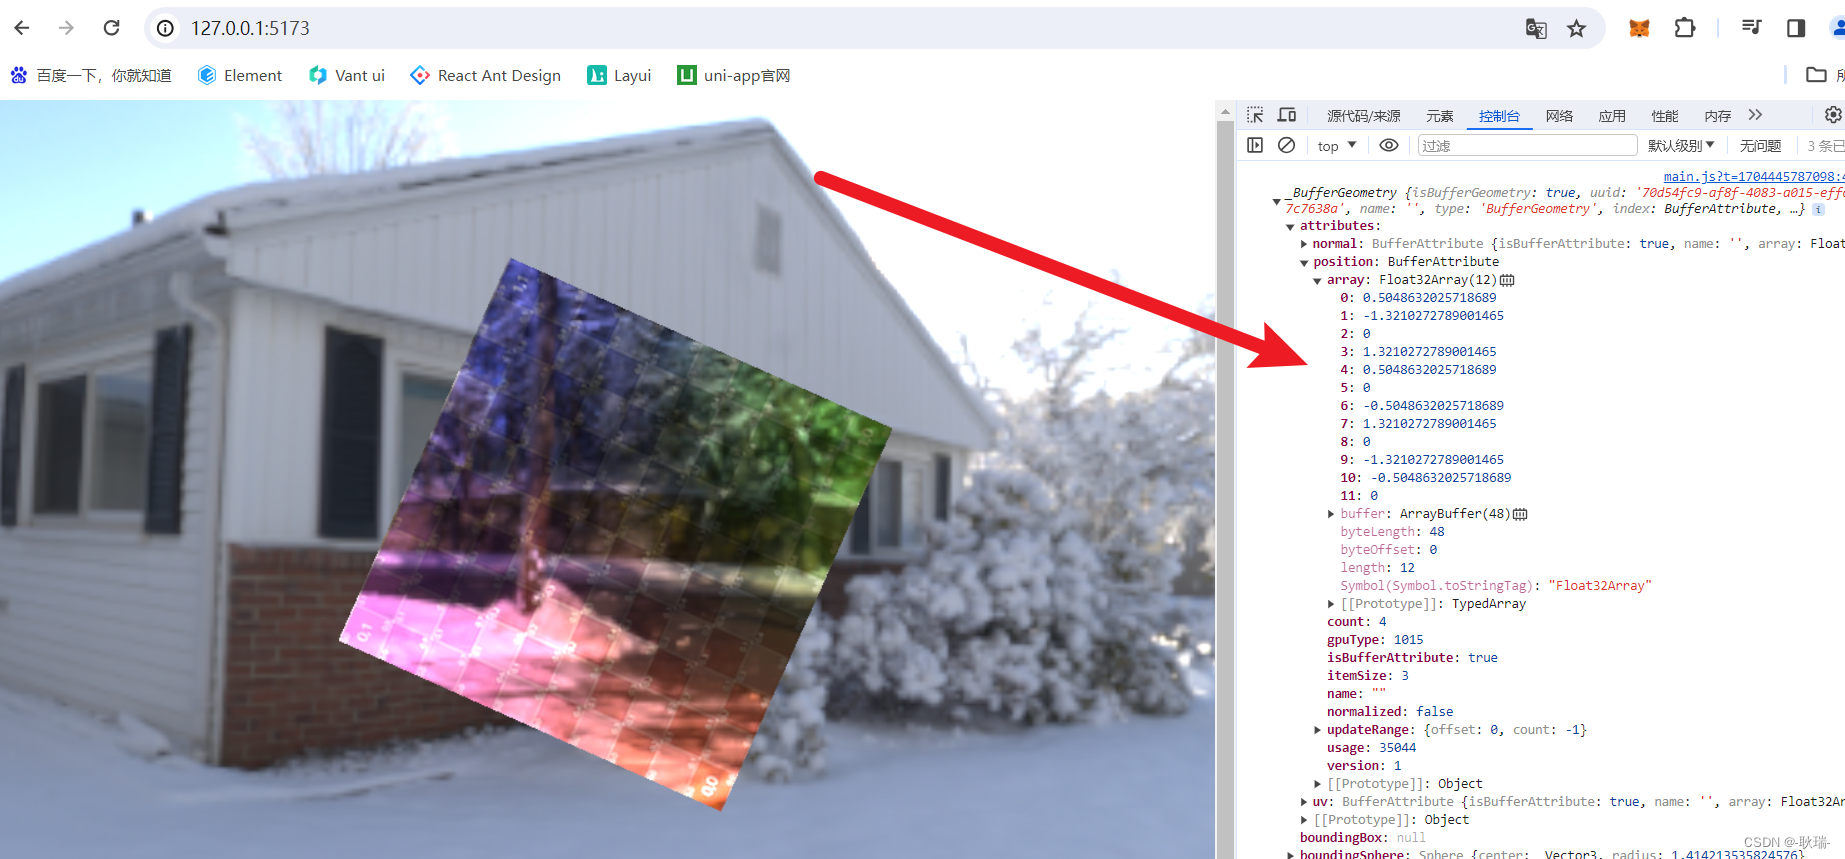
打开控制台 我们就会看到 设置了旋转之后 position 的顶点 也会同步变化角度
然后 y轴
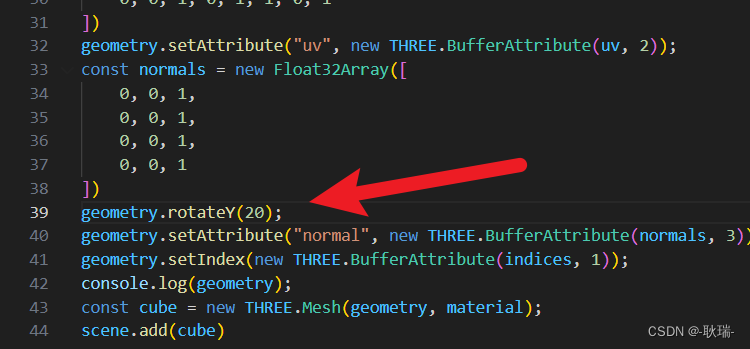
就是平面的旋转
Z轴
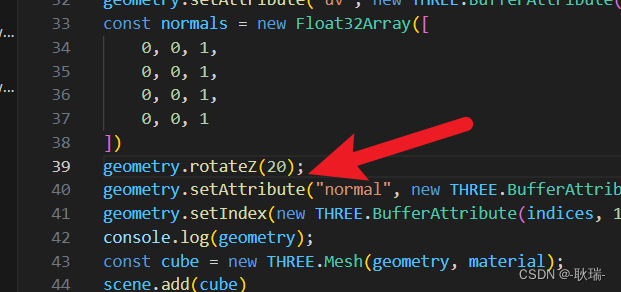
就是 面对我们这一面的旋转
文章来源:https://blog.csdn.net/weixin_45966674/article/details/135411298
本文来自互联网用户投稿,该文观点仅代表作者本人,不代表本站立场。本站仅提供信息存储空间服务,不拥有所有权,不承担相关法律责任。 如若内容造成侵权/违法违规/事实不符,请联系我的编程经验分享网邮箱:veading@qq.com进行投诉反馈,一经查实,立即删除!
本文来自互联网用户投稿,该文观点仅代表作者本人,不代表本站立场。本站仅提供信息存储空间服务,不拥有所有权,不承担相关法律责任。 如若内容造成侵权/违法违规/事实不符,请联系我的编程经验分享网邮箱:veading@qq.com进行投诉反馈,一经查实,立即删除!