k8s部署prometheus
扩展
配置好的yaml文件放在网盘里 需要自取
链接:https://pan.baidu.com/s/1ElpJuO5oSW1oweZ5T0KmOw?pwd=t7ip
提取码:t7ip
--来自百度网盘超级会员V3的分享
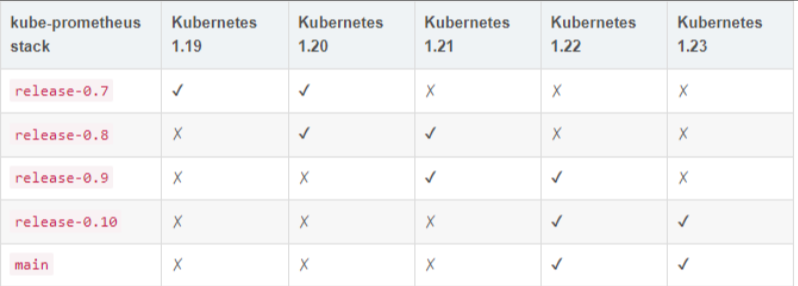
1 kube-promethues与kubernetes的版本对应关系
kube-prometheus的github地址:https://github.com/prometheus-operator/kube-prometheus
因为我的k8s版本为1.19 所以下载release-0.7
https://codeload.github.com/prometheus-operator/kube-prometheus/tar.gz/refs/tags/v0.7.0
2 kube-prometheus安装
2.1 yaml的分类
root@k8s-master(192.168.1.10)/data/prometheus/kube-prometheus-0.7.0/manifests>
mkdir -p node-exporter alertmanager grafana kube-state-metrics prometheus serviceMonitor adapter

# 移动 yaml 文件,进行分类到各个文件夹下
mv *-serviceMonitor* serviceMonitor/
mv grafana-* grafana/
mv kube-state-metrics-* kube-state-metrics/
mv alertmanager-* alertmanager/
mv node-exporter-* node-exporter/
mv prometheus-adapter* adapter/
mv prometheus-* prometheus/
root@k8s-master(192.168.1.10)/data/prometheus/kube-prometheus-0.7.0/manifests>tree .
.
├── adapter
│   ├── prometheus-adapter-apiService.yaml
│   ├── prometheus-adapter-clusterRoleAggregatedMetricsReader.yaml
│   ├── prometheus-adapter-clusterRoleBindingDelegator.yaml
│   ├── prometheus-adapter-clusterRoleBinding.yaml
│   ├── prometheus-adapter-clusterRoleServerResources.yaml
│   ├── prometheus-adapter-clusterRole.yaml
│   ├── prometheus-adapter-configMap.yaml
│   ├── prometheus-adapter-deployment.yaml
│   ├── prometheus-adapter-roleBindingAuthReader.yaml
│   ├── prometheus-adapter-serviceAccount.yaml
│   └── prometheus-adapter-service.yaml
├── alertmanager
│   ├── alertmanager-alertmanager.yaml
│   ├── alertmanager-secret.yaml
│   ├── alertmanager-serviceAccount.yaml
│   └── alertmanager-service.yaml
├── grafana
│   ├── grafana-dashboardDatasources.yaml
│   ├── grafana-dashboardDefinitions.yaml
│   ├── grafana-dashboardSources.yaml
│   ├── grafana-deployment.yaml
│   ├── grafana-serviceAccount.yaml
│   └── grafana-service.yaml
├── kube-state-metrics
│   ├── kube-state-metrics-clusterRoleBinding.yaml
│   ├── kube-state-metrics-clusterRole.yaml
│   ├── kube-state-metrics-deployment.yaml
│   ├── kube-state-metrics-serviceAccount.yaml
│   └── kube-state-metrics-service.yaml
├── node-exporter
│   ├── node-exporter-clusterRoleBinding.yaml
│   ├── node-exporter-clusterRole.yaml
│   ├── node-exporter-daemonset.yaml
│   ├── node-exporter-serviceAccount.yaml
│   └── node-exporter-service.yaml
├── prometheus
│   ├── prometheus-clusterRoleBinding.yaml
│   ├── prometheus-clusterRole.yaml
│   ├── prometheus-prometheus.yaml
│   ├── prometheus-roleBindingConfig.yaml
│   ├── prometheus-roleBindingSpecificNamespaces.yaml
│   ├── prometheus-roleConfig.yaml
│   ├── prometheus-roleSpecificNamespaces.yaml
│   ├── prometheus-rules.yaml
│   ├── prometheus-serviceAccount.yaml
│   └── prometheus-service.yaml
├── serviceMonitor
│   ├── alertmanager-serviceMonitor.yaml
│   ├── grafana-serviceMonitor.yaml
│   ├── kube-state-metrics-serviceMonitor.yaml
│   ├── node-exporter-serviceMonitor.yaml
│   ├── prometheus-adapter-serviceMonitor.yaml
│   ├── prometheus-operator-serviceMonitor.yaml
│   ├── prometheus-serviceMonitorApiserver.yaml
│   ├── prometheus-serviceMonitorCoreDNS.yaml
│   ├── prometheus-serviceMonitorKubeControllerManager.yaml
│   ├── prometheus-serviceMonitorKubelet.yaml
│   ├── prometheus-serviceMonitorKubeScheduler.yaml
│   └── prometheus-serviceMonitor.yaml
└── setup
    ├── 0namespace-namespace.yaml
    ├── prometheus-operator-0alertmanagerConfigCustomResourceDefinition.yaml
    ├── prometheus-operator-0alertmanagerCustomResourceDefinition.yaml
    ├── prometheus-operator-0podmonitorCustomResourceDefinition.yaml
    ├── prometheus-operator-0probeCustomResourceDefinition.yaml
    ├── prometheus-operator-0prometheusCustomResourceDefinition.yaml
    ├── prometheus-operator-0prometheusruleCustomResourceDefinition.yaml
    ├── prometheus-operator-0servicemonitorCustomResourceDefinition.yaml
    ├── prometheus-operator-0thanosrulerCustomResourceDefinition.yaml
    ├── prometheus-operator-clusterRoleBinding.yaml
    ├── prometheus-operator-clusterRole.yaml
    ├── prometheus-operator-deployment.yaml
    ├── prometheus-operator-serviceAccount.yaml
    └── prometheus-operator-service.yaml
2.2 持久化存储
prometheus 实际上是通过 emptyDir 进行挂载的,我们知道 emptyDir 挂载的数据的生命周期和 Pod 生命周期一致的,如果 Pod 挂掉了,那么数据也就丢失了,这也就是为什么我们重建 Pod 后之前的数据就没有了的原因,所以这里修改它的持久化配置。
2.2.1 安装openebs
去除master的标签
kubectl get node -o wide
#确认 master 节点是否有 Taint,如下看到 master 节点有 Taint。
kubectl describe node master | grep Taint
#去掉 master 节点的 Taint:
kubectl taint nodes master node-role.kubernetes.io/master:NoSchedule-
operator方式安装
wget https://openebs.github.io/charts/openebs-operator.yaml
sed -i 's#quay.io#docker.io#g' openebs-operator.yaml
kubectl apply -f openebs-operator.yaml
查看创建的pod,其中ndm以daemonset方式部署:
root@k8s-master(192.168.1.10)~>kubectl -n openebs get pods
NAME                                            READY   STATUS    RESTARTS   AGE
openebs-localpv-provisioner-6779c77b9d-74wjq    1/1     Running   0          46s
openebs-ndm-cluster-exporter-5bbbcd59d4-lfjvz   1/1     Running   0          46s
openebs-ndm-node-exporter-5z49q                 1/1     Running   0          46s
openebs-ndm-node-exporter-xl82r                 1/1     Running   0          46s
openebs-ndm-operator-d8797fff9-4t5bq            1/1     Running   0          46s
openebs-ndm-qnc4g                               1/1     Running   0          46s
openebs-ndm-zp7kx                               1/1     Running   0          46s
root@k8s-master(192.168.1.10)~>
2.2.2 查询当前的storeclass名称
root@k8s-master(192.168.1.10)~>kubectl get sc
NAME               PROVISIONER        RECLAIMPOLICY   VOLUMEBINDINGMODE      ALLOWVOLUMEEXPANSION   AGE
openebs-device     openebs.io/local   Delete          WaitForFirstConsumer   false                  2m8s
openebs-hostpath   openebs.io/local   Delete          WaitForFirstConsumer   false                  2m8s
可以看到StorageClass的名称为openebs-hostpath,接下来可以修改配置文件了
2.2.3 修改Prometheus 持久化
prometheus是一种 StatefulSet 有状态集的部署模式,所以直接将 StorageClass 配置到里面,在下面的 yaml 中最下面添加持久化配置:
目录:manifests/prometheus/prometheus-prometheus.yaml
在文件末尾新增:
...
  serviceMonitorSelector: {}
  version: v2.11.0
  retention: 3d
  storage:
    volumeClaimTemplate:
      spec:
        storageClassName: openebs-hostpath
        resources:
          requests:
            storage: 5Gi
2.2.4 修改grafana持久化配置
由于 Grafana 是部署模式为 Deployment,所以我们提前为其创建一个 grafana-pvc.yaml 文件,加入下面 PVC 配置。
目录:manifests/grafana/grafana-pvc.yaml
kind: PersistentVolumeClaim
apiVersion: v1
metadata:
  name: grafana
  namespace: monitoring  #---指定namespace为monitoring
spec:
  storageClassName: openebs-hostpath #---指定StorageClass
  accessModes:
    - ReadWriteOnce
  resources:
    requests:
      storage: 5Gi
接着修改 grafana-deployment.yaml 文件设置持久化配置,应用上面的 PVC(目录:manifests/grafana/grafana-deployment.yaml)
修改内容如下:
      serviceAccountName: grafana
      volumes:
      - name: grafana-storage       # 新增持久化配置
        persistentVolumeClaim:
          claimName: grafana        # 设置为创建的PVC名称
#      - emptyDir: {}               # 注释旧的注释
#        name: grafana-storage
      - name: grafana-datasources
        secret:
          secretName: grafana-datasources
2.3 修改 Service 端口设置
2.3.1 修改 Prometheus Service
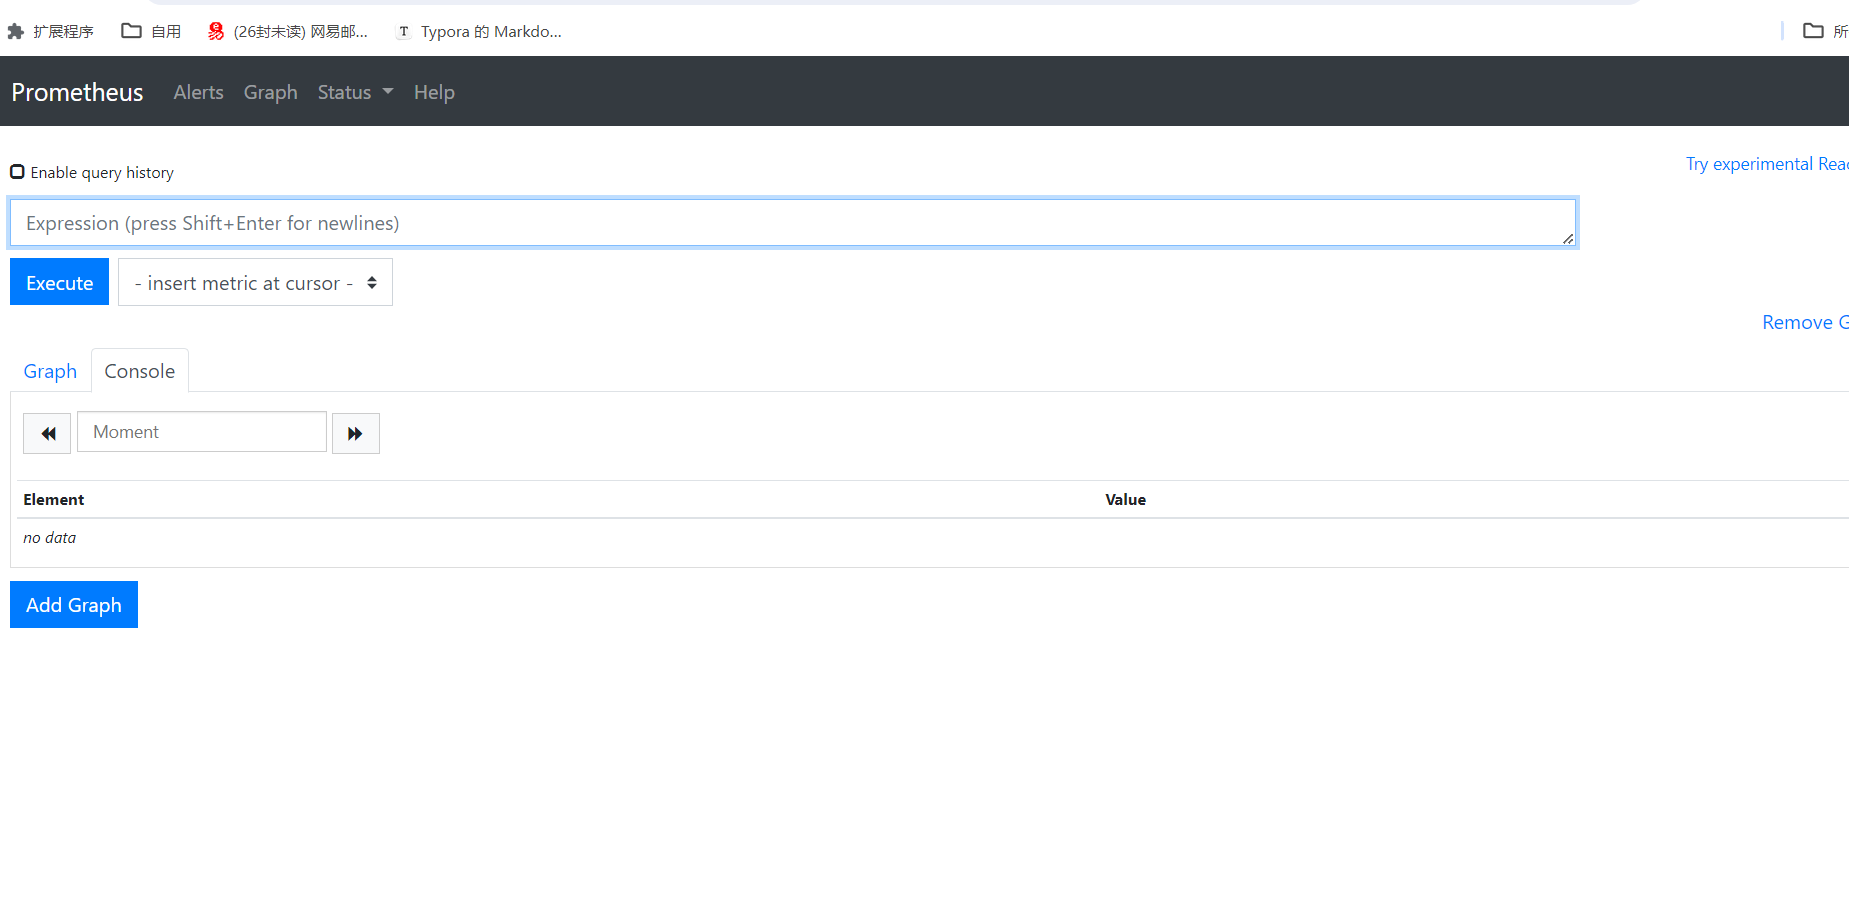
修改prometheus Service端口类型为 NodePort,设置 NodePort 端口为 30090
vim prometheus-service.yaml

apiVersion: v1
kind: Service
metadata:
  labels:
    prometheus: k8s
  name: prometheus-k8s
  namespace: monitoring
spec:
  type: NodePort
  ports:
  - name: web
    port: 9090
    targetPort: web
    nodePort: 30090
  selector:
    app: prometheus
    prometheus: k8s
  sessionAffinity: ClientIP
2.3.2 修改 Grafana Service
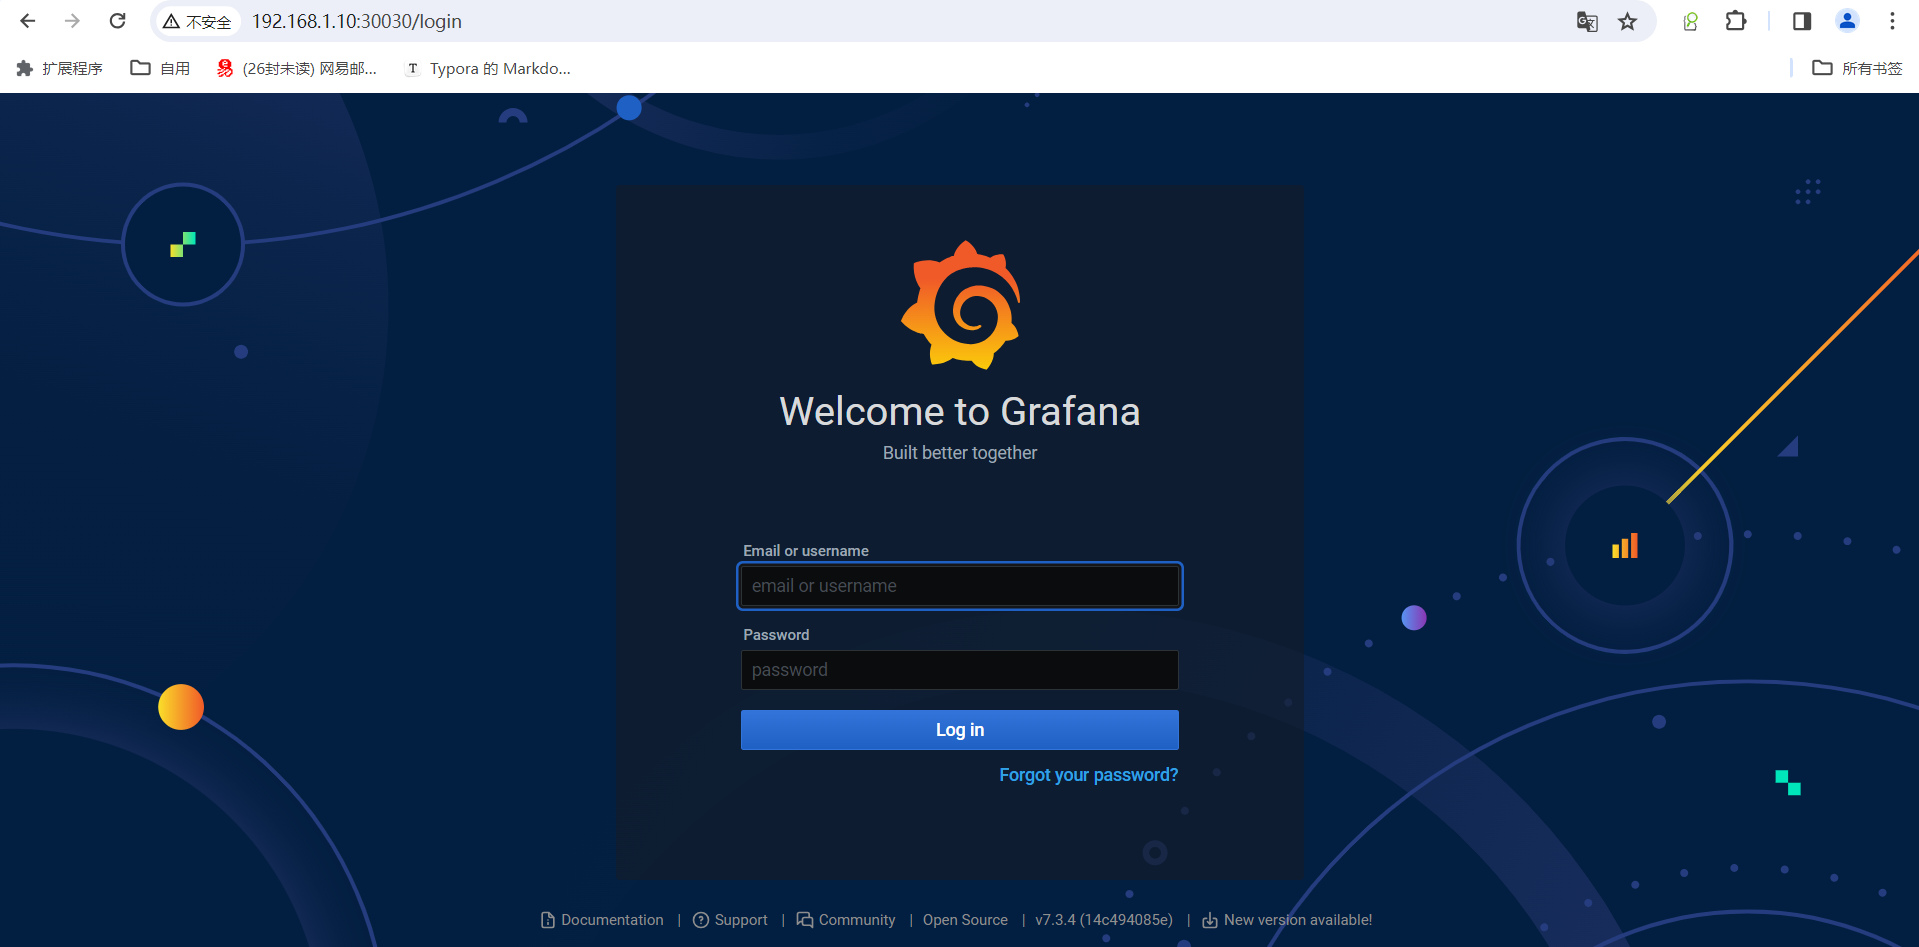
修改 garafana service 端口类型为 NodePort,设置 NodePort 端口为 30030
root@k8s-master(192.168.1.10)/data/prometheus/kube-prometheus-0.7.0/manifests/grafana>vim grafana-service.yaml
apiVersion: v1
kind: Service
metadata:
  labels:
    app: grafana
  name: grafana
  namespace: monitoring
spec:
  type: NodePort
  ports:
  - name: http
    port: 3000
    targetPort: http
    nodePort: 30030
  selector:
    app: grafana
2.4 安装
均在manifest目录下操作!
# 开始安装 Operator:
kubectl apply -f setup/
root@k8s-master(192.168.1.10)/data/prometheus/kube-prometheus-0.7.0/manifests>kubectl get pods -n monitoring
NAME                                   READY   STATUS    RESTARTS   AGE
prometheus-operator-7649c7454f-bgd7v   2/2     Running   0          49s
root@k8s-master(192.168.1.10)/data/prometheus/kube-prometheus-0.7.0/manifests>
接下来安装其它组件:
kubectl apply -f alertmanager/
kubectl apply -f node-exporter/
kubectl apply -f kube-state-metrics/
kubectl apply -f grafana/
kubectl apply -f prometheus/
kubectl apply -f serviceMonitor
等待查看pod
root@k8s-master(192.168.1.10)/data/prometheus/kube-prometheus-0.7.0/manifests/node-exporter>kubectl get po -n monitoring
NAME                                   READY   STATUS    RESTARTS   AGE
alertmanager-main-0                    2/2     Running   0          39m
alertmanager-main-1                    2/2     Running   0          39m
alertmanager-main-2                    2/2     Running   0          39m
grafana-5d65487c86-tbvcl               1/1     Running   0          39m
kube-state-metrics-587bfd4f97-b7t4c    3/3     Running   0          39m
node-exporter-hpbcv                    2/2     Running   0          19s
node-exporter-vp44w                    2/2     Running   0          19s
node-exporter-w852l                    2/2     Running   0          19s
prometheus-adapter-69b8496df6-kvvrk    1/1     Running   0          39m
prometheus-k8s-0                       2/2     Running   1          39m
prometheus-k8s-1                       2/2     Running   0          39m
prometheus-operator-7649c7454f-bgd7v   2/2     Running   0          41m


本文来自互联网用户投稿,该文观点仅代表作者本人,不代表本站立场。本站仅提供信息存储空间服务,不拥有所有权,不承担相关法律责任。 如若内容造成侵权/违法违规/事实不符,请联系我的编程经验分享网邮箱:veading@qq.com进行投诉反馈,一经查实,立即删除!