HTML+CSS基础——CSS控制器(图像)
<!DOCTYPE html>
<html>
<head>
<title>Images</title>
<style type="text/css">
body{
color:#665544;
background-color:#d4d0c6;
background-image:url("img/15.jpg");
font-family:Georgia,"Times New Roma",serif;
text-align:center;}
.wrapper{
width:720px;
margin:0px auto;}
.header{
margin:40px 0px 20px 0px;}
.entry{
width:220px;
float:left;
margin:10px;
height:198px;
background-image:url("img/15.jpg");
background-repeat:no-repeat;
background-position:bottom;}
figure{
diaplay:block;
width:202px;
height:170px;
background-color:#e7e3d8;
margin:0px;
padding:9px;
text-algin:left;}
figure img{
width:200px;
height:150px;
border:1px solid #d6d6d6;}
figcaption{
background-image:url("images/15.jpg") no-repeat;
padding-left:20px;}
</style>
</head>
<body>
<div class="wrapper">
<div class="header">
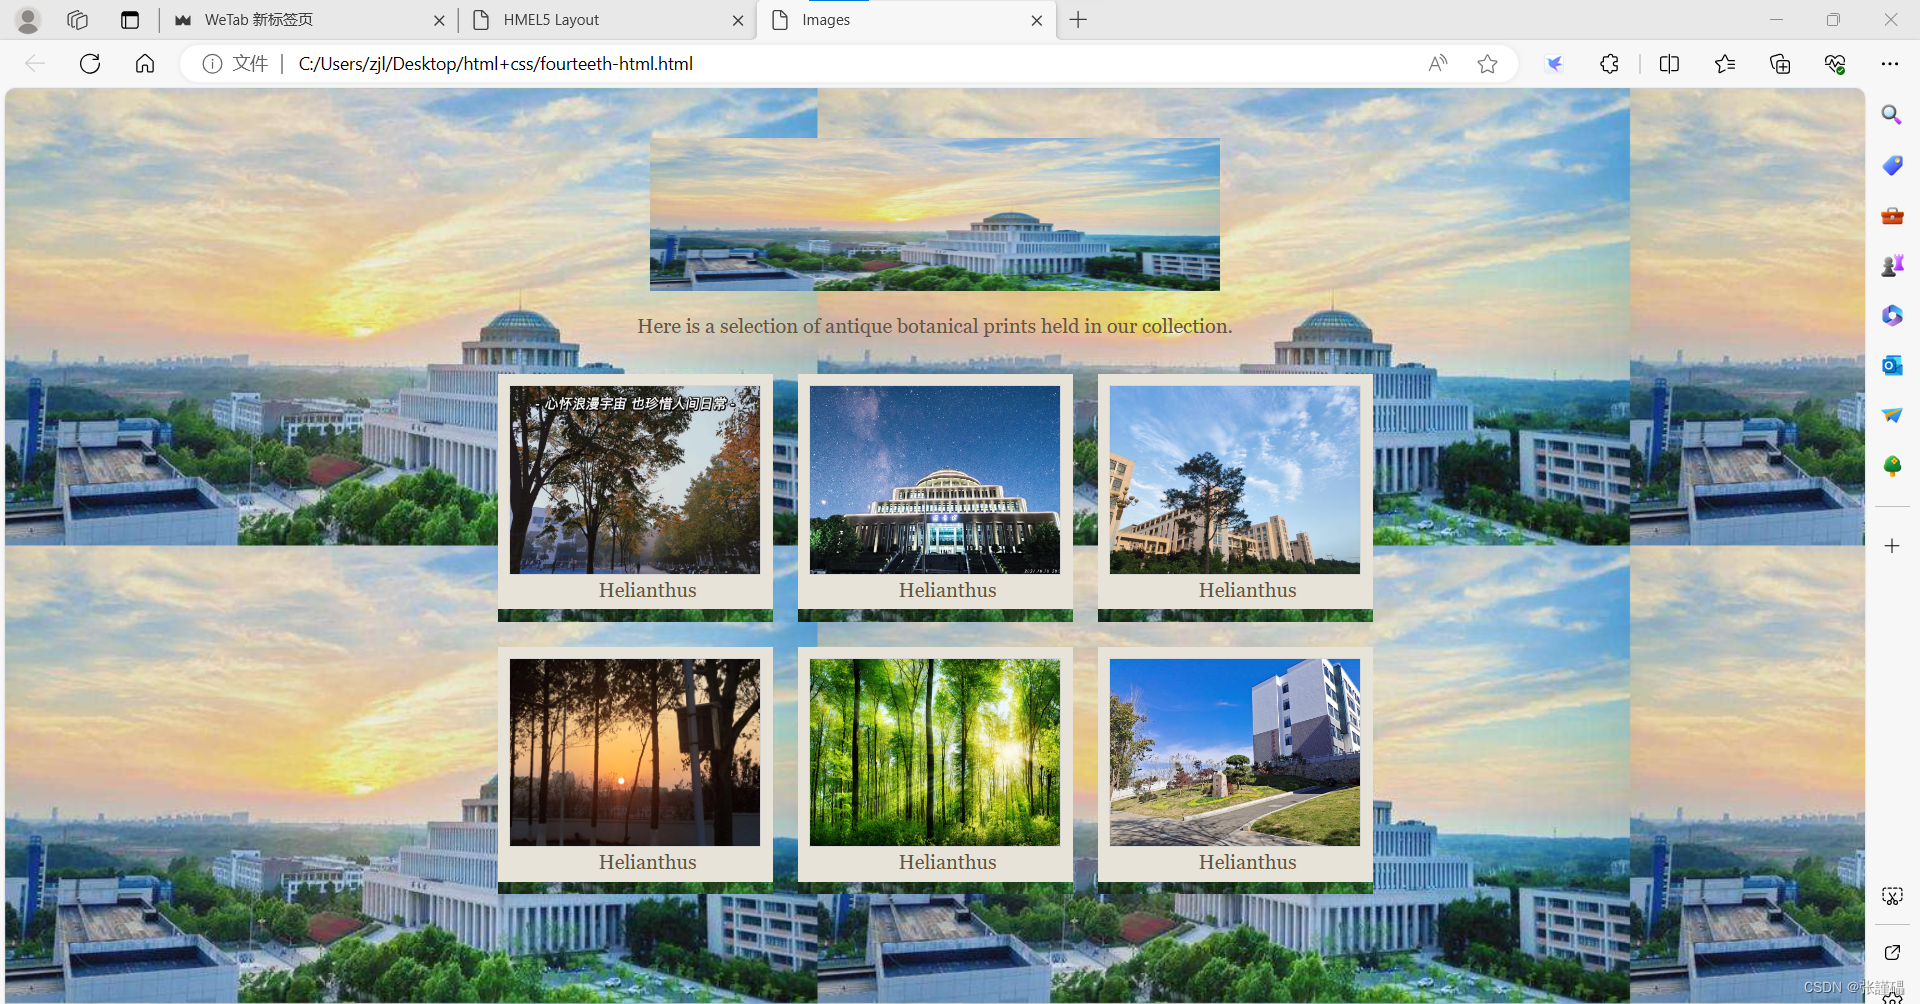
<img src="img/15.jpg" alt="Galerie Botanique" width="456" height="122"/>
<p>Here is a selection of antique botanical prints held in our collection.</p>
</div>
<div class="entry">
<figure><img src="img/16.jpg" alt="Helianthus"/>
<figcaption>Helianthus</figcaption>
</figure>
</div>
<div class="entry">
<figure><img src="img/17.jpg" alt="Helianthus"/>
<figcaption>Helianthus</figcaption>
</figure>
</div>
<div class="entry">
<figure><img src="img/18.jpg" alt="Helianthus"/>
<figcaption>Helianthus</figcaption>
</figure>
</div>
<div class="entry">
<figure><img src="img/14.jpg" alt="Helianthus"/>
<figcaption>Helianthus</figcaption>
</figure>
</div>
<div class="entry">
<figure><img src="img/20.jpg" alt="Helianthus"/>
<figcaption>Helianthus</figcaption>
</figure>
</div>
<div class="entry">
<figure><img src="img/19.jpg" alt="Helianthus"/>
<figcaption>Helianthus</figcaption>
</figure>
</div>
</div>
</body>
</html>
这是一个简单的网页代码,用于展示一组古董植物版画的图像。代码使用了HTML和CSS来定义页面样式和布局。在<body>标签中,有一个包含所有图像的<div>元素,使用了类名.entry,每个图像都是一个<div>元素,使用了类名.entry和<figure>元素。每个图像都有一张<img>标签,用于显示图像,并且每个图像还包含一个<figcaption>元素,用于显示图像的标题。
样式部分使用了一些选择器来定义页面的外观。.wrapper类用于定义一个宽度为720像素、居中对齐的元素,.header类用于定义页面头部的样式。.entry类定义了每个图像区块的样式,包括大小、浮动和背景图像等。<figure>元素定义了图像和标题的容器,其中包含一个定义图像大小和边框样式的<img>元素,以及一个定义标题样式的<figcaption>元素。
总体而言,这段代码的作用是展示一组古董植物版画的图像,并使用CSS进行样式定义。
首先是HTML部分:
<!DOCTYPE html>
<html>
	<head>
		<title>Images</title>
		<style type="text/css">
			/* CSS样式代码在这里 */
		</style>
	</head>
	<body>
		<div class="wrapper">
			<div class="header">
				<img src="img/15.jpg" alt="Galerie Botanique" width="456" height="122"/>
				<p>Here is a selection of antique botanical prints held in our collection.</p>
			</div>
			<div class="entry">
				<figure><img src="img/16.jpg" alt="Helianthus"/>
					<figcaption>Helianthus</figcaption>
				</figure>
			</div>
			<!-- 还有其他几个类似的div.entry部分 -->
		</div>
	</body>
</html>
接下来是CSS部分:
<style type="text/css">
	body{
		/* 页面整体样式 */
	}
	/* 其他样式选择器和属性 */
</style>
在HTML部分中,我们可以看到<head>标签内包含了页面的标题和样式表。在<body>标签中,有一个包含了所有内容的.wrapper类的<div>元素。其中的.header类的<div>用于头部信息,包括一张图片和一段文字。接下来是一系列的.entry类的<div>元素,每个都包含一个<figure>元素,里面有一张图片和一个标题。
在CSS部分中,我们可以看到对body、.wrapper、.header、.entry、<figure>等元素和类的样式定义。这些样式定义了页面的整体外观,包括颜色、背景图像、大小和布局等。
在继续分析代码的CSS部分时,我们可以看到几个选择器和属性:
figure{
    display:block;
    width:202px;
    height:170px;
    background-color:#e7e3d8;
    margin:0px;
    padding:9px;
    text-align:left;
}

figure img{
    width:200px;
    height:150px;
    border:1px solid #d6d6d6;
}

figcaption{
    background-image:url("images/15.jpg") no-repeat;
    padding-left:20px;
}
-
figure选择器对应<figure>元素,定义了图像和标题的容器的样式,包括显示方式为块级元素、宽度、高度、背景颜色、外边距、内边距以及文本对齐方式。 -
figure img选择器对应<img>元素,定义了图像的样式,包括宽度、高度和边框样式。 -
figcaption选择器对应<figcaption>元素,定义了标题的样式,包括背景图像和左填充。
这些样式定义了图像和标题容器的具体外观,包括容器的尺寸、背景颜色和内部图像的样式,以及标题的背景图像和填充。
综合起来,HTML和CSS代码共同构成了一个简单的网页,用于展示一组古董植物版画的图像,并定义了它们的外观和布局。这种分块分析有助于理解代码的结构和作用,以便更好地对页面进行定制和修改。
?
<!DOCTYPE html>:声明文档类型为HTML5,告诉浏览器使用HTML5的标准解析页面。<html>:HTML文档的根元素,包含了整个页面的内容。<head>:包含了页面的元信息和引用的外部资源,如样式表和脚本文件。<title>:定义了页面的标题,显示在浏览器标签页上。<style>:定义了内部样式表,用于描述HTML文档的展示样式。<body>:包含了页面的可见内容,如文本、图像、链接等。<div>:用于将文档分组,常用于创建容器或布局结构。<img>:用于在页面中嵌入图像。<p>:定义了段落,用于包裹一段文本。<figure>:用于表示一段独立的内容,通常结合<img>和<figcaption>使用。<figcaption>:定义了<figure>元素的标题或说明文本。
body {
    background-color: #f2f2f2;
    font-family: Arial, sans-serif;
    margin: 0;
    padding: 0;
}

h1 {
    font-size: 24px;
    font-weight: bold;
    text-align: center;
}

.container {
    max-width: 1200px;
    margin: 0 auto;
    padding: 20px;
}

.card {
    background-color: #fff;
    border-radius: 8px;
    box-shadow: 0 2px 4px rgba(0, 0, 0, 0.1);
    padding: 20px;
    margin-bottom: 20px;
}

.card img {
    max-width: 100%;
    height: auto;
}

.card h2 {
    font-size: 18px;
    font-weight: bold;
    margin-bottom: 10px;
}

.card p {
    font-size: 14px;
    color: #666;
    line-height: 1.5;
    margin-bottom: 20px;
}

.button {
    display: inline-block;
    background-color: #4caf50;
    color: #fff;
    text-decoration: none;
    padding: 10px 20px;
    border-radius: 4px;
}

.button:hover {
    background-color: #45a049;
}
这段CSS代码涵盖了不同的样式规则,其中一些关键的样式规则如下:
body选择器用于定义整个页面的基本样式,包括背景颜色、字体和边距。h1选择器定义了标题文本的样式,包括字体大小、加粗和居中对齐。.container选择器用于定义一个容器元素的样式,包括最大宽度、居中对齐和内边距。.card选择器定义了一个卡片容器的样式,包括背景颜色、圆角、阴影、内边距和外边距。.card img选择器定义了卡片中图片的样式,确保图片按比例缩放适应容器。.card h2和.card p选择器分别定义了卡片中标题和段落文本的样式,包括字体大小、加粗、行高和底边距。.button选择器定义了一个按钮元素的样式,包括背景颜色、文本颜色、文本装饰、内边距和边框半径。.button:hover选择器定义了按钮在鼠标悬停时的样式变化,改变了背景颜色。
?
本文来自互联网用户投稿,该文观点仅代表作者本人,不代表本站立场。本站仅提供信息存储空间服务,不拥有所有权,不承担相关法律责任。 如若内容造成侵权/违法违规/事实不符,请联系我的编程经验分享网邮箱:veading@qq.com进行投诉反馈,一经查实,立即删除!