elasticsearch 接口简单使用
目录
一、启动es
1.1?启动
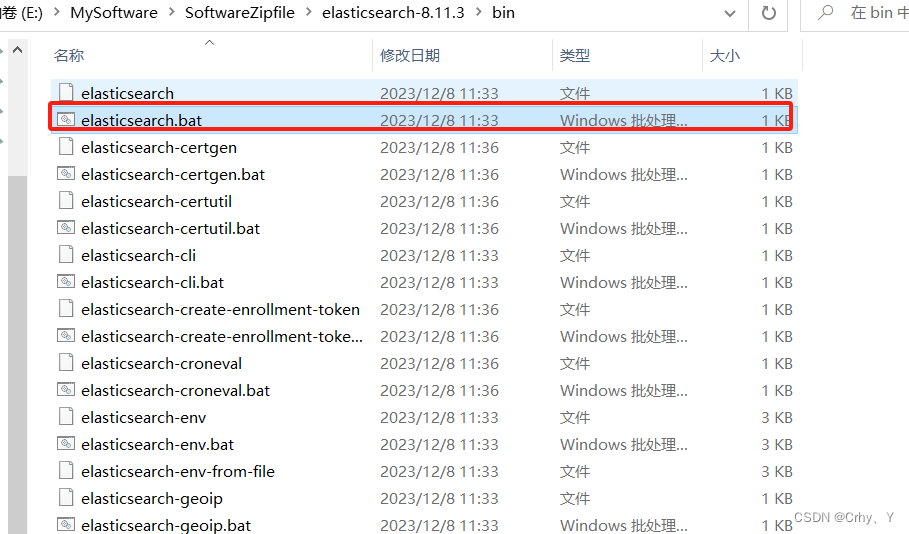
进入 elasticsearch-8.11.3\bin 目录下 启动 elasticsearch.bat
 ?
?
1.2 访问测试
浏览器访问 http://localhost:9200/ 有输出则启动成功

二、es接口测试
2.1 创建索引并创建Mapping
请求地址:http://localhost:9200/test2
请求方式:put
Body:
{
? "mappings": {
? ? ? "properties": {
? ? ? ? "id": {
? ? ? ? ? "type": "long",
? ? ? ? ? "store": true
? ? ? ? },
? ? ? ? "title": {
? ? ? ? ? "type": "text",
? ? ? ? ? "store": true,
? ? ? ? ? "analyzer":"standard"
? ? ? ? },
? ? ? ? "content": {
? ? ? ? ? "type": "text",
? ? ? ? ? "store": true,
? ? ? ? ? "analyzer":"standard"
? ? ? ? }?
? ? ? }
? }
}
2.2?添加文档
请求地址:http://localhost:9200/test2/_doc/1
请求方式:put
Body:
{
?? ?"id":1,
?? ?"title":"title1",
?? ?"content":"This is a text about el testing"
}
?
2.3 检索
请求地址:http://localhost:9200/test2/_search
请求方式:get
Body(检索所有):
{
? "query": {
? ? "query_string": {
? ? ? "query": "is"
? ? }
? }
}
?Body(仅检索 content):
{
? "query": {
? ? "query_string": {
? ? ? "fields": ["content"],
? ? ? "query": "is"
? ? }
? }
}?
本文来自互联网用户投稿,该文观点仅代表作者本人,不代表本站立场。本站仅提供信息存储空间服务,不拥有所有权,不承担相关法律责任。 如若内容造成侵权/违法违规/事实不符,请联系我的编程经验分享网邮箱:veading@qq.com进行投诉反馈,一经查实,立即删除!