AI模型部署 | onnxruntime部署RT-DETR目标检测模型
本文首发于公众号【DeepDriving】,欢迎关注。
0. 引言
RT-DETR是百度开源的一个基于DETR架构的实时端到端目标检测算法,在速度和精度上均超过了YOLOv5、YOLOv8等YOLO系列检测算法,目前在YOLOv8的官方代码仓库ultralytics中也已支持RT-DETR算法。
在上一篇文章《AI模型部署 | onnxruntime部署YOLOv8分割模型详细教程》中我介绍了如何使用onnxruntime框架来部署YOLOv8分割模型,本文将介绍如何使用onnxruntime框架来部署RT-DETR模型,代码还是采用Python实现。
1. 准备工作
-
安装onnxruntime
onnxruntime分为GPU版本和CPU版本,均可以通过pip直接安装:pip install onnxruntime-gpu #安装GPU版本 pip install onnxruntime #安装CPU版本注意:
GPU版本和CPU版本建议只选其中一个安装,否则默认会使用CPU版本。 -
下载
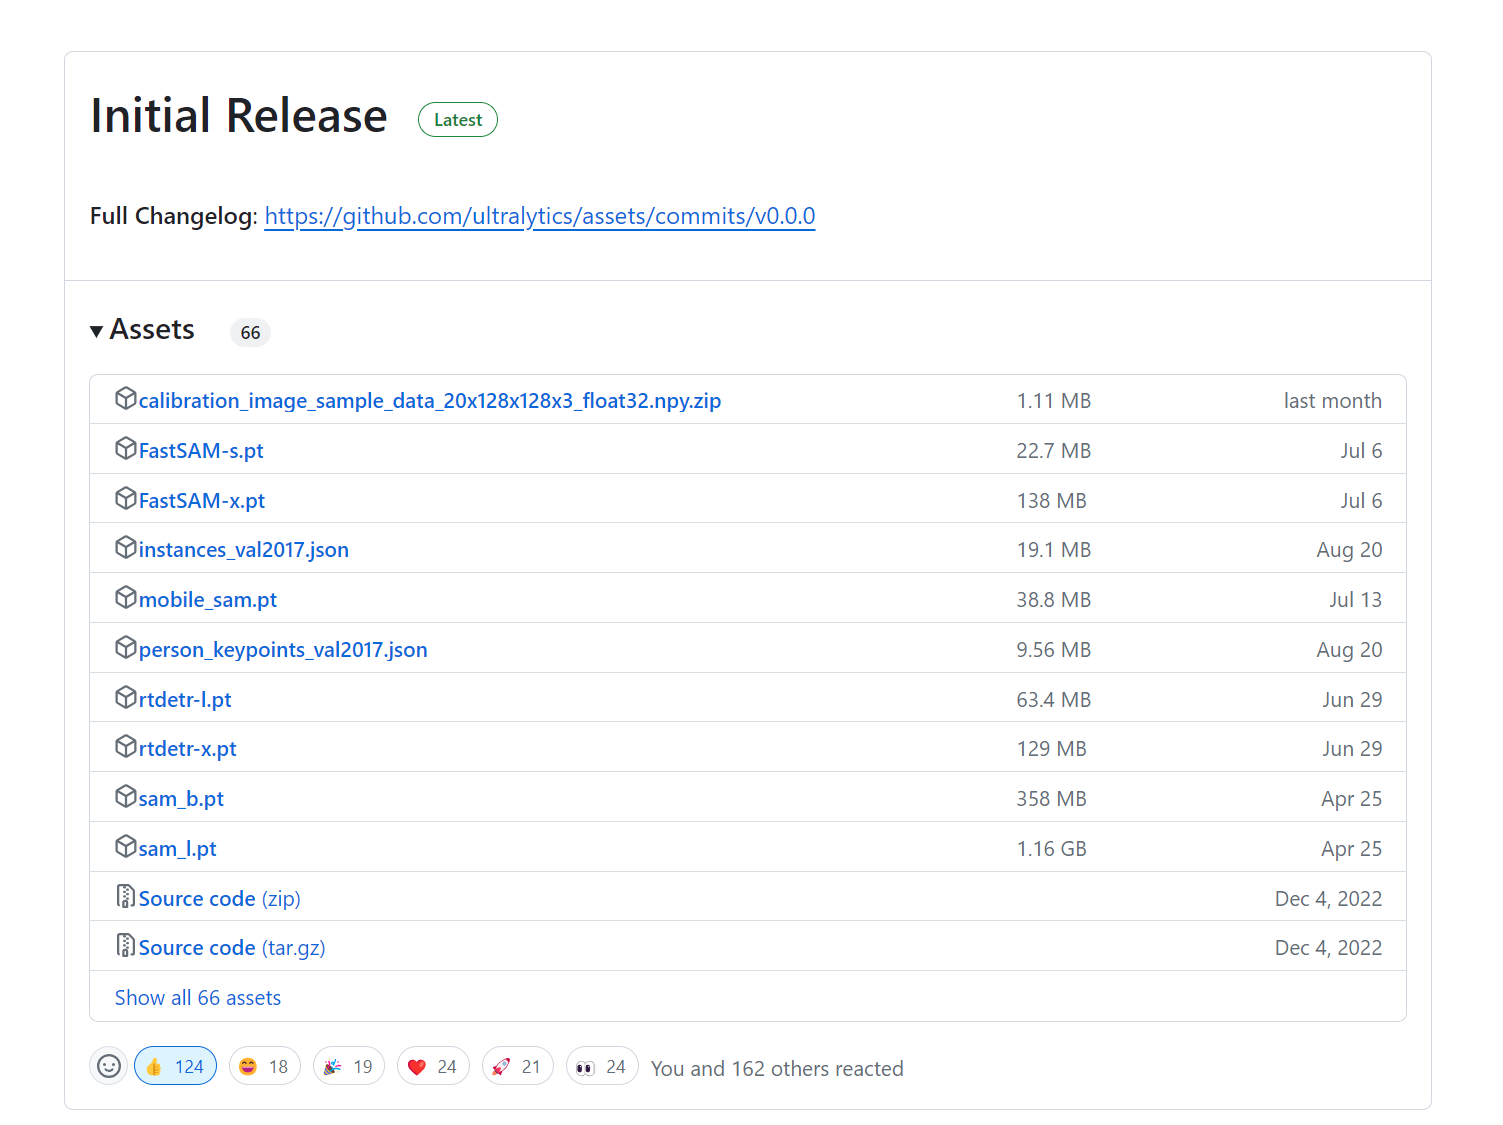
RT-DETR模型Ultralytics官方提供了用COCO数据集训练的RT-DETR模型权重,我们可以直接从GitHub网站https://github.com/ultralytics/assets/releases下载使用,本文使用的模型为rtdetr-l.pt。
-
转换为
onnx模型调用下面的命令可以把
rtdetr-l.pt模型转换为onnx格式的模型:yolo export model=rtdetr-l.pt format=onnx opset=17 simplify=True转换成功后得到的模型为
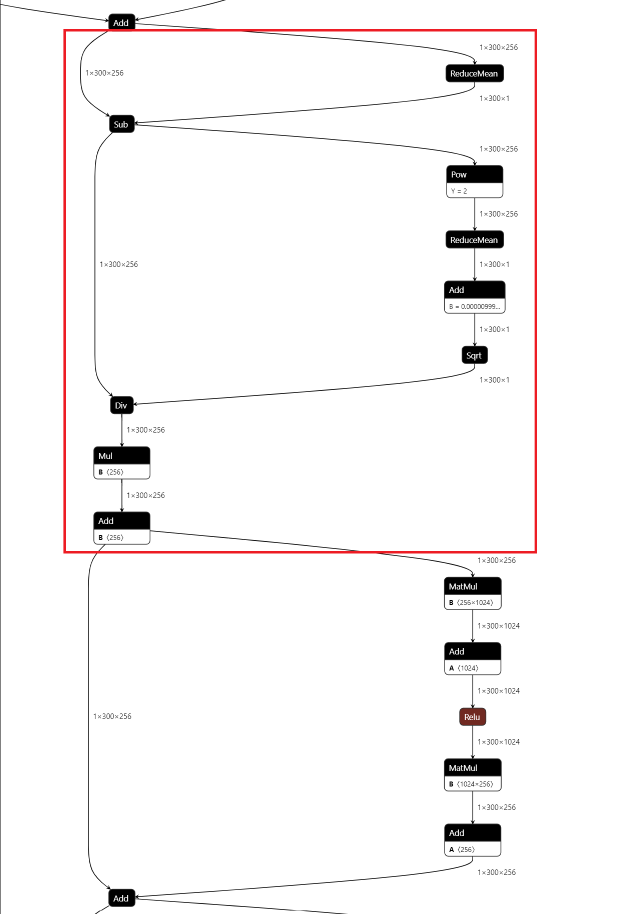
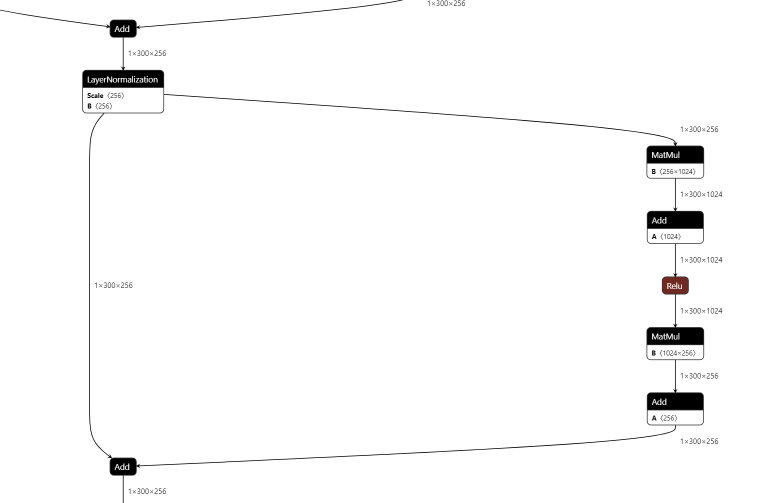
rtdetr-l.onnx。这里设置opset=17是为了能够直接导出LayerNormalization算子,因为onnx从版本17开始才支持该算子。如果opset小于17,那么导出模型的时候会把LayerNormalization算子拆分成一系列子算子进行导出。下面两幅图分别是设置opset=16和opset=17导出的onnx模型中的结构:opset=16,红色框内是把LayerNormalization进行拆分的结果

opset=17:

另外,这里设置
simplify=True是为了调用onnx-simplifier工具对模型进行简化,否则生成的模型有一大堆零碎的算子,看起来就很麻烦。
2. 模型部署
2.1 加载onnx模型
首先导入onnxruntime包,然后调用其API加载模型即可:
import onnxruntime as ort

session = ort.InferenceSession("rtdetr-l.onnx", providers=["CUDAExecutionProvider"])
因为我使用的是GPU版本的onnxruntime,所以providers参数设置的是"CUDAExecutionProvider";如果是CPU版本,则需设置为"CPUExecutionProvider"。
模型加载成功后,我们可以查看一下模型的输入、输出层的属性:
for input in session.get_inputs():
    print("input name: ", input.name)
    print("input shape: ", input.shape)
    print("input type: ", input.type)

for output in session.get_outputs():
    print("output name: ", output.name)
    print("output shape: ", output.shape)
    print("output type: ", output.type)
结果如下:
input name:  images
input shape:  [1, 3, 640, 640]
input type:  tensor(float)
output name:  output0
output shape:  [1, 300, 84]
output type:  tensor(float)
从上面的打印信息可以知道,模型有一个尺寸为[1, 3, 640, 640]的输入层和一个尺寸分别为[1, 300, 84]的输出层。
2.2 数据预处理
数据预处理采用OpenCV和Numpy实现,首先导入这两个包
import cv2
import numpy as np
用OpenCV读取图片后,把数据按照与YOLOv8一样的要求做预处理
image = cv2.imread("soccer.jpg")
image_height, image_width, _ = image.shape
input_tensor = prepare_input(image, model_width, model_height)
print("input_tensor shape: ", input_tensor.shape)
其中预处理函数prepare_input的实现如下:
def prepare_input(bgr_image, width, height):
    image = cv2.cvtColor(bgr_image, cv2.COLOR_BGR2RGB)
    image = cv2.resize(image, (width, height)).astype(np.float32)
    image = image / 255.0
    image = np.transpose(image, (2, 0, 1))
    input_tensor = np.expand_dims(image, axis=0)
    return input_tensor
处理流程如下:
1. 把OpenCV读取的BGR格式的图片转换为RGB格式;
2. 把图片resize到模型输入尺寸640x640;
3. 对像素值除以255做归一化操作;
4. 把图像数据的通道顺序由HWC调整为CHW;
5. 扩展数据维度,将数据的维度调整为NCHW。
经过预处理后,输入数据input_tensor的维度变为[1, 3, 640, 640],与模型的输入尺寸一致。
2.3 模型推理
输入数据准备好以后,就可以送入模型进行推理:
outputs = session.run(None, {session.get_inputs()[0].name: input_tensor})
前面我们打印了模型的输入输出属性,可以知道模型只有一个输出分支,所以只要取outputs[0]的数据进行处理:
output = np.squeeze(outputs[0])
print("output shape: ", output.shape)
output shape: (300, 84)
2.4 后处理
从前文知道模型输出的维度为300x84,其中300表示模型在一张图片上最多能检测的目标数量,84表示每个目标的参数包含4个坐标属性(cx,cy,w,h)和80个类别置信度。每个目标的坐标信息都是做了归一化的,只要乘以原始图像的尺寸就可以把坐标恢复到在原始图像中的大小。RT-DETR的检测结果不需要再做NMS这些额外的后处理操作。后处理的代码如下:
for out in output:
    confidence = out[4:].max()
    if confidence < 0.5:
        continue
    class_id = out[4:].argmax()

    cx, cy, bw, bh = out[:4]
    xmin = (cx - 0.5 * bw) * image_width
    xmax = (cx + 0.5 * bw) * image_width
    ymin = (cy - 0.5 * bh) * image_height
    ymax = (cy + 0.5 * bh) * image_height
可以看到,RT-DETR的后处理极其简单!
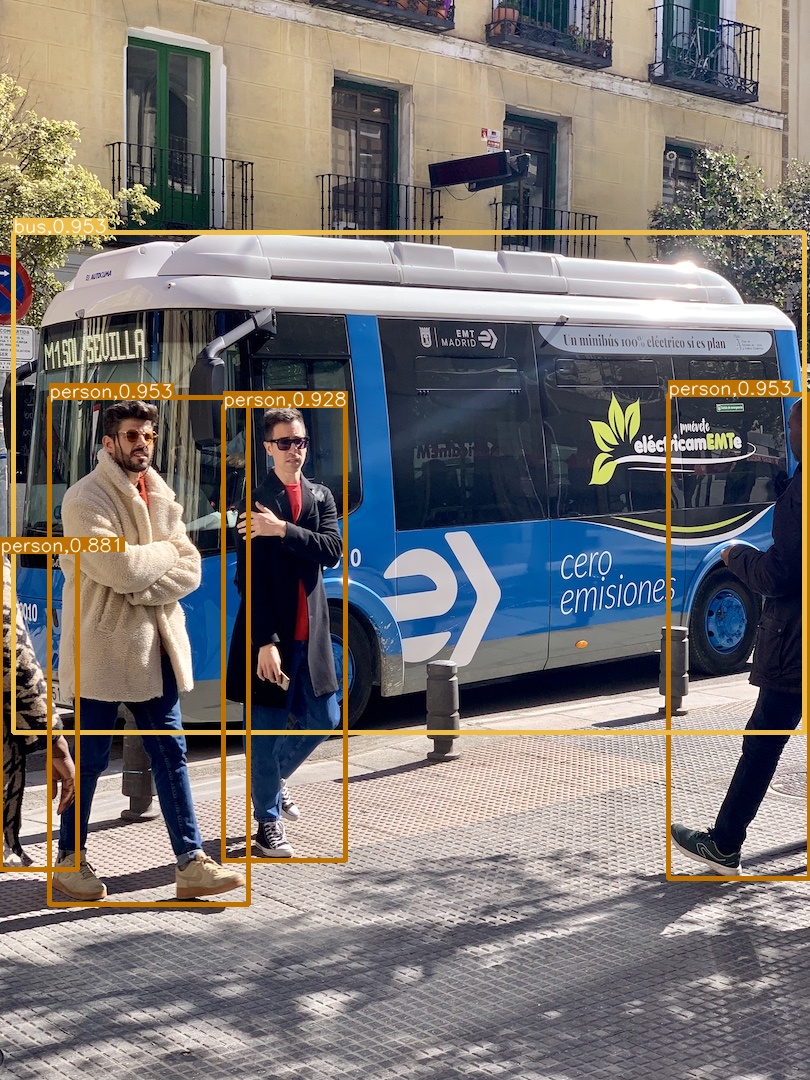
检测效果也是很不错的:


4. 参考资料
- 超越YOLOv8,飞桨推出精度最高的实时检测器RT-DETR
- https://docs.ultralytics.com/zh/models/rtdetr/
本文来自互联网用户投稿,该文观点仅代表作者本人,不代表本站立场。本站仅提供信息存储空间服务,不拥有所有权,不承担相关法律责任。 如若内容造成侵权/违法违规/事实不符,请联系我的编程经验分享网邮箱:veading@qq.com进行投诉反馈,一经查实,立即删除!