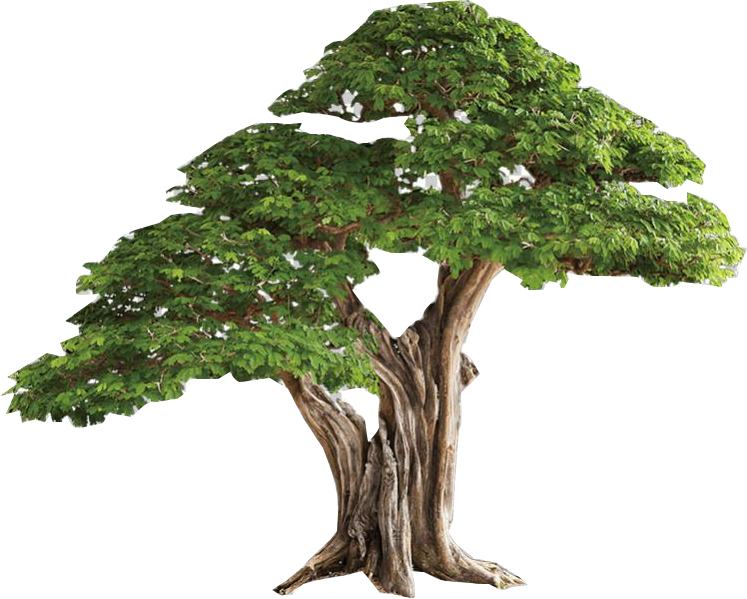
three.js使用精灵模型Sprite渲染森林
2023-12-25 13:28:25
效果:?

源码:
<template>
  <div>
    <el-container>
      <el-main>
        <div class="box-card-left">
          <div id="threejs" style="border: 1px solid red"></div>
          <div class="box-right"></div>
        </div>
      </el-main>
    </el-container>
  </div>
</template>
<script>
// 引入轨道控制器扩展库OrbitControls.js
import { OrbitControls } from "three/examples/jsm/controls/OrbitControls.js";
import { GLTFLoader } from "three/examples/jsm/loaders/GLTFLoader.js";
export default {
  data() {
    return {
      name: "",
      scene: null,
      camera: null,
      renderer: null,
      mesh: null,
      geometry: null,
      group: null,
      material: null,
      texture: null,
    };
  },
  created() {},
  mounted() {
    this.name = this.$route.query.name;
    this.init();
  },
  methods: {
    goBack() {
      this.$router.go(-1);
    },
    init() {
      // 1,创建场景对象
      this.scene = new this.$three.Scene();
      this.createGeometry();
      // 2,创建纹理加载器加载图片  (加载图片时用require)
      const textLoader = new this.$three.TextureLoader().load(require("../../assets/twelve/tree.png"));
      const textLoader5 = new this.$three.TextureLoader().load(require("../../assets/twelve/tree5.png"));

      // 创建组对象
      const group = new this.$three.Group()
      for (let index = 0; index < 50; index++) {

        let flag_1 = Math.trunc((Math.random() * 70)) % 2 == 0 ? -1 : 1;
          // 创建精灵材质对象
        const spriteMaterial = new this.$three.SpriteMaterial({
          transparent: true,
          // color:0x00ffff,//设置颜色
          map: flag_1 > 0 ? textLoader : textLoader5,
        });
        // Math.trunc 取整;Math.random() 获得0-1的随机数
        let flag = Math.trunc((Math.random() * 137)) % 2 == 0 ? -1 : 1;
        let flag2 = Math.trunc((Math.random() * 203)) % 2 == 0 ? -1 : 1;
        // 创建精灵对象
        const sprite = new this.$three.Sprite(spriteMaterial);
        sprite.position.set(Math.random() * 200 * flag, 40, Math.random() * 200 * flag2);
        sprite.scale.set(80, 80, 1);
        sprite.name = "我是大树" + index;
        group.add(sprite);
      }
      this.scene.add(group);
        // 添加辅助坐标轴
      const axesHelper = new this.$three.AxesHelper(300);
      // this.scene.add(axesHelper);
      // 创建环境光对象
      const light = new this.$three.AmbientLight(0xffffff, 100);
      this.scene.add(light);
      // 创建正交投影相机对象
      // this.camera = new this.$three.OrthographicCamera(-200,200,200,-200,1,1000);
      this.camera = new this.$three.PerspectiveCamera(60,1,0.01,1000);
      // 设置相机位置
      this.camera.position.set(300,300,300);
      // 设置相机指向
      this.camera.lookAt(0,0,0);

      this.renderer = new this.$three.WebGLRenderer();
      this.renderer.setSize(2200,1400);
      setTimeout(() => {
        this.renderer.render(this.scene, this.camera);
      },500)
      window.document.getElementById("threejs").appendChild(this.renderer.domElement);

      // 创建相机空间轨道控制器
      const controls = new OrbitControls(this.camera, this.renderer.domElement);
      controls.addEventListener("change", () => {
        this.renderer.render(this.scene, this.camera);
      })
      console.log('this.scene', this.scene);
    },
    // 创建平面缓冲几何体
    createGeometry() {
      const planeGeometry = new this.$three.PlaneGeometry(500,500);
      const material = new this.$three.MeshBasicMaterial({
        color: 0x14A88A,
        side: this.$three.DoubleSide
      });
      const plane = new this.$three.Mesh(planeGeometry, material);
      plane.rotateX(Math.PI/2);
      this.scene.add(plane);
    },

  },
};
</script>
//
<style lang="less" scoped>
.msg {
  padding: 20px;
  text-align: left;
  display: flex;
  justify-content: flex-start;
  flex-wrap: wrap;
  .span {
    margin: 0 30px 30px 0;
    // white-space: nowrap;
  }
  .p {
    text-align: left;
  }
}
.box-card-left {
  display: flex;
  align-items: flex-start;
  flex-direction: row;

  width: 100%;
  .box-right {
    text-align: left;
    padding: 10px;
    .xyz {
      width: 100px;
      margin-left: 20px;
    }
    .box-btn {
      margin-left: 20px;
    }
  }
}
</style>


文章来源:https://blog.csdn.net/yinge0508/article/details/135197162
本文来自互联网用户投稿,该文观点仅代表作者本人,不代表本站立场。本站仅提供信息存储空间服务,不拥有所有权,不承担相关法律责任。 如若内容造成侵权/违法违规/事实不符,请联系我的编程经验分享网邮箱:veading@qq.com进行投诉反馈,一经查实,立即删除!
本文来自互联网用户投稿,该文观点仅代表作者本人,不代表本站立场。本站仅提供信息存储空间服务,不拥有所有权,不承担相关法律责任。 如若内容造成侵权/违法违规/事实不符,请联系我的编程经验分享网邮箱:veading@qq.com进行投诉反馈,一经查实,立即删除!