python实现同时对比显示——冈萨雷斯数字图像处理
2023-12-26 15:36:42
同时对比显示
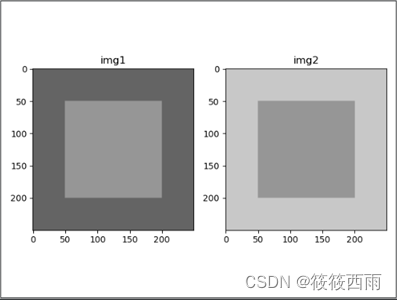
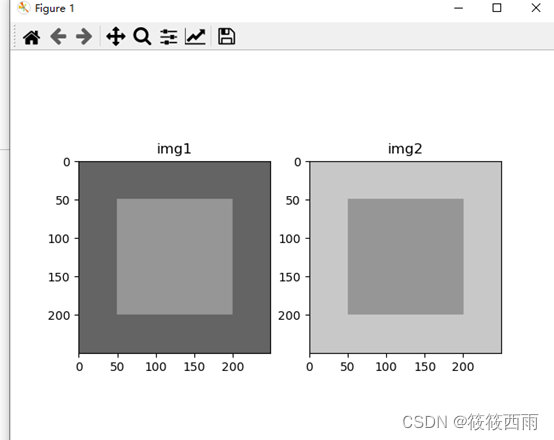
目的:输出如下图所示的结果:

提示:图像大小为250×250×3(pyplot无法直接显示单通道灰度图,所以需要将其转换为3通道),图中的三个灰度分别为200、150和100.可以用np.ones创建图像大小的数组(注意指定dtype=np.uint8).之后用索引切片指定图像中心区域的灰度值。最后用pyplot同时显示两幅结果图。
代码
import numpy as np
import matplotlib.pyplot as plt

width=250
height=250
channel=3
light_gray=200
deep_gray=100
center_gray=150

img1=np.ones((height,width,channel),dtype=np.uint8)*deep_gray
img2=np.ones((height,width,channel),dtype=np.uint8)*light_gray
img1[50:200,50:200,:]=center_gray
img2[50:200,50:200,:]=center_gray

plt.subplot(121), plt.imshow(img1),plt.title("img1")
plt.subplot(122),plt.imshow(img2),plt.title("img2")
plt.show()
width 和 height 定义了图像的宽度和高度,分别为250像素。
channel 定义了图像的通道数,这里为3,表示RGB彩色图像。
light_gray、deep_gray 和 center_gray 是灰度值,分别表示浅灰色、深灰色和中等灰色。
img1 和 img2 是两个空白图像,分别初始化为深灰色(deep_gray)和浅灰色(light_gray)。
然后,通过对 img1 和 img2 的特定区域赋值为 center_gray,在两个图像的中心区域创建了一个中等灰色的正方形。
结果展示

文章来源:https://blog.csdn.net/qq_49370210/article/details/135221508
本文来自互联网用户投稿,该文观点仅代表作者本人,不代表本站立场。本站仅提供信息存储空间服务,不拥有所有权,不承担相关法律责任。 如若内容造成侵权/违法违规/事实不符,请联系我的编程经验分享网邮箱:veading@qq.com进行投诉反馈,一经查实,立即删除!
本文来自互联网用户投稿,该文观点仅代表作者本人,不代表本站立场。本站仅提供信息存储空间服务,不拥有所有权,不承担相关法律责任。 如若内容造成侵权/违法违规/事实不符,请联系我的编程经验分享网邮箱:veading@qq.com进行投诉反馈,一经查实,立即删除!