重新配置torch1.8 cuda11.1 torchtext0.9.0虚拟Pytorch开发环境
这里写目录标题
起因
原本的环境是cuda11.0 torch1.7.0,但是在安装torchtext的时候发现没有对应windows版本的(官网和清华镜像我都找了,没有这个版本对应的torchtext0.8,只有macos 和linux版本),于是通过查询发现需要重新配置一个环境。
CUDA 11.0
pip install torch==1.7.1+cu110 torchvision==0.8.2+cu110 torchaudio==0.7.2 -f https://download.pytorch.org/whl/torch_stable.html
CUDA 11.0
pip install torch==1.7.0+cu110 torchvision==0.8.0+cu110 torchaudio==0.7.0 -f https://download.pytorch.org/whl/torch_stable.html
发现
发现为了安装torchtext0.9.0的,我需要重新安装1.8.0的torch,
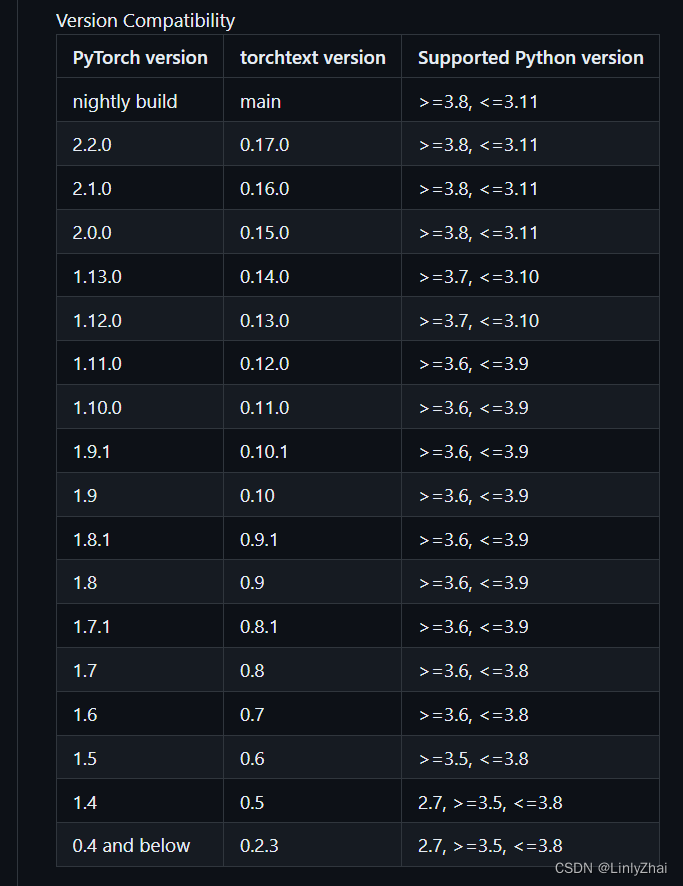

要安装1.8的torch
CUDA 10.2
conda install pytorch==1.8.0 torchvision==0.9.0 torchaudio==0.8.0 cudatoolkit=10.2 -c pytorch
CUDA 11.1
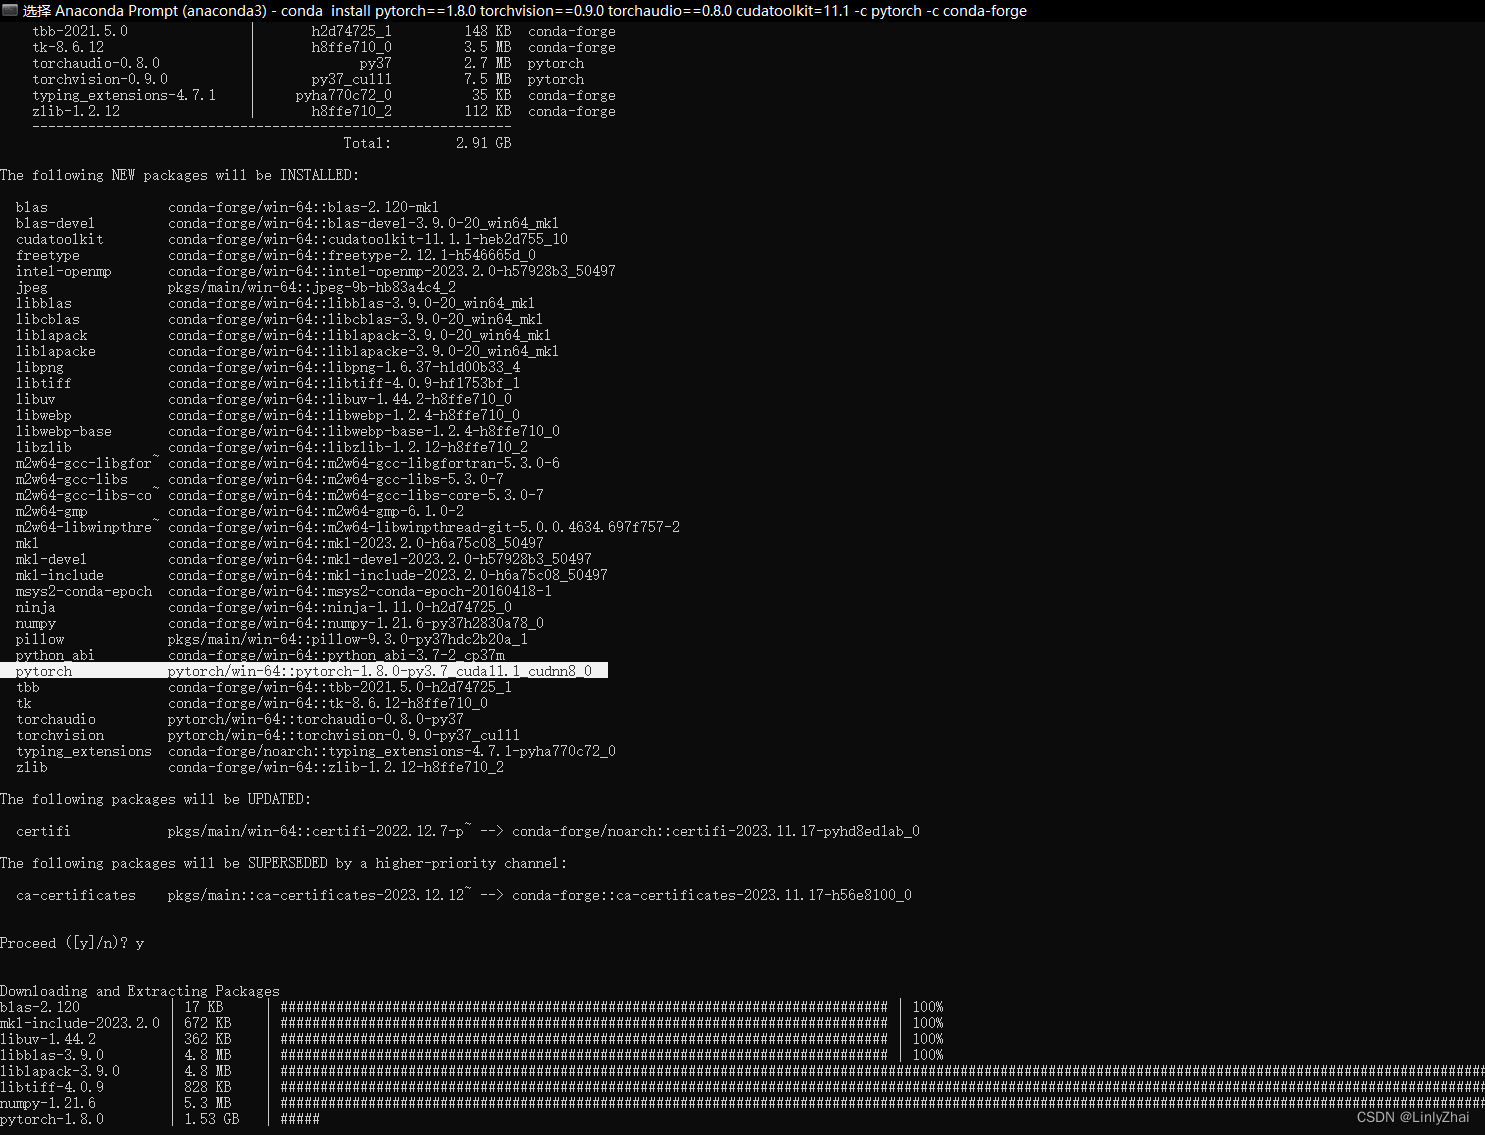
conda install pytorch==1.8.0 torchvision==0.9.0 torchaudio==0.8.0 cudatoolkit=11.1 -c pytorch -c conda-forge
而安装torch1.8.0,我就要安装cuda10.2或11.1
选择安装cuda 11.1
还得安装cudnn(这个发现后来不需要安装,连那个cuda toolkit11.1后来是系统帮我安装的)
核对下自己的显卡是否支持下载该版本的CUDA
另外,之前我的电脑已经安装过11.0的cuda了,经过查询发现一台电脑是可以安装多个cuda的
可以打开NVIDA控制面板,查看GPU显卡所支持的CUDA版本,具体开始菜单 -》NVIDIA控制面板-》帮助-》系统信息-》组件-》nvidia.dll后面的cuda参数,
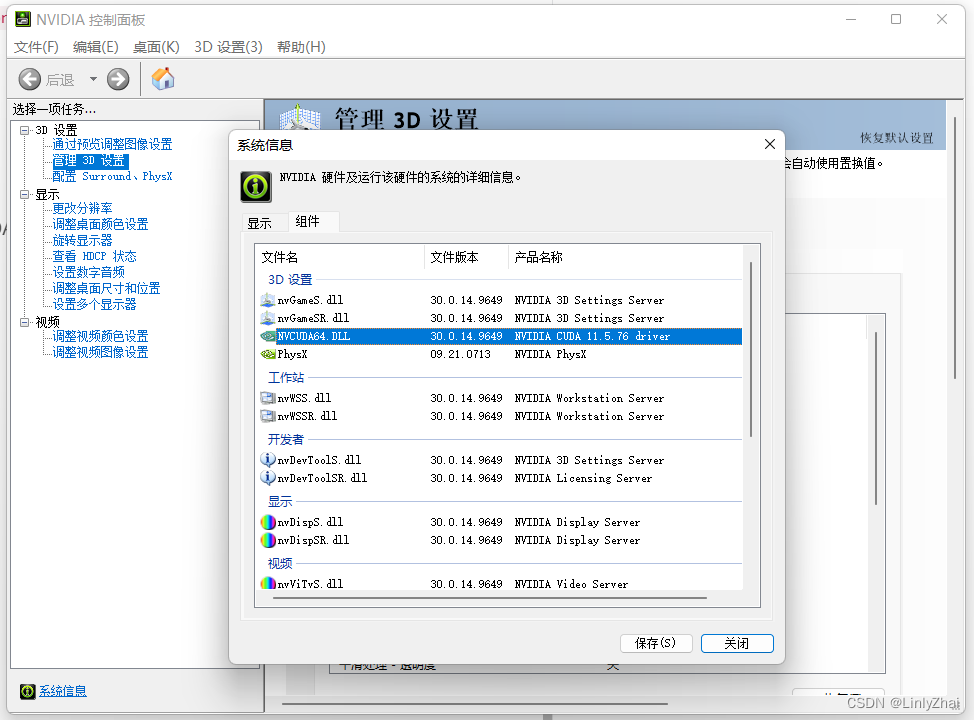
那我就可以下载11.1的cuda
CUDA下载地址
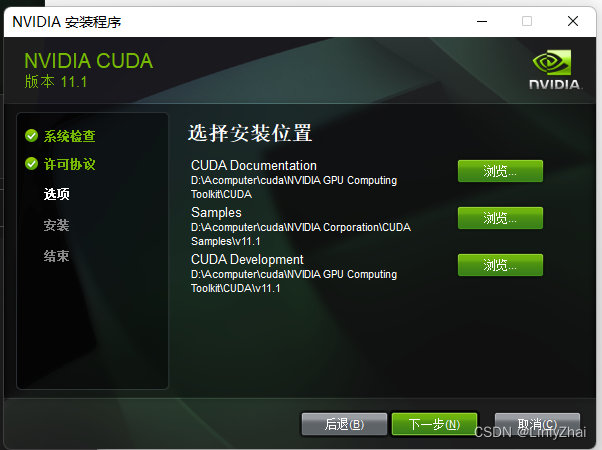
CUDA安装过程
我把中间的安装路径给改了
在anaconda中创建一个虚拟环境
进入开始菜单,找到anaconda prompt
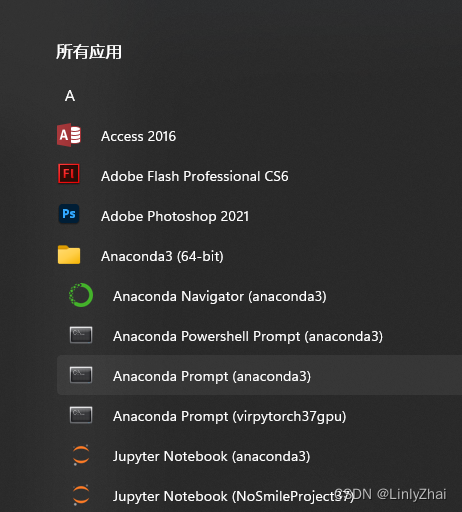
输入下面的命令就可以创建一个虚拟环境了,torchgpu1.8是我给虚拟环境起的名字
conda create --name torchgpu1.8 python=3.7
1.以下是环境的配置过程
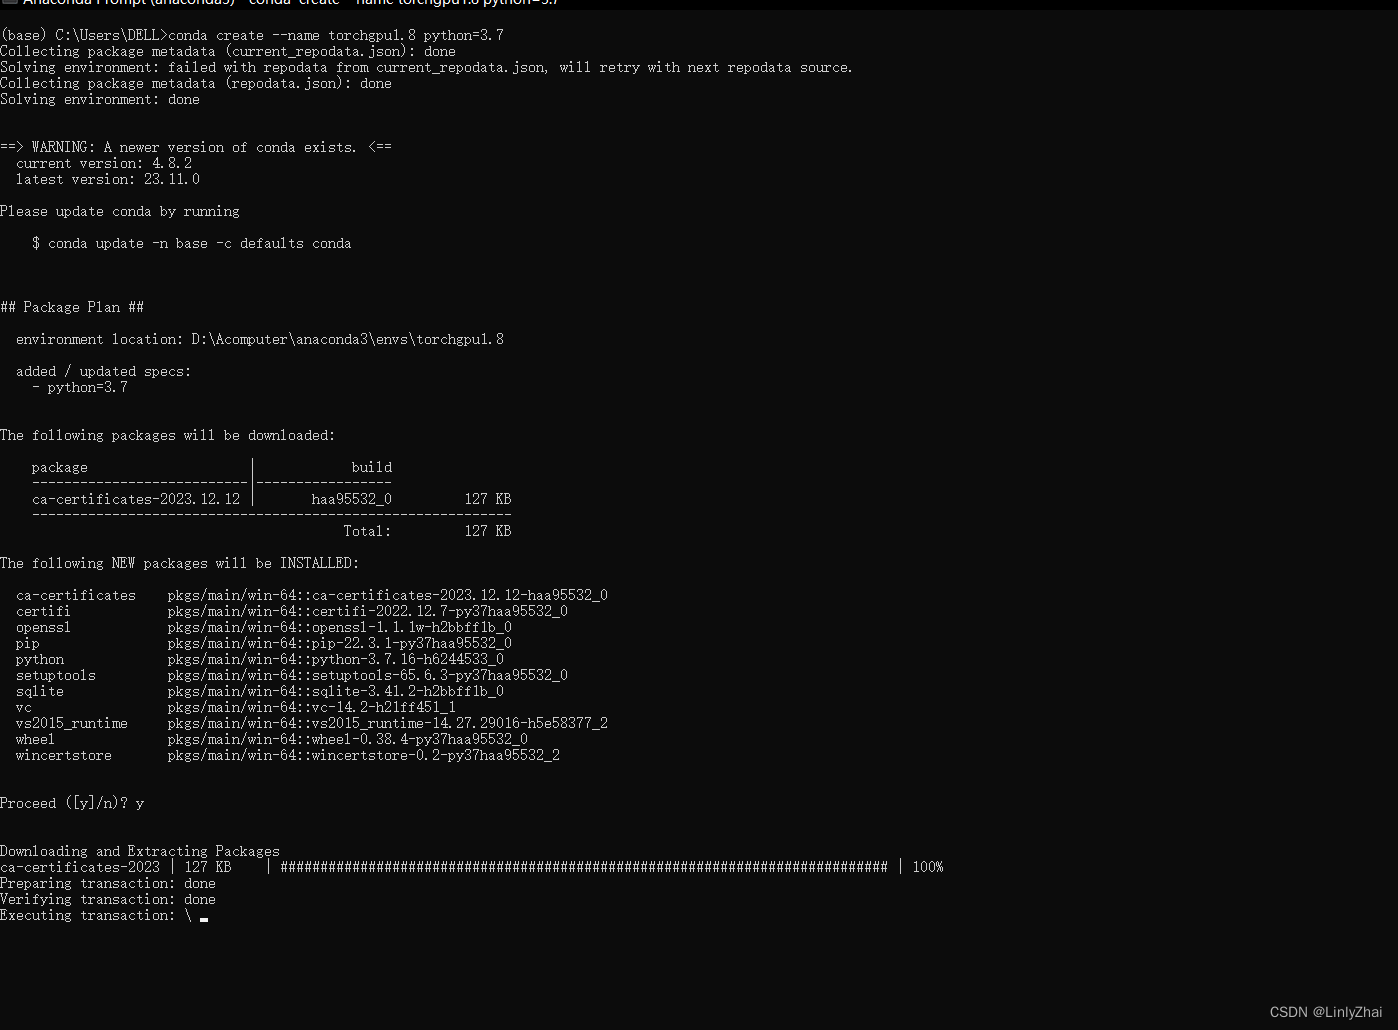
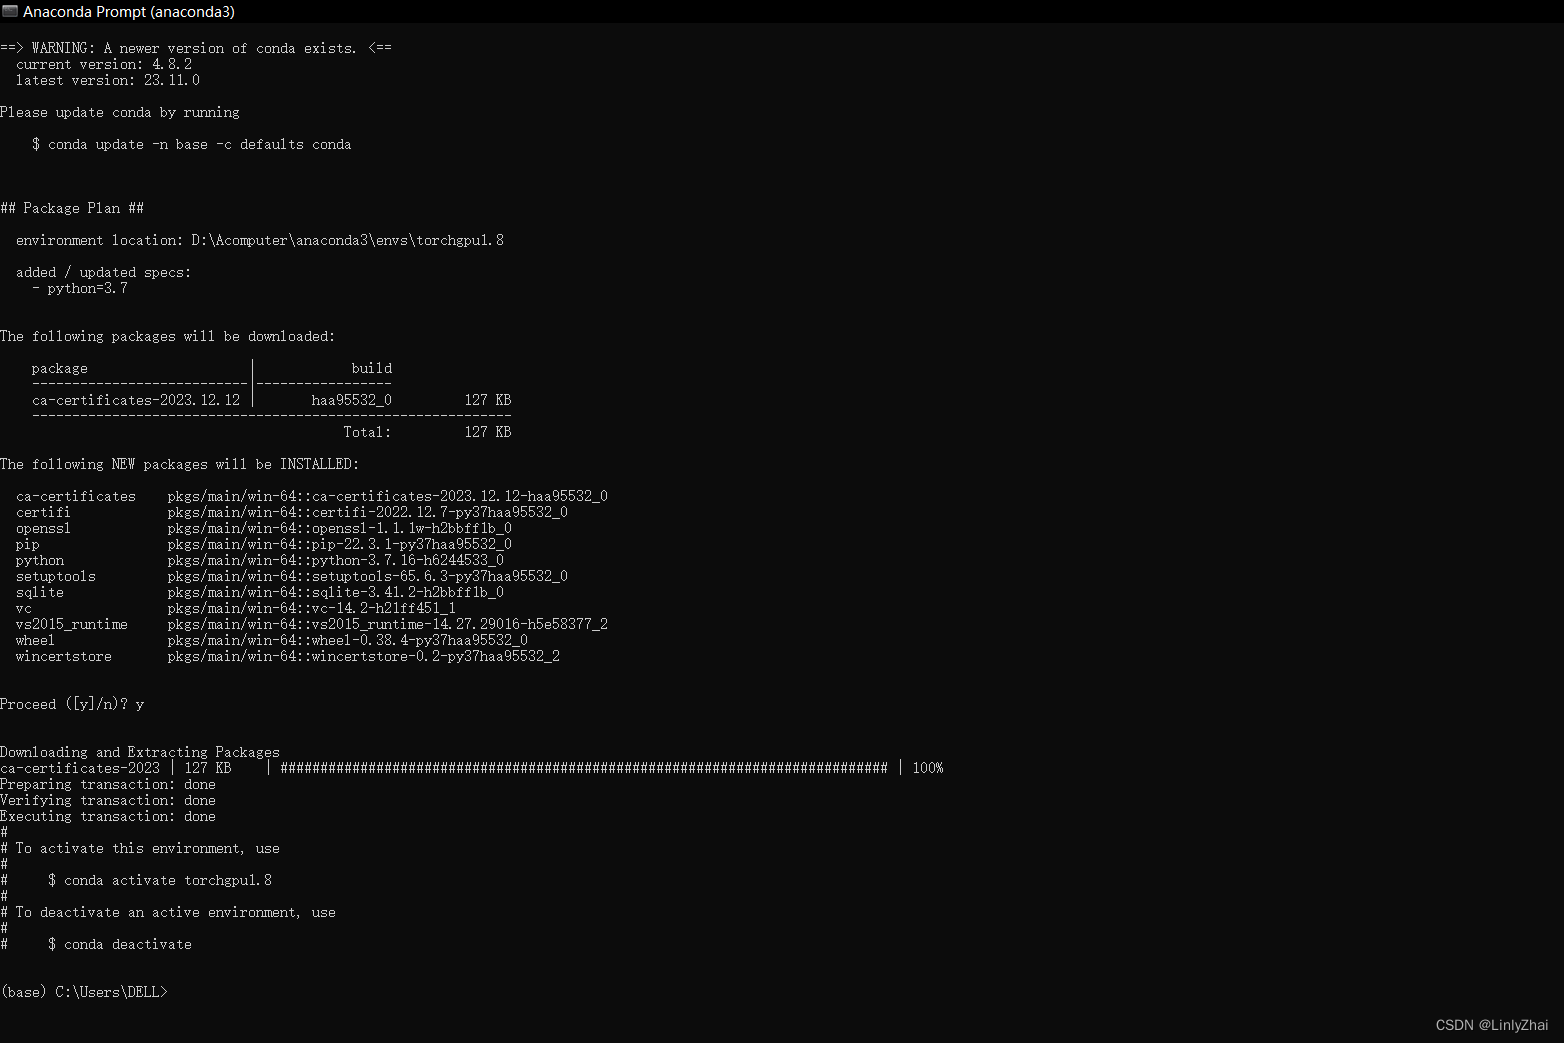
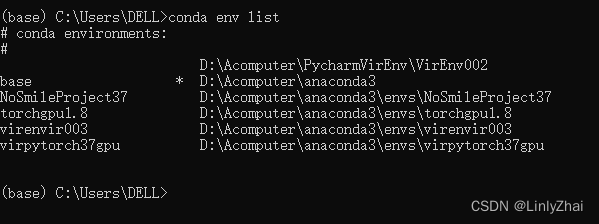
2.查看虚拟环境列表
conda env list
3.激活虚拟环境
activate torchgpu1.8
4.输入这句代码,没想到就可以直接安装torch和torchtext了网站在这里,可以查看安装命令、cuda和torch版本的对象。但是,这样下载的缺点就是有点慢,推荐先看第五步,先添加镜像源
conda install torch=1.8.0 torchtext==0.9.0 cudatoolkit=11.1 -c pytorch -c conda-forge

https://download.pytorch.org/whl/torch_stable.html
cuda版本的torch包下载网址在这里
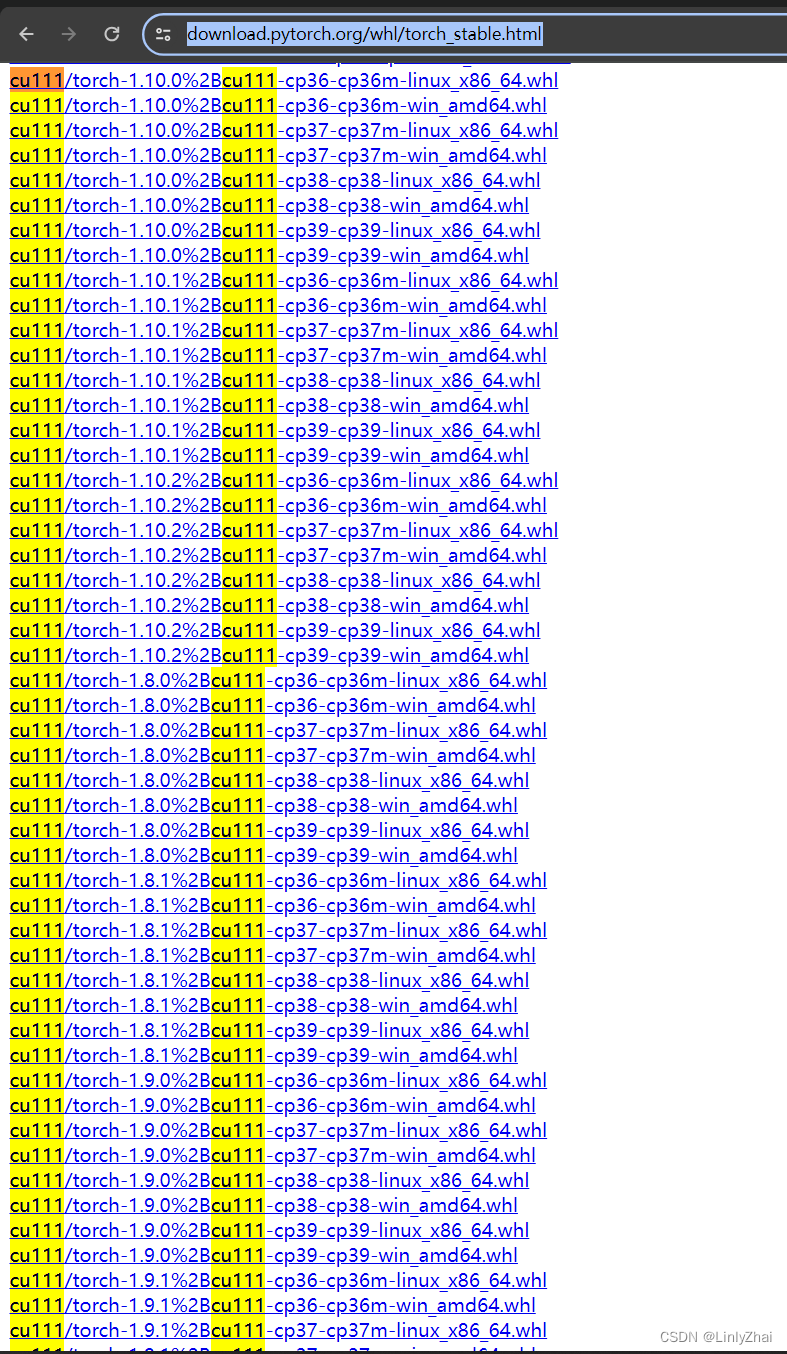
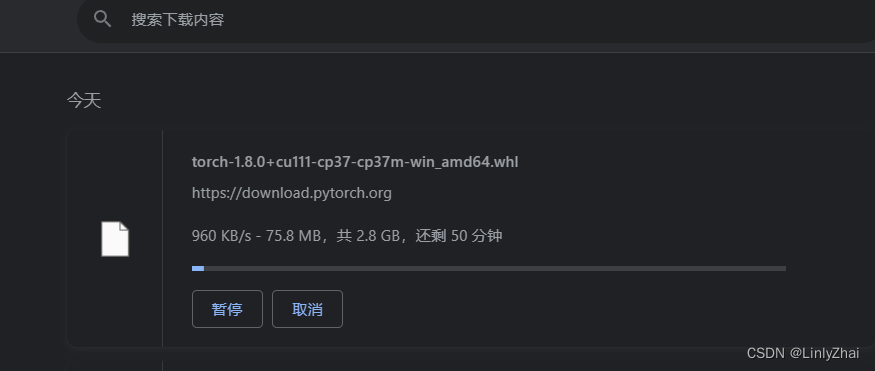
确实好大,2.8GB
5.推荐先换成国内镜像
conda config --add channels https://mirrors.tuna.tsinghua.edu.cn/anaconda/cloud/conda-forge/
再使用这个来安装
conda install pytorch==1.8.0 torchtext==0.9.0 torchaudio==0.8.0 cudatoolkit=11.1 -c pytorch -c conda-forge

conda config --add channels https://mirrors.tuna.tsinghua.edu.cn/anaconda/cloud/conda-forge/
conda config --add channels https://mirrors.tuna.tsinghua.edu.cn/anaconda/pkgs/free/
conda config --add channels https://mirrors.tuna.tsinghua.edu.cn/anaconda/pkgs/main/
conda config --set show_channel_urls yes
清除 conda 镜像源:
conda config --remove-key channels
这将从 conda 配置中删除所有 channels(镜像源)。
还原为默认镜像源:
如果你希望还原为默认的官方镜像源,可以运行以下命令:
conda config --remove-key channels
conda config --add channels defaults
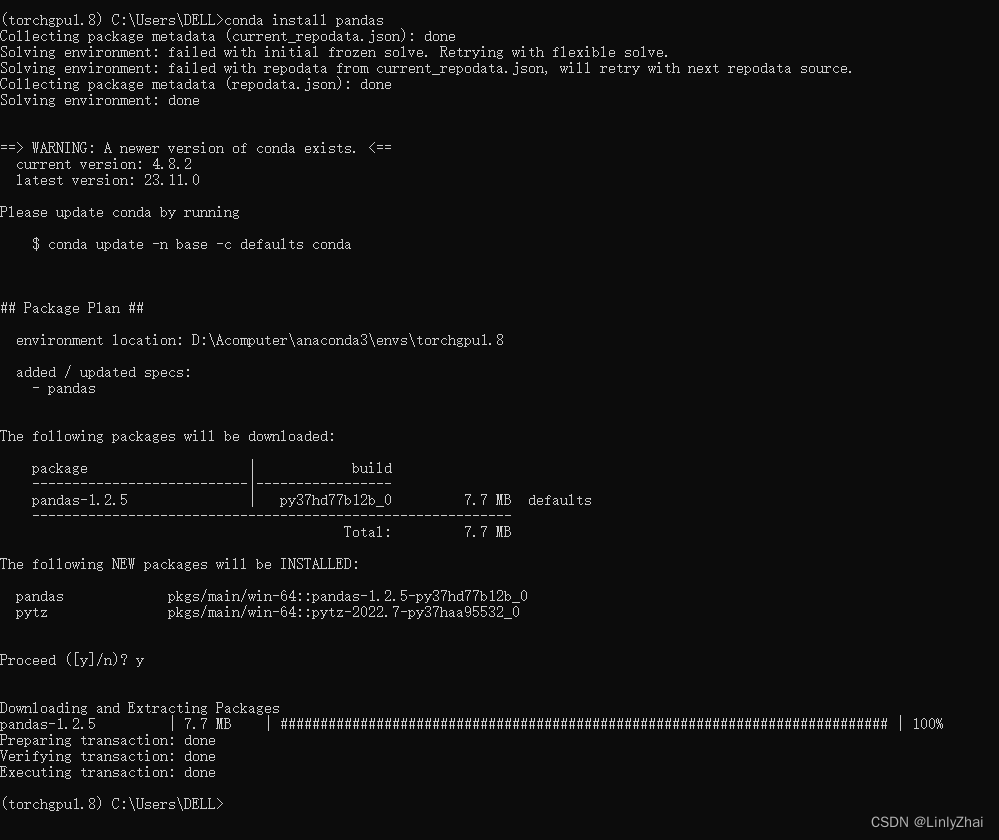
安装pandas
conda install pandas
conda install matplotlib
conda install seaborn
conda install scikit-learn
总结
用conda命令在anaconda prompt中安装会更方便
因为它会自动更新包的版本以适应要安装的包环境,我之前都是手动下载再安装的(捂脸);另外,使用pip 安装有的时候也会出现安装不成功的现象,总之,今天解锁了新的安装方式。如果使用这种安装方法还安装不成功,很有可能是镜像或官网中就没有你要安装的包的版本。
另外,可能会有一些逻辑不清晰的地方,主要写这个笔记也是为了以后学习查看会更方便。大家看的话可以做一定的参考,有不会的还是得多问问GPT.
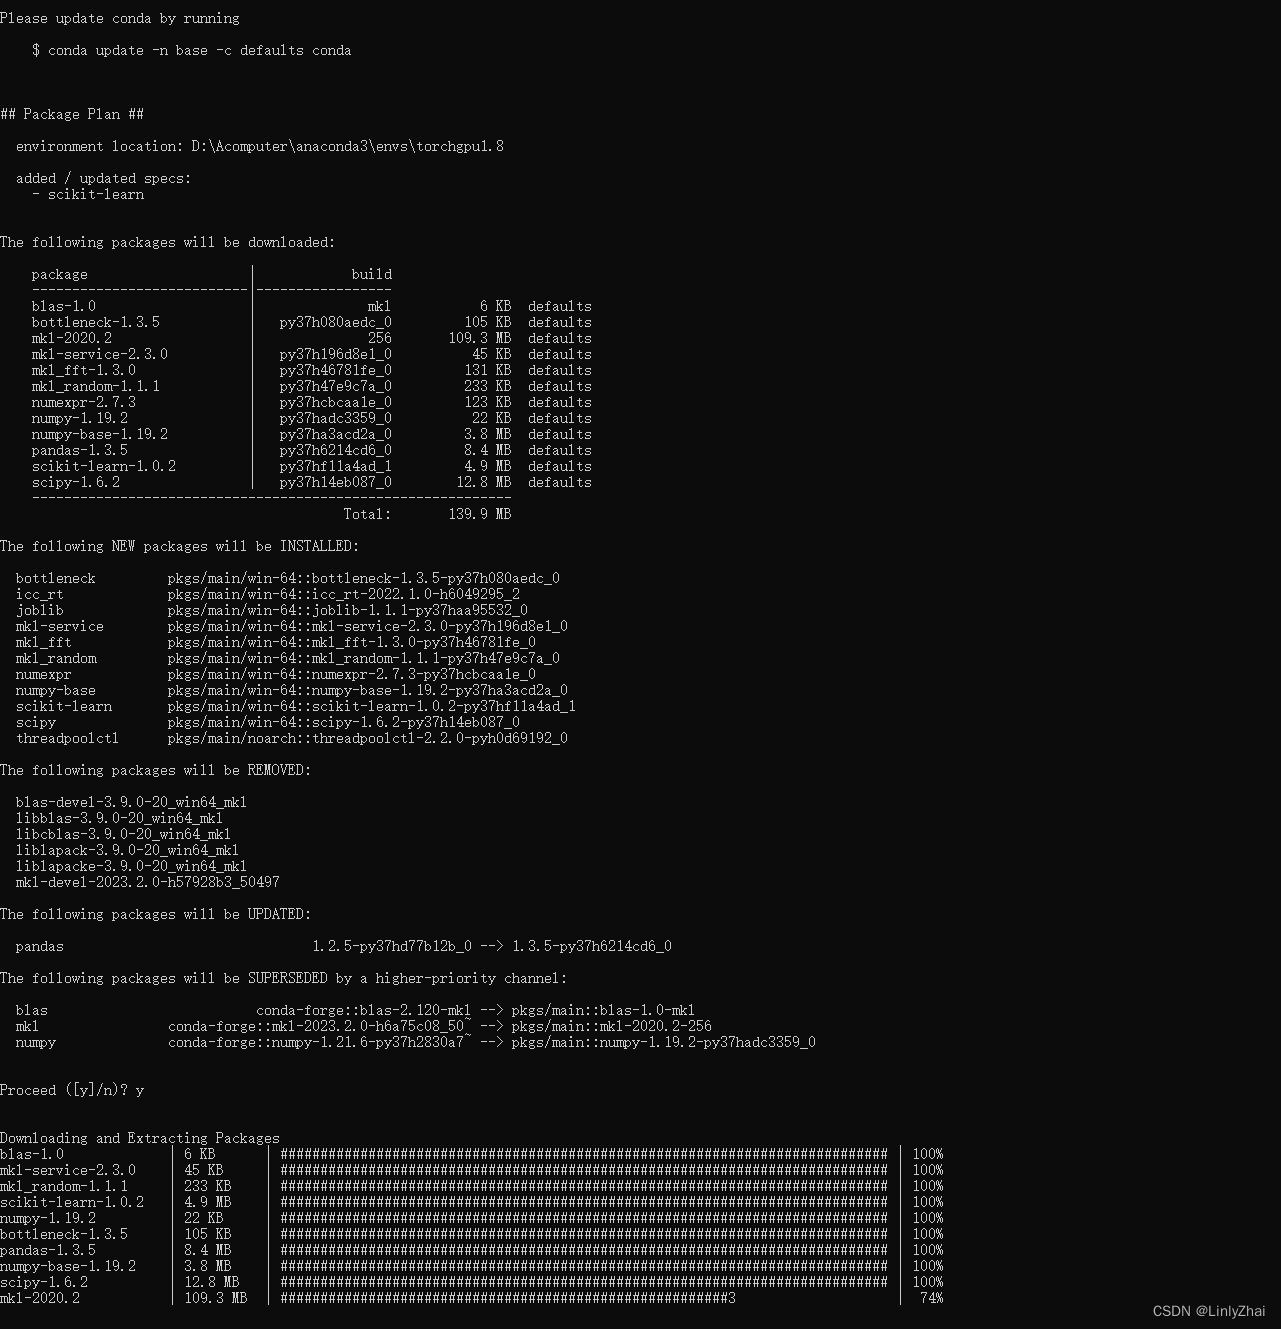
你可以使用 conda list 命令来查看已经在你的环境中安装的包。在命令行中执行以下命令:
conda list
本文来自互联网用户投稿,该文观点仅代表作者本人,不代表本站立场。本站仅提供信息存储空间服务,不拥有所有权,不承担相关法律责任。 如若内容造成侵权/违法违规/事实不符,请联系我的编程经验分享网邮箱:veading@qq.com进行投诉反馈,一经查实,立即删除!
