elementUI中的 “this.$confirm“ 基本用法,“this.$confirm“ 调换 “确认“、“取消“ 按钮的位置
2023-12-15 04:49:27
前言
elementUI中的 "this.$confirm" 基本用法,"this.$confirm" 调换 "确认"、"取消" 按钮的位置
具体操作
基本用法
<script>
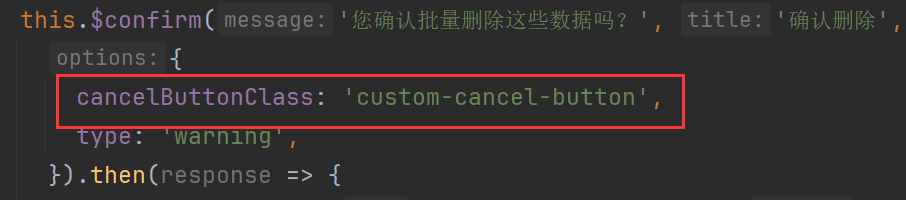
this.$confirm('这是数据(res.data)', '提示', {
confirmButtonText: '确定',
cancelButtonText: '取消',
cancelButtonClass: 'custom-cancel-button',//添加样式,将确认与取消按钮调换位置
type: 'warning',//设置弹框类型
showCancelButton: false, //是否显示取消按钮
showClose: false, //是否显示右上角的x
closeOnClickModal: true, //是否可以点击空白处关闭弹窗
})
.then(() => {
// this.$message({
// type: 'success',
// message: '删除成功!'
// });
})
.catch(() => {
// this.$message({
// type: 'info',
// message: '已取消删除'
// });
});
</script>
<style>
.el-message-box__btns {
display: flex;
flex-direction: row-reverse;
}
.custom-cancel-button {
margin-left: 10px;
}
</style>
将确认与取消进行交换位置,添加css样式
CSS代码:
.el-message-box__btns {
    display: flex;
    flex-direction: row-reverse;
}
.custom-cancel-button {
    margin-left: 10px;
}
总结
elementUI中的 "this.$confirm" 基本用法,"this.$confirm" 调换 "确认"、"取消" 按钮的位置,添加一个类和css代码
文章来源:https://blog.csdn.net/qq_51917985/article/details/134885736
本文来自互联网用户投稿,该文观点仅代表作者本人,不代表本站立场。本站仅提供信息存储空间服务,不拥有所有权,不承担相关法律责任。 如若内容造成侵权/违法违规/事实不符,请联系我的编程经验分享网邮箱:veading@qq.com进行投诉反馈,一经查实,立即删除!
本文来自互联网用户投稿,该文观点仅代表作者本人,不代表本站立场。本站仅提供信息存储空间服务,不拥有所有权,不承担相关法律责任。 如若内容造成侵权/违法违规/事实不符,请联系我的编程经验分享网邮箱:veading@qq.com进行投诉反馈,一经查实,立即删除!