第十四章 :案例课:部暑KVM虚拟化平台
2024-01-03 19:50:36
[root@Linux01 ~]# mount /dev/cdrom /mnt    //挂载

安装KVM需要的软件
[root@Linux01 ~]# yum -y install qemu-kvm-tools
[root@Linux01 ~]# yum -y install qemu-kvm
[root@Linux01 ~]# yum -y install virt-install
[root@Linux01 ~]# yum -y install qemu-img
[root@Linux01 ~]# yum -y install bridge-utils
[root@Linux01 ~]# yum -y install libvirt
[root@Linux01 ~]# yum -y install virt-manager
——————————————————————————————————————
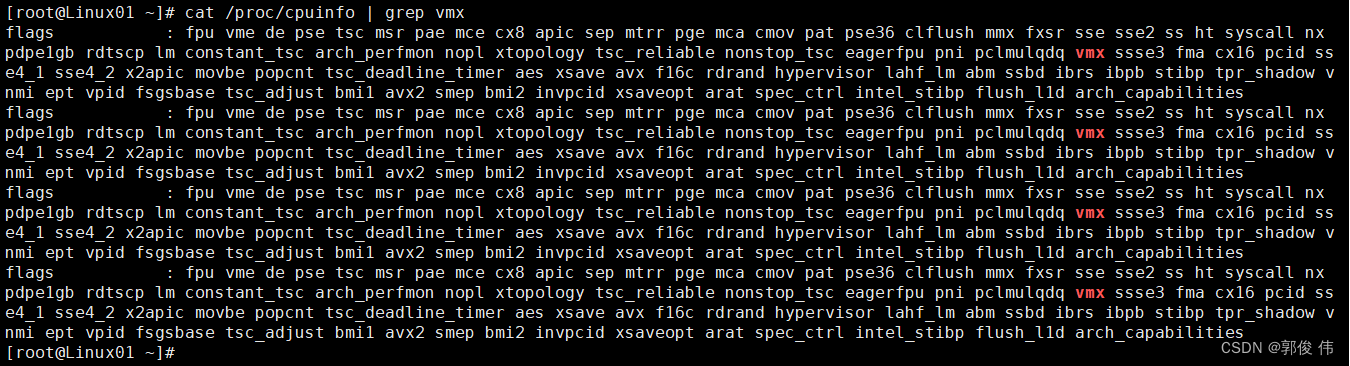
(2〉验证。重启系统后.查看CPU是否支持虚拟化,对于Intel 的服务器可以通过以下命令查看,只要有输出就说明CPU支持虚拟化:AMD服务器可用cat/proc/cpuinfo / grep srnv命令查看。
[root@Linux01 ~]# cat /proc/cpuinfo | grep vmx
——————————————————————————————————————————
检查KVM? 模块是否安装

———————————————————————————————————————————
(3〉开启服务。安装完成后还需要开启libvirtd服务,以开启相关支持。
[root@Linux01 ~]# systemctl start libvirtd
[root@Linux01 ~]# systemctl enable libvirtd
——————————————————————————————————————————
设置KVM 网络
[root@Linux01 ~]# cd /etc/sysconfig/network-scripts/

[root@Linux01 network-scripts]# vim ifcfg-ens33 
[root@Linux01 network-scripts]# cp ifcfg-ens33 ifcfg-br0

[root@Linux01 network-scripts]# vim ifcfg-br0


TYPE=Bridge    //更改成 Bridge


//增加这几项
IPADDR=192.168.9.100
NETMASK=255.255.255.0
GATEWAY=192.168.9.2
————————————————————————————————————————
从启 network 服务

?——————————————————————————————————————————
确认ip 地址

出现以上信息说明网卡桥接成功了
——————————————————————————————————————————
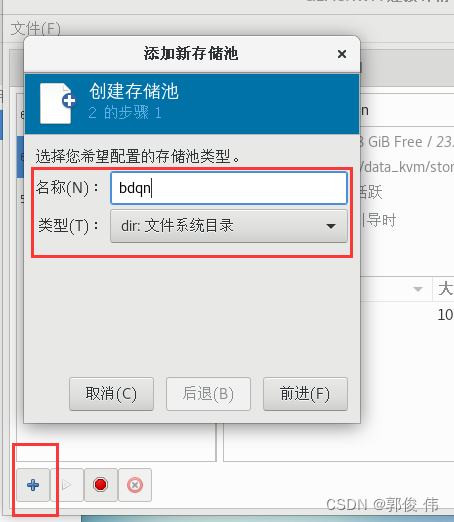
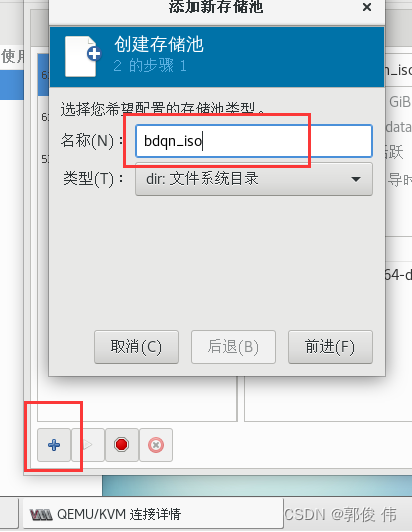
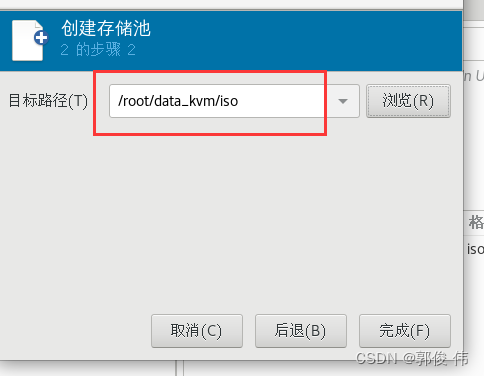
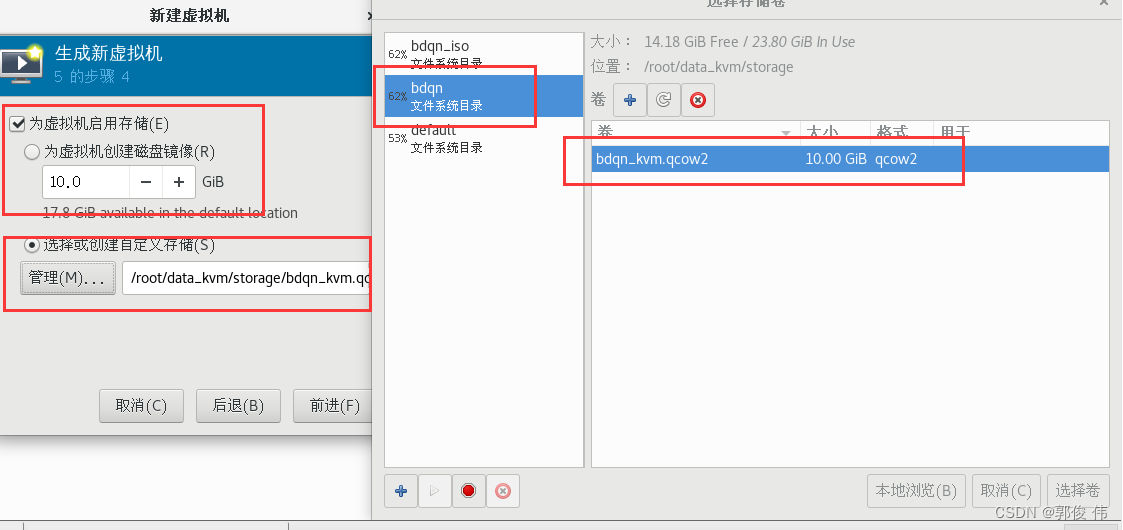
创建文件夹data_kvm  iso   storage

[root@Linux01 ~]# mkdir data_kvm
[root@Linux01 ~]# cd data_kvm/
[root@Linux01 data_kvm]# mkdir iso
[root@Linux01 data_kvm]# mkdir storage
![]()
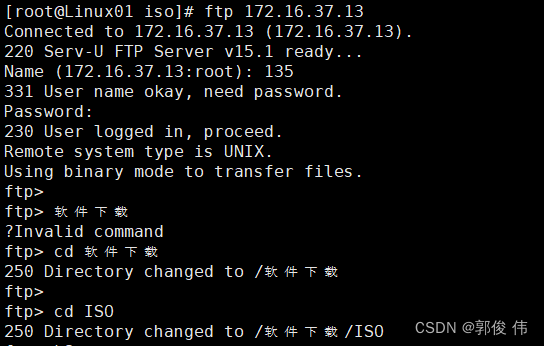
在FTP 下载镜像


文章来源:https://blog.csdn.net/GUOJUNWEI11/article/details/135365825
本文来自互联网用户投稿,该文观点仅代表作者本人,不代表本站立场。本站仅提供信息存储空间服务,不拥有所有权,不承担相关法律责任。 如若内容造成侵权/违法违规/事实不符,请联系我的编程经验分享网邮箱:veading@qq.com进行投诉反馈,一经查实,立即删除!
本文来自互联网用户投稿,该文观点仅代表作者本人,不代表本站立场。本站仅提供信息存储空间服务,不拥有所有权,不承担相关法律责任。 如若内容造成侵权/违法违规/事实不符,请联系我的编程经验分享网邮箱:veading@qq.com进行投诉反馈,一经查实,立即删除!