LVS-DR模式部署
目录
一、部署信息
DR 服务器:172.16.114.70
Web 服务器1:172.16.114.80
Web 服务器2:172.16.114.60
vip:172.16.114.200
客户端:172.16.114.0网段主机
二、部署LVS-DR模式
1.共享服务器
systemctl disable --now firewalld
setenforce 0
mkdir /var/www/html/{accp,benet} -p
cd /var/www/html
echo '<h1>this is test web1 page!</h1>' > accp/text.html
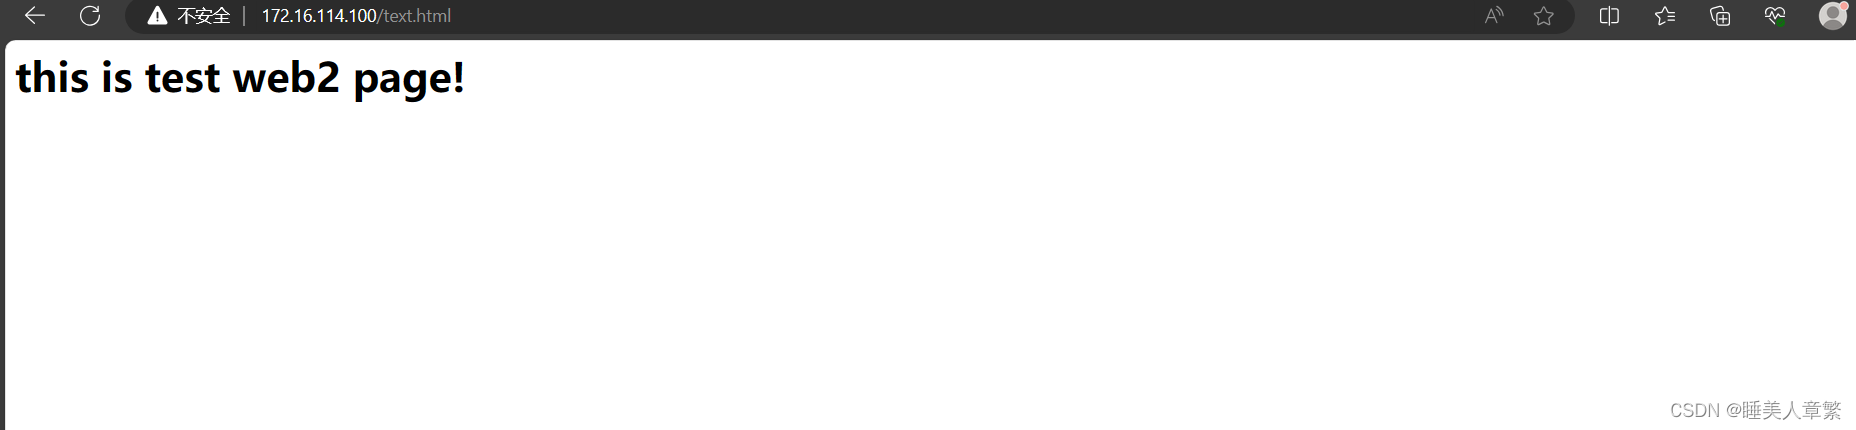
echo '<h1>this is test web2 page!</h1>' > benet/text.html
vim /etc/exports
/var/www/html/accp 172.16.114.0/24(rw,sync,no_root_squash)
/var/www/html/benet 172.16.114.0/24(rw,sync,no_root_squash)
systemctl enable --now rpcbind nfs
showmount -e
2.配置负载调度器
systemctl disable --now firewalld
setenforce 0
modprobe ip_vs
cat /proc/net/ip_vs
yum -y install ipvsadm
配置负载调度器虚拟 IP 地址ens33:0
cd /etc/sysconfig/network-scripts/
cp ifcfg-ens33 ifcfg-ens33:0
vim ifcfg-ens33
TYPE=Ethernet
BOOTPROTO=static
NAME=ens33
DEVICE=ens33
ONBOOT=yes
IPADDR=172.16.114.70
NETMASK=255.255.255.0
vim ifcfg-ens33:0
DEVICE=ens33:0
ONBOOT=yes
IPADDR=172.16.114.100
NETMASK=255.255.255.255
修改内核参数文件
vim /etc/sysctl.conf
net.ipv4.ip_forward=0 #关闭路由转发
net.ipv4.conf.all.send_redirects=0 #关闭icmp重定向功能
ipvsadm-save > /etc/sysconfig/ipvsadm
systemctl start ipvsadm
ipvsadm -C
ipvsadm -A -t 172.16.114.100:80 -s rr
ipvsadm -a -t 172.16.114.100:80 -r 172.16.114.60:80 -g
ipvsadm -a -t 172.16.114.100:80 -r 172.16.114.80:80 -g
ipvsadm
ipvsadm -ln
3.配置节点服务器1
systemctl disable --now firewalld
setenforce 0
showmount -e 172.16.114.20
cd /etc/yum.repos.d/
rz -E
yum install -y nginx
cd /etc/nginx/
vim nginx.conf
keepalive_timeout 0; 长连接时间修改为0
cd /usr/share/nginx/html/
mv * /opt/
vim /etc/fstab
172.16.114.20:/var/www/html/accp /usr/share/nginx/html nfs defaults,_netdev 0 0
mount -a
df -h
ls /usr/share/nginx/html/
cd /opt
mv *.html /usr/share/nginx/html/
cd /usr/share/nginx/html/
cat text.html
systemctl restart nginx
vim /etc/sysconfig/network-scripts/ifcfg-ens33
TYPE=Ethernet
DEVICE=ens33
ONBOOT=yes
BOOTPROTO=static
IPADDR=172.16.114.80
NETMASK=255.255.255.0
GATEWAY=172.16.114.70
DNS1=218.2.135.1
systemctl restart network nginx
cd /etc/sysconfig/network-scripts/
cp ifcfg-ens33 ifcfg-lo:0
vim ifcfg-ens33 #注释最后两行网关和dns
TYPE=Ethernet
DEVICE=ens33
ONBOOT=yes
BOOTPROTO=static
IPADDR=172.16.114.80
NETMASK=255.255.255.0
#GATEWAY=172.16.114.70
#DNS1=218.2.135.1
vim ifcfg-lo:0
DEVICE=lo:0
ONBOOT=yes
IPADDR=172.16.114.100
NETMASK=255.255.255.255
systemctl restart network
ifconfig
route add -host 172.16.114.100 dev lo:0
route -n
vim /etc/sysctl.conf
net.ipv4.conf.lo.arp_ignore=1 #节点服务器只接受目的IP为物理网卡IP的arp请求
net.ipv4.conf.lo.arp_announce=2 #不使用vip作为源地址使用发送接口物理网卡的IP地址作为源地址
sysctl -p
4.节点服务器2
systemctl disable --now firewalld
setenforce 0
showmount -e 172.16.114.20
cd /etc/yum.repos.d/
rz -E
yum install -y nginx
cd /etc/nginx/
vim nginx.conf
keepalive_timeout 0; 长连接时间修改为0
cd /usr/share/nginx/html/
mv * /opt/
vim /etc/fstab
172.16.114.20:/var/www/html/benet /usr/share/nginx/html nfs defaults,_netdev 0 0
mount -a
df -h
ls /usr/share/nginx/html/
cd /opt
mv *.html /usr/share/nginx/html/
cd /usr/share/nginx/html/
cat text.html
systemctl restart nginx
vim /etc/sysconfig/network-scripts/ifcfg-ens33
TYPE=Ethernet
DEVICE=ens33
ONBOOT=yes
BOOTPROTO=static
IPADDR=172.16.114.60
NETMASK=255.255.255.0
GATEWAY=172.16.114.70
DNS1=218.2.135.1
systemctl restart network nginx
cd /etc/sysconfig/network-scripts/
cp ifcfg-ens33 ifcfg-lo:0
vim ifcfg-ens33 #注释最后两行网关和dns
TYPE=Ethernet
DEVICE=ens33
ONBOOT=yes
BOOTPROTO=static
IPADDR=172.16.114.60
NETMASK=255.255.255.0
#GATEWAY=172.16.114.70
#DNS1=218.2.135.1
vim ifcfg-lo:0
DEVICE=lo:0
ONBOOT=yes
IPADDR=172.16.114.100
NETMASK=255.255.255.255
systemctl restart network
ifconfig
route add -host 172.16.114.100 dev lo:0
route -n
vim /etc/sysctl.conf
net.ipv4.conf.lo.arp_ignore=1 #节点服务器只接受目的IP为物理网卡IP的arp请求
net.ipv4.conf.lo.arp_announce=2 #不使用vip作为源地址使用发送接口物理网卡的IP地址作为源地址
sysctl -p
三、测试

四、DR模式 LVS负载均衡群集
数据包流向分析:
(1)客户端发送请求到 Director Server(负载均衡器),请求的数据报文(源 IP 是 CIP,目标 IP 是 VIP)到达内核空间。
(2)Director Server 和 Real Server 在同一个网络中,数据通过二层数据链路层来传输。
(3)内核空间判断数据包的目标IP是本机VIP,此时IPVS(IP虚拟服务器)比对数据包请求的服务是否是集群服务,是集群服务就重新封装数据包。修改源 MAC 地址为 Director Server 的 MAC地址,修改目标 MAC 地址为 Real Server 的 MAC 地址,源 IP 地址与目标 IP 地址没有改变,然后将数据包发送给 Real Server。
(4)到达 Real Server 的请求报文的 MAC 地址是自身的 MAC 地址,就接收此报文。数据包重新封装报文(源 IP 地址为 VIP,目标 IP 为 CIP),将响应报文通过 lo 接口传送给物理网卡然后向外发出。
(5)Real Server 直接将响应报文传送到客户端。
DR 模式的特点:
(1)Director Server 和 Real Server 必须在同一个物理网络中。
(2)Real Server 可以使用私有地址,也可以使用公网地址。如果使用公网地址,可以通过互联网对 RIP 进行直接访问。
(3)Director Server作为群集的访问入口,但不作为网关使用。
(4)所有的请求报文经由 Director Server,但回复响应报文不能经过 Director Server。
(5)Real Server 的网关不允许指向 Director Server IP,即Real Server发送的数据包不允许经过 Director Server。
(6)Real Server 上的 lo 接口配置 VIP 的 IP 地址。
本文来自互联网用户投稿,该文观点仅代表作者本人,不代表本站立场。本站仅提供信息存储空间服务,不拥有所有权,不承担相关法律责任。 如若内容造成侵权/违法违规/事实不符,请联系我的编程经验分享网邮箱:veading@qq.com进行投诉反馈,一经查实,立即删除!