HTML+CSS+JavaScript制作简单轮播图
2023-12-15 01:12:58
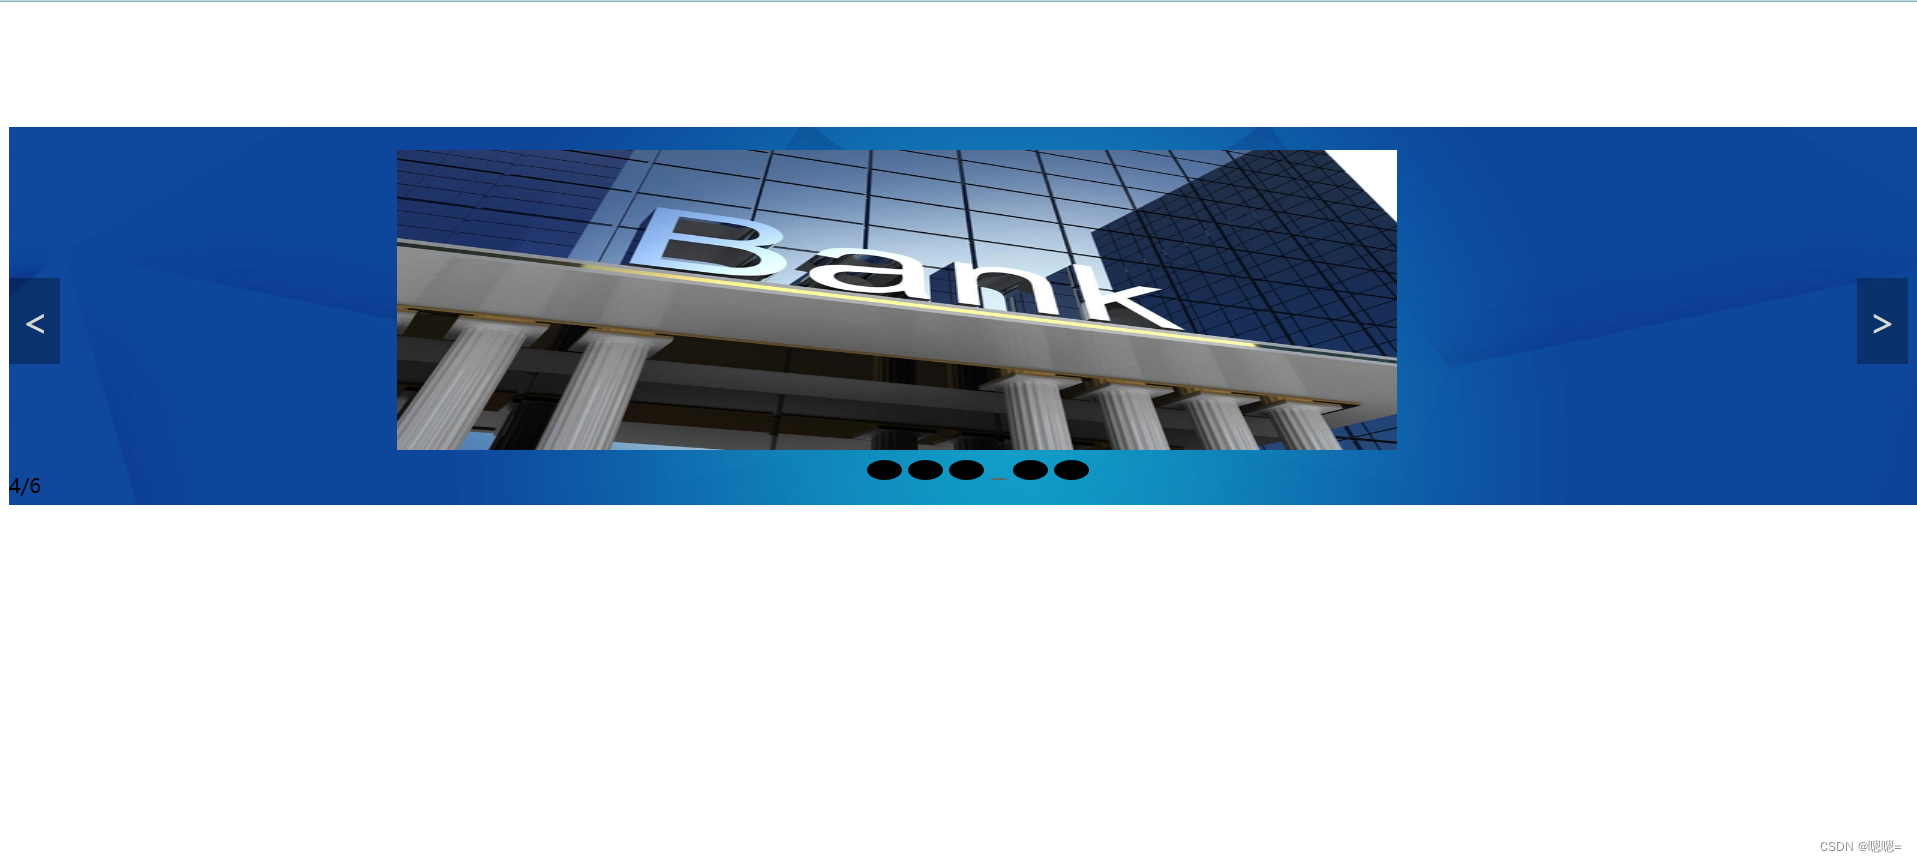
一? ? ? ? 运行效果
 二? ? ? ? 图片资源
三? ? ? ? 代码
<!DOCTYPE html>
<html>
	<head>
		<meta charset="utf-8">
		<title></title>
		<style>
			img{
				position:absolute;
				top:6%;
				left:20%;
				width:800px;
				height:240px;
			}
			.picture {
				background:url("./img/综合背景.png");
			    position: absolute;
				top:14.5%;
			    width: 1550px;
			    height: 302px;
			    margin: 0 auto;
			    /* border: 2px solid rgb(14, 63, 221); */
			    overflow: hidden;
			 }

			#image-container img{
				width:100px;
			}
			/* 圆点所在的p (容器)  */
			 .radius {
			    width: 0px;
				color:black;
			    height: 0px;
			    position: absolute;
			    top:86%;
				text-align: center;
			}

			.pg {
			    position: absolute;
			    margin: 0;
			    width: 100%;
			    height: 20px;
			    background-color: rgba(0, 0, 0, .4);
			    text-align: center;
			    font-size: 16px;
			    font-weight: 600;
			    color: #fff;
			}

			.title {
			    position: absolute;
			    width: 100%;
			    bottom: 0px;
			    text-align: center;
			    font-size: 16px;
			    font-weight: 600;
			    color: rgb(0, 0, 0);
			  }

			span {
			    display: inline-block;
			    border: 8px solid #000000;
			    border-radius: 50%;
				width:12px;
			}


			.active {
			   border: 1px solid #656466;
			}

			/* 左右箭头  */
			.arrowhead-left,
			.arrowhead-right {
				position: absolute;
				width: 41px;
			    height: 69px;
			    font-size: 30px;
			    line-height: 70px;
			    text-align: center;
			    color: #D6D8D4;
			    background-color: rgba(0,0,0,.3);
			}

			.arrowhead-left {
			   left: 0;
			   top: 40%;
			  }

			  .arrowhead-right {
			     right: 2%;
			     top: 40%;
			}
		</style>
	</head>
	<body>

		<div class="picture">
		    <!-- 图片页码 -->
		 <!--  <p class="pg">这里展示页码</p> -->
		    <img src="" alt="">
		   <!-- 小圆点点 -->
		    <p class="radius"></p>
		    <!-- 图片的下面标题 -->
		   <p class="title"></p>

		    <!-- 左右箭头 -->
		    <div class="arrowhead-left" id="al"> < </div>
		    <div class="arrowhead-right" id="ar"> > </div>
		</div>
		<script>
			var zer = document.querySelector(".zer");
		    var address = ["./img/中间轮播图.png", "./img/货币.webp", "./img/纸币.webp", "./img/银行.webp", "./img/中国邮政.webp", "./img/中国银行.webp"];
		    //  var imgs = document.getElementsByTagName("img");
			var container = document.getElementById("image-container");
		    var imgs = document.querySelector("img");
		    var len = address.length;               //图片地址的数量为len
		    var str = "";
		    var pp = document.getElementsByTagName("p");//获取的是p标签的集合
		    //  var pp  = document.querySelector("p");    //获取的是一个元素
		    var al = document.getElementById("al");
		    var ar = document.getElementById("ar");
		    var n = 0 ;

		    //添加span标签(小圆点),个数为len个
		    for (i = 0; i < len; i++) {
		        str += ' <span></span>'
		    }
		    pp[1].innerHTML = str;

		    var spans = pp[1].getElementsByTagName('span');  //获取p[1]里所有span标签
		    spans[0].className = 'active';                  //给第一个span标签添加样式 active

		    for (i = 0; i < len; i++) {
		        spans[i].index = i;              //自定义索引值

		        spans[i].onmouseover = function () {            //鼠标指向圆点时的事件
		            for (i = 0; i < len; i++) {
		                spans[i].className = "";               //通过循环,清除所有圆点的类名
		            }
		            n=this.index ;
		            this.className = 'active';                 //给鼠标移入的圆点添加类名
		            imgs.src = address[this.index];
		            pp[0].innerHTML = [this.index + 1] + "/6";
		            pp[2].innerHTML = "" + [this.index + 1];

		        }

		    }

		    ar.onclick = function () {            //右侧箭头,点击一次图片向右换一张
		        n++;
		       if (n>5) {
		          n=0;
		       }
		       for (i = 0; i < len; i++) {
		            spans[i].className = "";
		        }

		        spans[n].className = "active";
		        imgs.src = address[n];
		        pp[0].innerHTML = (n+1) + "/6";
		        pp[2].innerHTML = "" +(n+1);

		    }

		    al.onclick = function () {        // //左侧箭头,点击一次图片向左换一张
		      n--;
		     if (n<0) {
		         n=(len-1);
		     }
		     for (i = 0; i < len; i++) {
		          spans[i].className = "";
		      }
		      spans[n].className = "active";
		      imgs.src = address[n];
		      pp[0].innerHTML = (n+1) + "/6";
		      pp[2].innerHTML = "" +(n+1);
		    }

		   setInterval(ar.onclick,3000);             //添加定时器  setInterval(函数,间隔时间单位为毫秒)
		                                             //此次添加的函数为点击右侧箭头,间隔为3秒
		</script>
	</body>
</html>
文章来源:https://blog.csdn.net/qq_64867440/article/details/134915780
本文来自互联网用户投稿,该文观点仅代表作者本人,不代表本站立场。本站仅提供信息存储空间服务,不拥有所有权,不承担相关法律责任。 如若内容造成侵权/违法违规/事实不符,请联系我的编程经验分享网邮箱:veading@qq.com进行投诉反馈,一经查实,立即删除!
本文来自互联网用户投稿,该文观点仅代表作者本人,不代表本站立场。本站仅提供信息存储空间服务,不拥有所有权,不承担相关法律责任。 如若内容造成侵权/违法违规/事实不符,请联系我的编程经验分享网邮箱:veading@qq.com进行投诉反馈,一经查实,立即删除!


