Python Ajenti: 一站式管理解决方案

更多资料获取
📚 个人网站:ipengtao.com
大家好,今天分享 Python 中的 Ajenti 库。
Github 项目地址:https://github.com/ajenti/ajenti
Ajenti 是一个功能丰富的服务器管理平台,通过集成的Web界面,使服务器管理变得更加简单。在本文中,我们将详细介绍 Ajenti 的安装、基本使用和一些高级功能,同时提供示例代码帮助读者更好地理解。
安装 Ajenti
Ajenti 的安装过程相对简单,可以通过以下步骤在Linux系统中进行:
sudo apt-get install python3 python3-pip
sudo pip3 install ajenti-panel ajenti.plugin.dashboard ajenti.plugin.settings ajenti.plugin.plugins ajenti.plugin.notepad ajenti.plugin.filemanager
sudo service ajenti restart
以上命令安装了 Ajenti 及其一些常用插件。安装完成后,通过浏览器访问 https://your-server-ip:8000,使用默认的用户名和密码(root/admin)登录 Ajenti。
基本使用
1 仪表板
Ajenti的仪表板是一个集成的实时监控工具,用于展示服务器资源的使用情况。以下是一个简单的示例代码,演示如何在 Ajenti 中创建一个自定义插件:
# my_dashboard_plugin.py
from ajenti.api import *
from ajenti.plugins.dashboard.api import DashboardWidget

class MyWidget(DashboardWidget):
    name = 'My Custom Widget'
    icon = 'info'
    template = '''
    <h1>{{name}}</h1>
    <p>This is a custom widget</p>
    '''

class MyPlugin(CategoryPlugin):
    text = 'My Custom Plugin'
    icon = 'info'
    folder = 'dashboard'

    def on_init(self):
        self.append(self.MyWidget)
2 系统
系统选项卡提供了用户、组、服务等的管理。以下是一个示例代码,演示如何使用 Ajenti 进行用户管理:
# user_management_plugin.py
from ajenti.api import *
from ajenti.ui import on

class UserManagementPlugin(CategoryPlugin):
    text = 'User Management'
    icon = 'user'

    def on_init(self):
        self.append(self.UserManagementTab)

    class UserManagementTab(CategoryPlugin):
        text = 'Users'
        icon = 'user'
        folder = 'system'

        def on_init(self):
            self.append(self.UserList)

        class UserList(Plugin):
            def on_click(self):
                users = os.listdir('/home')
                self.append(self.ui.list(users))
插件和扩展
Ajenti 的插件系统非常灵活,允许用户根据自己的需求进行扩展。以下是一个示例代码,演示如何创建一个简单的插件:
# my_custom_plugin.py
from ajenti.api import *
from ajenti.ui import on

class MyCustomPlugin(Plugin):
    text = 'My Custom Plugin'
    icon = 'info'

    @on('click')
    def my_button_click(self):
        self.context.notify('Button Clicked!')
安全性
为了提高系统安全性,建议在使用 Ajenti 后修改默认的登录密码,并定期更新密码。以下是一个示例代码,演示如何在插件中进行密码修改:
# password_change_plugin.py
from ajenti.api import *
from ajenti.ui import on

class PasswordChangePlugin(Plugin):
    text = 'Password Change'
    icon = 'lock'

    @on('click')
    def change_password_click(self):
        # Logic for changing password
        self.context.notify('Password Changed!')
高级功能
1 定制化主题
Ajenti 支持主题定制,可以根据个人或团队的需求更改管理界面的外观。以下是一个示例代码,演示如何在插件中更改主题:
# theme_change_plugin.py
from ajenti.api import *
from ajenti.ui import on

class ThemeChangePlugin(Plugin):
    text = 'Theme Change'
    icon = 'paint-brush'

    @on('click')
    def change_theme_click(self):
        # Logic for changing theme
        self.context.notify('Theme Changed!')
2 远程管理
Ajenti 支持远程管理,可以通过设置安全的网络连接进行远程管理。以下是一个示例代码,演示如何在插件中配置远程管理:
# remote_management_plugin.py
from ajenti.api import *
from ajenti.ui import on

class RemoteManagementPlugin(Plugin):
    text = 'Remote Management'
    icon = 'globe'

    @on('click')
    def configure_remote_click(self):
        # Logic for configuring remote management
        self.context.notify('Remote Management Configured!')
总结
在本文中,详细探讨了 Ajenti 这一强大的服务器管理工具,从安装和基本使用开始,到插件开发和高级功能的深入讲解。通过大量丰富的示例代码,能够清晰地了解 Ajenti 的工作原理和应用场景。通过学习 Ajenti 的基本概念,可以轻松管理服务器的配置、监控系统性能以及进行各种系统维护任务。插件系统为用户提供了极大的灵活性,使其能够根据特定需求自定义功能和界面。
在使用 Ajenti 时,强调了一些最佳实践,如定期备份、安全性配置和版本管理。这些实践有助于确保系统的可靠性和安全性,使管理员能够更好地管理和维护服务器。通过不断学习和应用 Ajenti,可以提高服务器管理效率,确保系统的稳定性和安全性。 Ajenti 作为一个功能强大而灵活的工具,为管理员提供了一个便捷而全面的管理平台。
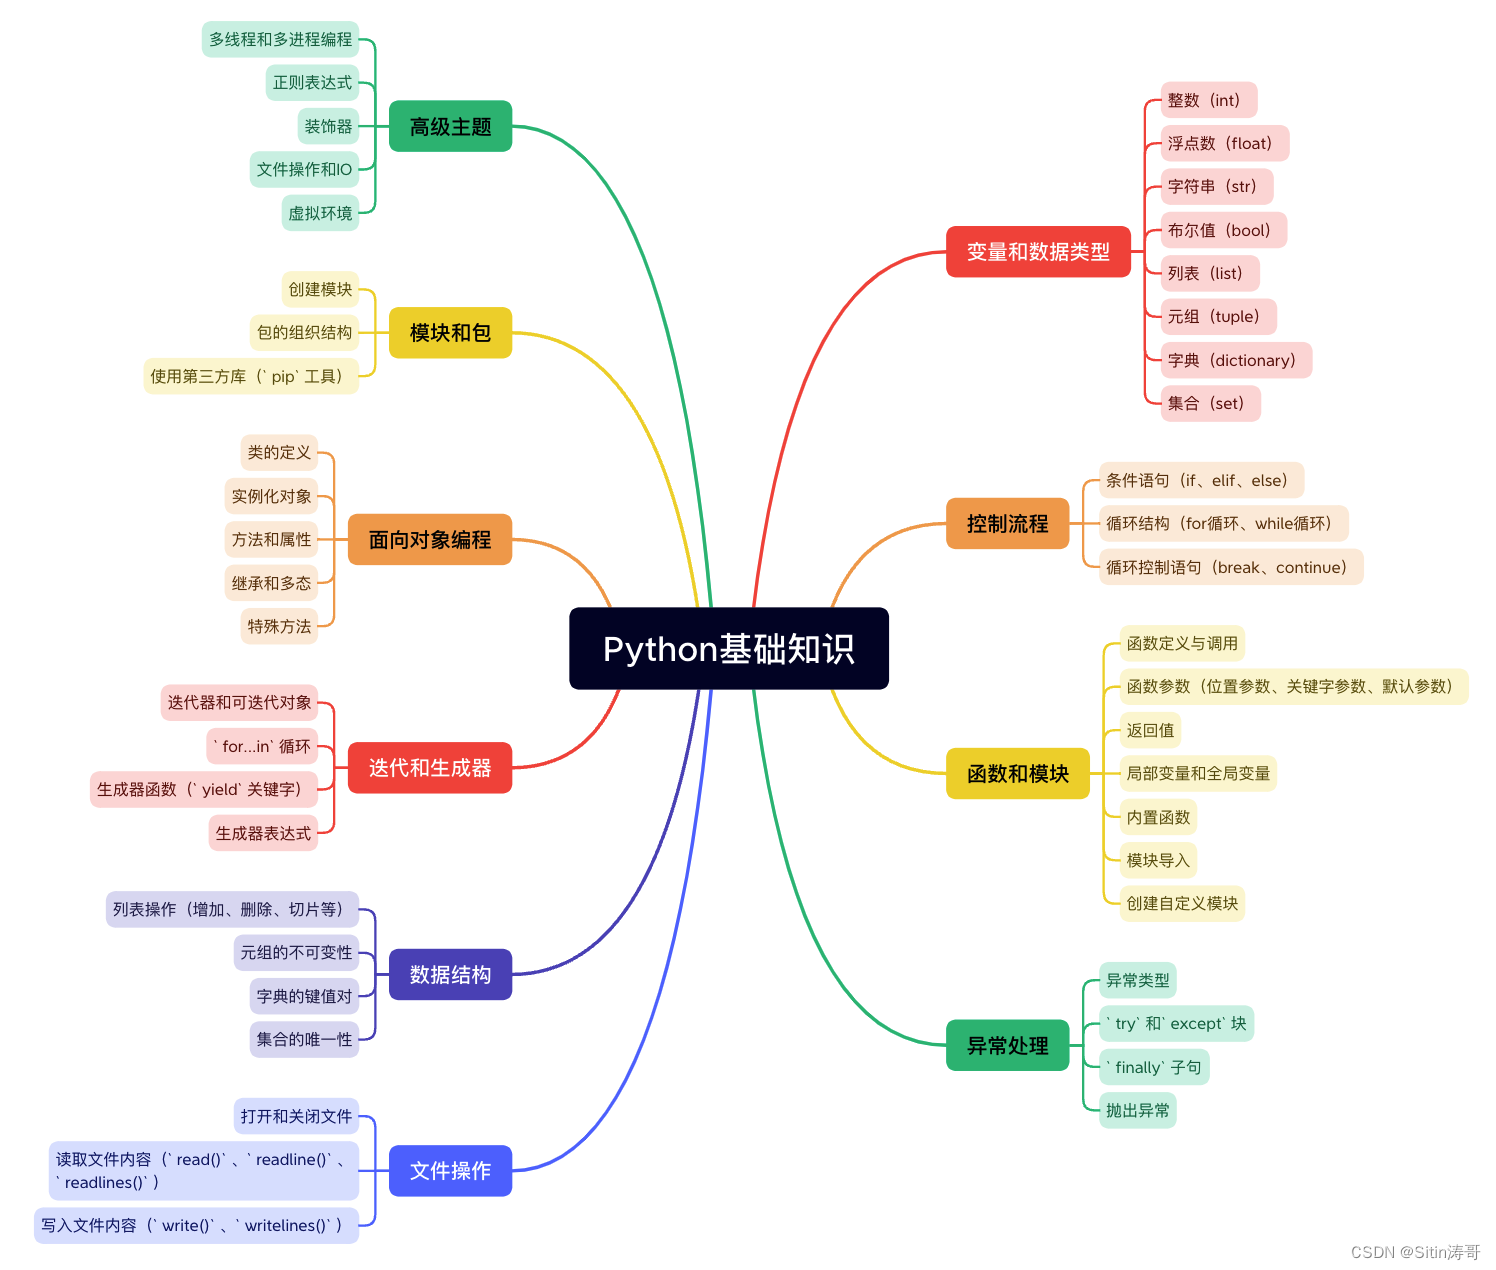
Python学习路线

更多资料获取
📚 个人网站:ipengtao.com
如果还想要领取更多更丰富的资料,可以点击文章下方名片,回复【优质资料】,即可获取 全方位学习资料包。

点击文章下方链接卡片,回复【优质资料】,可直接领取资料大礼包。
本文来自互联网用户投稿,该文观点仅代表作者本人,不代表本站立场。本站仅提供信息存储空间服务,不拥有所有权,不承担相关法律责任。 如若内容造成侵权/违法违规/事实不符,请联系我的编程经验分享网邮箱:veading@qq.com进行投诉反馈,一经查实,立即删除!