tf-encrypted隐私计算库
2023-12-13 10:31:14
tf-encrypted隐私计算库的安装
tf-encrypted最直接的安装方式:
pip install tf-encrypted
但是这个方式已经不能用了,会出现报错,比如:
'NoneType' object has no attribute 'secure_seed'
取而代之的方式是直接git clone这个仓库,流程如下:
安装python版本为3.8的conda环境
conda create -n tfe python=3.8
激活环境
conda activate tfe
下载tf-encrypted仓库
git clone https://github.com/tf-encrypted/tf-encrypted.git
进入tf-encrypted仓库
cd tf-encrypted
安装所需依赖包
pip install -e .
需要注意:tensorflow版本必须>=2.9.1,否则可能出现如下报错:
ImportError: cannot from tensorflow.python.ops.while_v2 import glob_stateful_parallelism
编译tf-encrypted仓库
make build
执行后会先下载一个压缩包,如果执行太慢,可以尝试手动执行下载:
curl -ol https://github.com/jedisct1/libsodium/archive/1.0.17.tar.gz
编译到最后可能出现如下问题:

原因就是系统中g++的版本过低,需要升级,以至少支持g++14版本。
tf-encrypted的使用
加载tf-encrypted库
sys.path.append('/home/zwx/tf-encrypted')
import tf_encrypted as tfe
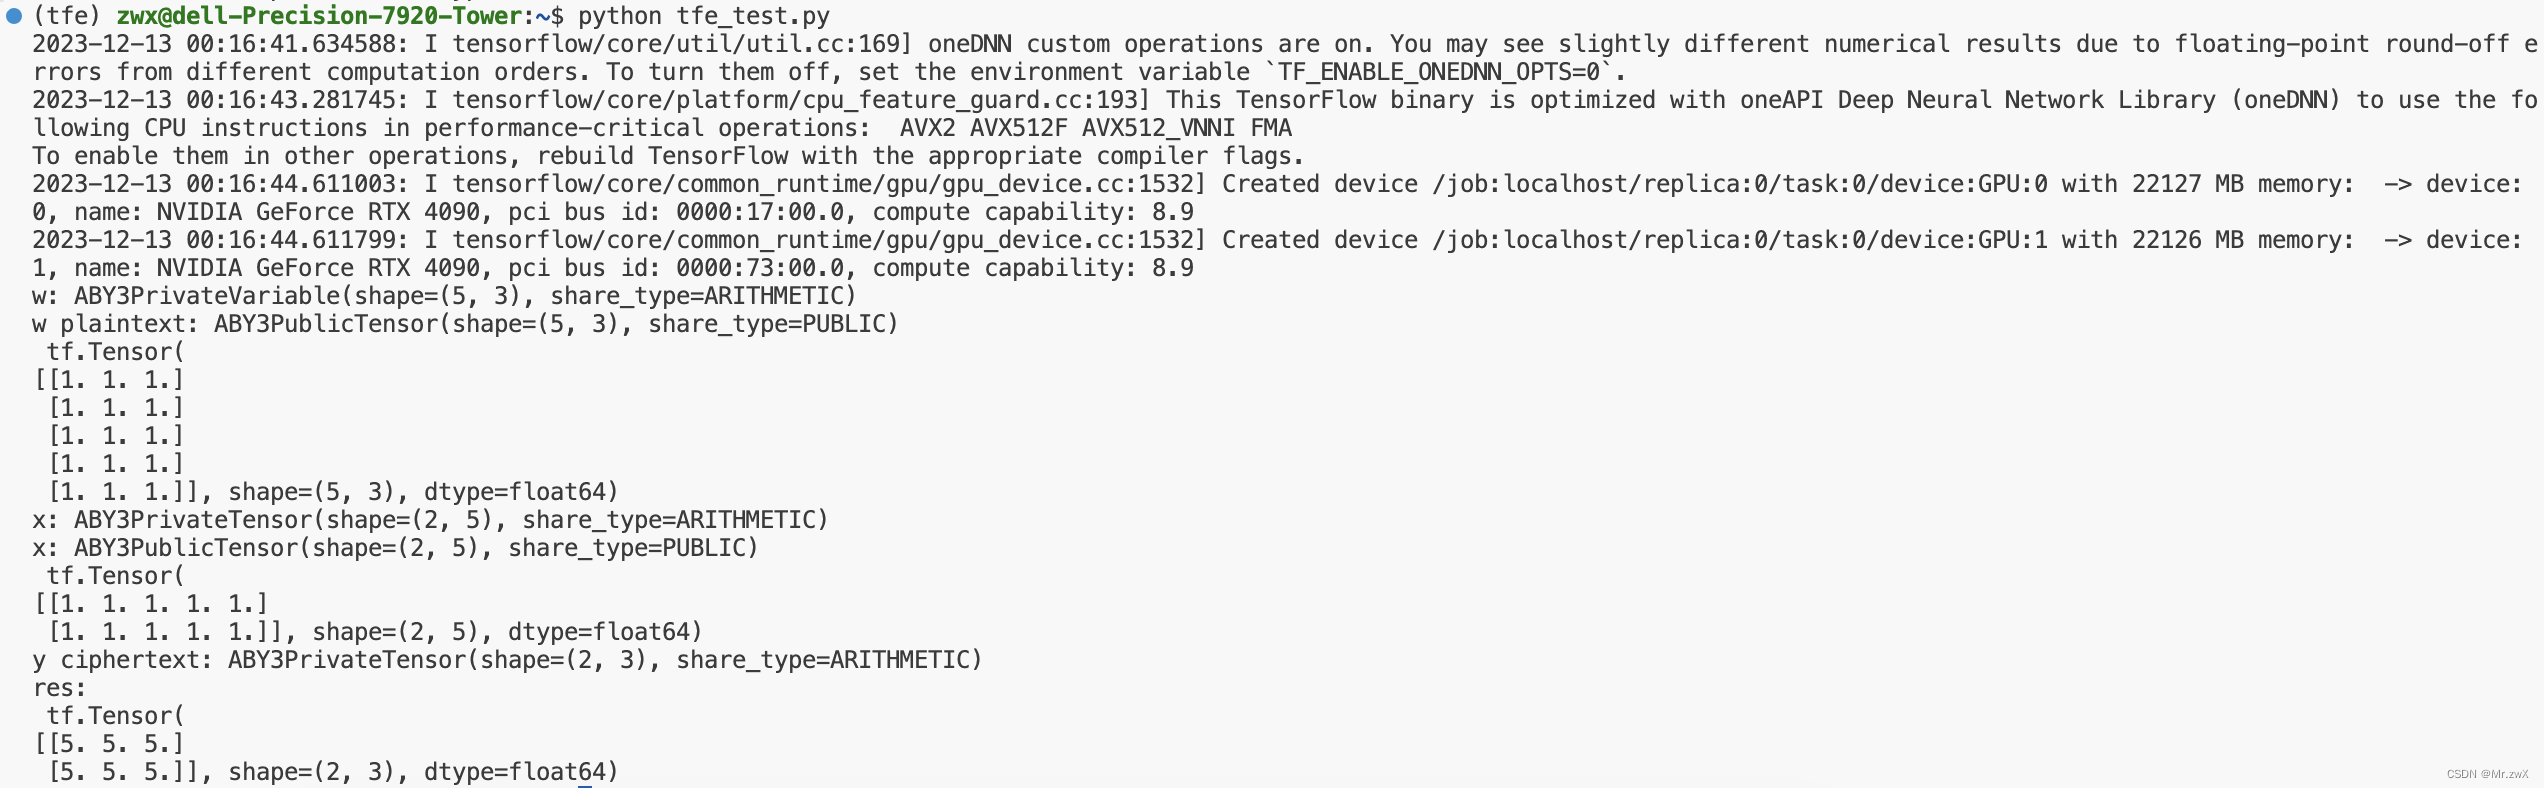
矩阵乘法完整代码如下:
import tensorflow as tf
import sys
sys.path.append('/home/zwx/tf-encrypted')
import tf_encrypted as tfe

@tfe.local_computation('input-provider')
def provide_input():
    # normal TensorFlow operations can be run locally
    # as part of defining a private input, in this
    # case on the machine of the input provider
    return tf.ones(shape=(2, 5))

# provide inputs
w = tfe.define_private_variable(tf.ones(shape=(5, 3)))
print('w:', w)
print('w_plaintext:', w.reveal(), '\n', w.reveal().to_native())
x = provide_input()
print('x:', x)
print('x_plaintext:', x.reveal(), '\n', x.reveal().to_native())

# eager execution
y = tfe.matmul(x, w)
res = y.reveal().to_native()

# build graph and run graph
@tfe.function
def matmul_func(x, w):
    y = tfe.matmul(x, w)
    print('y_ciphertext:', y)
    return y.reveal().to_native()

res = matmul_func(x, w)
print('res:\n', res)
文章来源:https://blog.csdn.net/qq_16763983/article/details/134962228
本文来自互联网用户投稿,该文观点仅代表作者本人,不代表本站立场。本站仅提供信息存储空间服务,不拥有所有权,不承担相关法律责任。 如若内容造成侵权/违法违规/事实不符,请联系我的编程经验分享网邮箱:veading@qq.com进行投诉反馈,一经查实,立即删除!
本文来自互联网用户投稿,该文观点仅代表作者本人,不代表本站立场。本站仅提供信息存储空间服务,不拥有所有权,不承担相关法律责任。 如若内容造成侵权/违法违规/事实不符,请联系我的编程经验分享网邮箱:veading@qq.com进行投诉反馈,一经查实,立即删除!