Java如何开发PC客户端(Windows,Mac,Linux)
- 项目编译工具:Gradle
- 开发工具: Idea
- 开发语言: 建议java17以上
- ui组件:openjfx (org.openjfx.javafxplugin)
- 打包工具: jpackage (org.beryx.jlink)
一、如何解决打包问题
java 14以后,有了jpackage工具,能够很方便的打包成exe,msi,dmg等包了。
如果有java环境的机器,可以使用launch4j进行打包(可以指定支持的运行时java环境版本min~max), 可参考maven插件https://github.com/orphan-oss/launch4j-maven-plugin,这种方式打的包体积很小,但是需要运行的系统安装了对应的jvm环境才好。jpackage更适合没有java环境的机器,可以运行在任何一台机器上。
试了Maven项目的javafx-maven-plugin插件,发现没法打包成可安装的包exe或者msi。
最终选择了gradle管理项目(打包插件:badass-jlink-plugin),如果有idea最新版的话,新建JavaFx、gradle的项目默认用的就是这个插件。不过要稍微改下配置。具体参数配置可以查看github: https://github.com/beryx/badass-jlink-plugin, readme里有介绍几个例子。我是参考这个例子https://github.com/beryx-gist/badass-jlink-example-log4j2-javafx进行的配置。也可以看看这个项目,挺不错的(地址 https://github.com/gleidsonmt/DashboardFx)。
plugins {
    id 'java'
    id 'application'
    id 'org.javamodularity.moduleplugin' version '1.8.12'
    id 'org.openjfx.javafxplugin' version '0.0.13'
    id 'org.beryx.jlink' version '2.25.0'
}

group 'com.example'
version '1'

repositories {
    mavenCentral()
}

ext {
    junitVersion = '5.9.1'
}

sourceCompatibility = '17'
targetCompatibility = '17'

dependencies {
    implementation('org.apache.logging.log4j:log4j-core:2.11.1')

    testImplementation("org.junit.jupiter:junit-jupiter-api:${junitVersion}")
    testRuntimeOnly("org.junit.jupiter:junit-jupiter-engine:${junitVersion}")
}


tasks.withType(JavaCompile) {
    options.encoding = 'UTF-8'
}

application {
    mainModule = 'com.example.app'
    mainClass = 'com.example.app.Main'
}

javafx {
    version = '17.0.2'
    modules = ['javafx.controls', 'javafx.fxml']
}

dependencies {
    implementation('org.controlsfx:controlsfx:11.1.2')
    implementation('org.kordamp.bootstrapfx:bootstrapfx-core:0.4.0')

    testImplementation("org.junit.jupiter:junit-jupiter-api:${junitVersion}")
    testRuntimeOnly("org.junit.jupiter:junit-jupiter-engine:${junitVersion}")
}

test {
    useJUnitPlatform()
}

jlink {
    imageZip = project.file("${buildDir}/distributions/app-${javafx.platform.classifier}.zip")
    options = ['--strip-debug', '--compress', '2', '--no-header-files', '--no-man-pages']
    launcher {
    //app名称
        name = 'TestAppName'
    }
    forceMerge('log4j-api','fastjson')
    jpackage {
        if (org.gradle.internal.os.OperatingSystem.current().windows) {
//            installerType = 'exe'
            installerOptions += ['--win-per-user-install', '--win-dir-chooser', '--win-menu', '--win-shortcut']
//            imageOptions += ['--win-console']
        }
    }

}

jlinkZip {
    group = 'distribution'
}
二、JavaFX开发(使用Scene Builder)
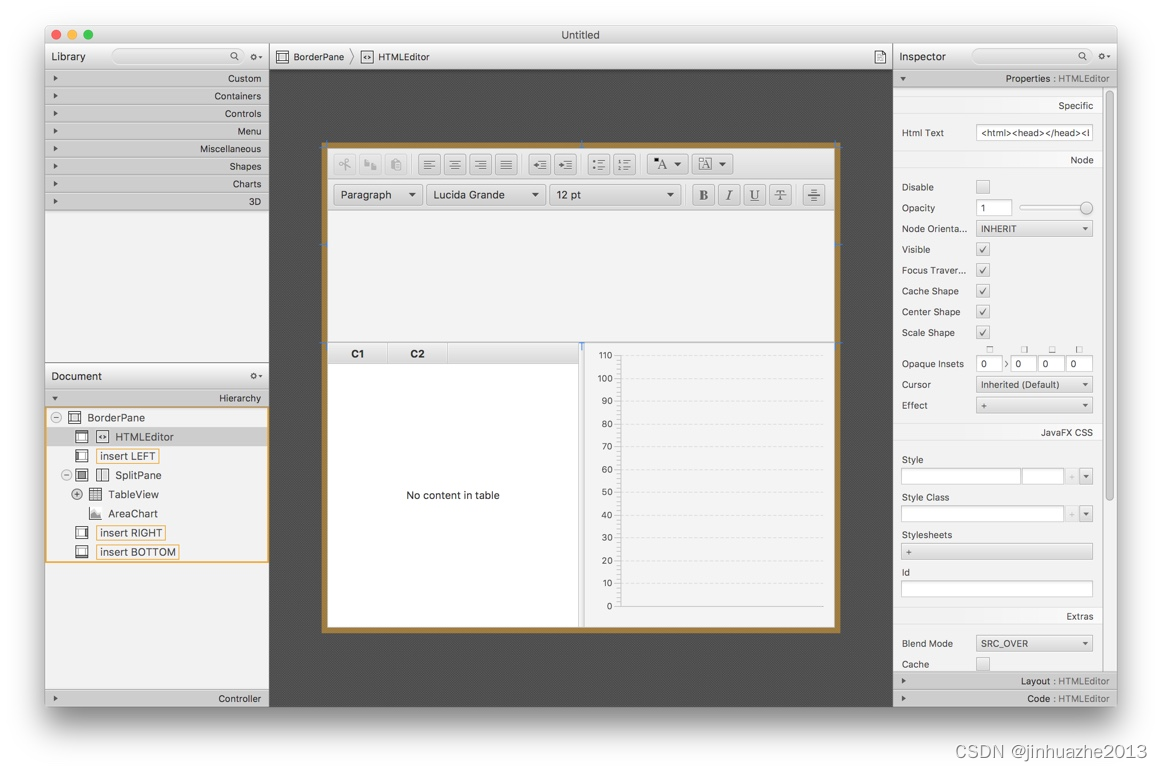
JavaFX是类似Android的开发模式,界面布局使用FXML,使用scene builder可以直接拖拽控件进行布局,可视化的布局。界面支持CSS调样式。支持ResourceBoundle,进行国际化设置。控件多,灵活,支持图表展示和WebView.
scene builder 怎么用?可以参考这篇文章https://blog.csdn.net/weixin_41571493/article/details/81415327,写的很详细。
scene builder下载地址 https://gluonhq.com/products/scene-builder/

本文来自互联网用户投稿,该文观点仅代表作者本人,不代表本站立场。本站仅提供信息存储空间服务,不拥有所有权,不承担相关法律责任。 如若内容造成侵权/违法违规/事实不符,请联系我的编程经验分享网邮箱:veading@qq.com进行投诉反馈,一经查实,立即删除!